Some more homemade gummies, this time I used clementines and blueberries for the juice. Gummies Recipe.
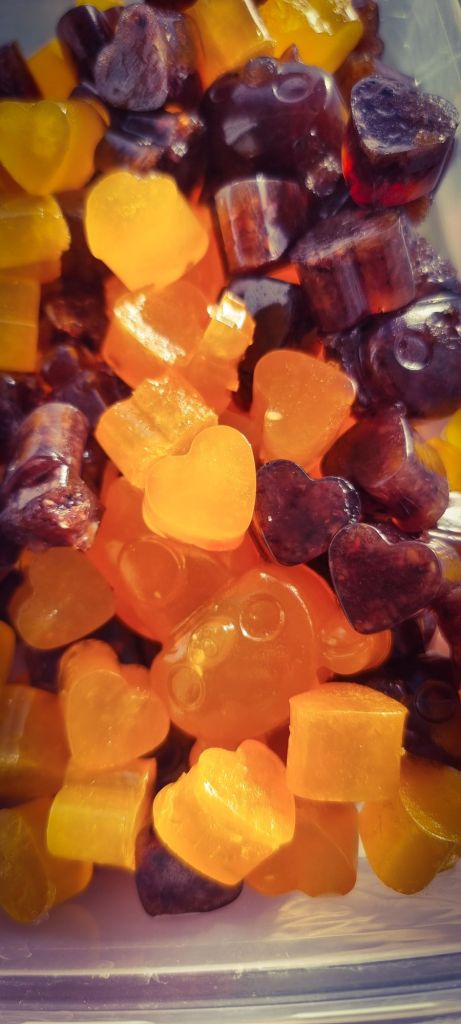
(c) MKW Publishing

Some more homemade gummies, this time I used clementines and blueberries for the juice. Gummies Recipe.
(c) MKW Publishing

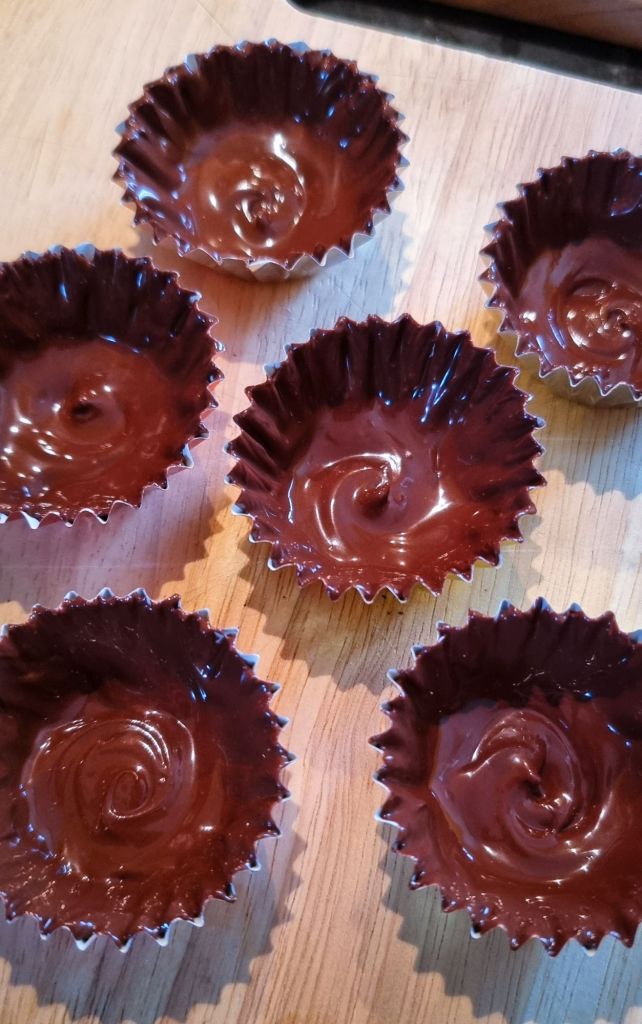
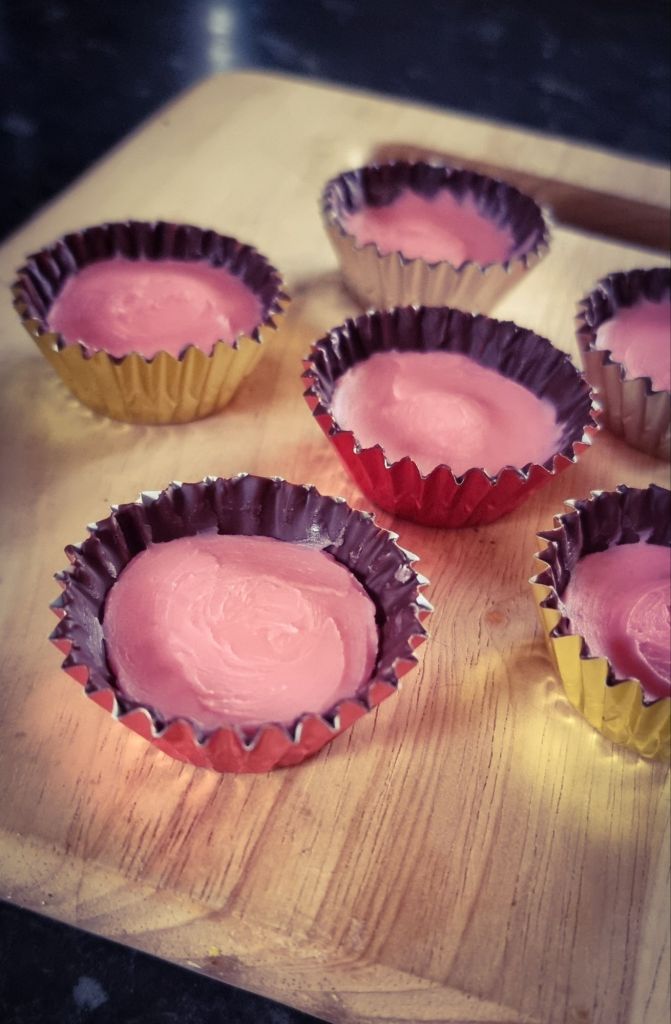
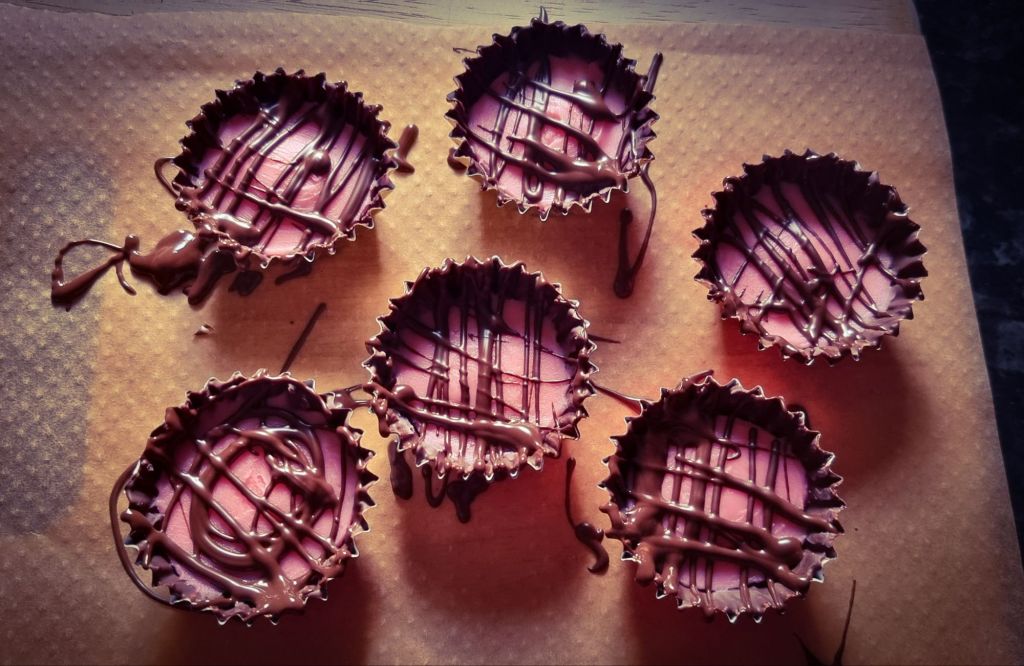
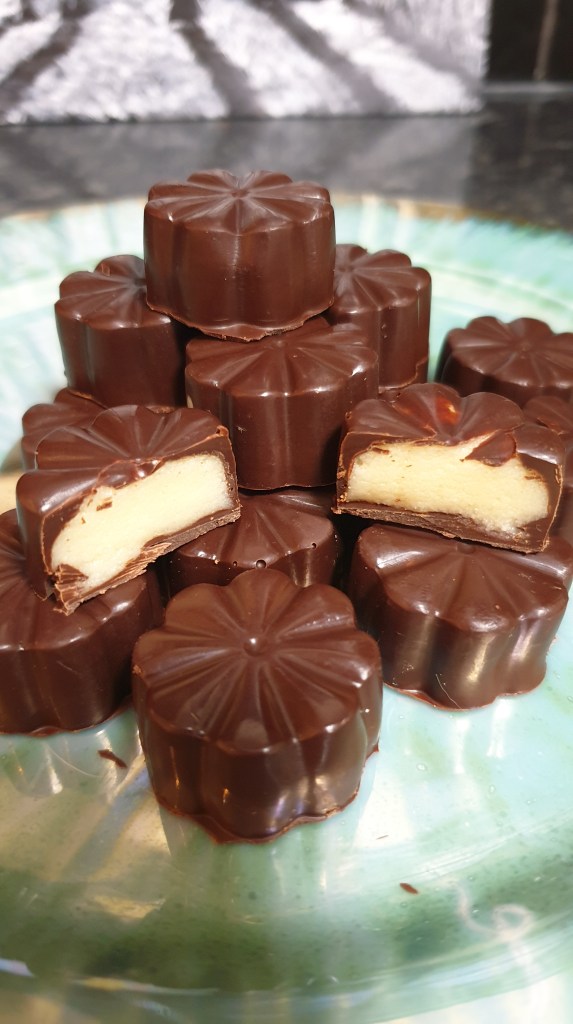
I thought I would upgrade the challenge of making cream filled chocolates. Last week I made the perfect Orange Creams, and this week thought I would try strawberry. But a little more fancy than just the usual moulds.
I used small foil consetina cases, lined them with chocolate, then put in the strawberry filling, finally adding stripey decoration. Putting them in the fridge in between each stage to set. Then carefully removing the foil cup once all put together and left for a few hours in the fridge.
They look exactly as I meant them to, although intended to be slightly tidier, but they taste great, which is the main objective after all.

(c) K Wicks
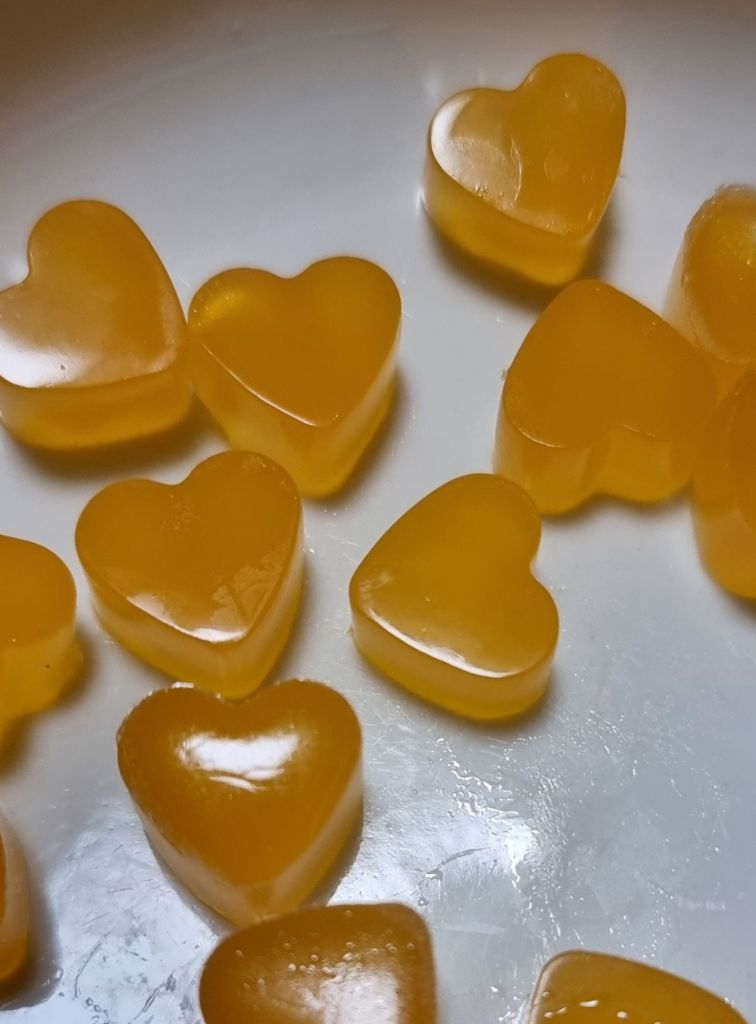
To make some of your own awesome jelly sweets…
80g orange juice (no bits)
2 tbsp honey
2 tsp sugar
1/2 tsp orange extract
9g gelatine powder
Heat the juice, sugar, extract and honey. Mix the gelatin powder in a small separate bowl with some cold water (about 30ml). Once the sugar is dissolved, take off the heat and stir in the congealed gelatine until fully dissolved.
Use a dropper to transfer liquid into moulds, and then put in the fridge to set for an hour or two. Then enjoy.
You can use apple or strawberry juice, or whatever juice you might like, although some tropical ones don’t work with gelatin apparently.
(c) MKW Publishing
I have found a good method now, and so far so good.
250ml double cream
100g caster sugar
1 tsp corn syrup
Flavour you are making – these ones were orange extract, and homemade dried raspberry powder and dessicated coconut.
Put the cream, sugar and corn syrup in a pan, put on a low heat and mix, then leave to simmer/boil until it gets to 238 degrees. Then tip out, let cool for 5-10 mins until becomes the right consistency, then fold in the colour and flavouring. You just need to know when it’s done by eye and feel, but I’m getting the hang of it.
(c) K Wicks
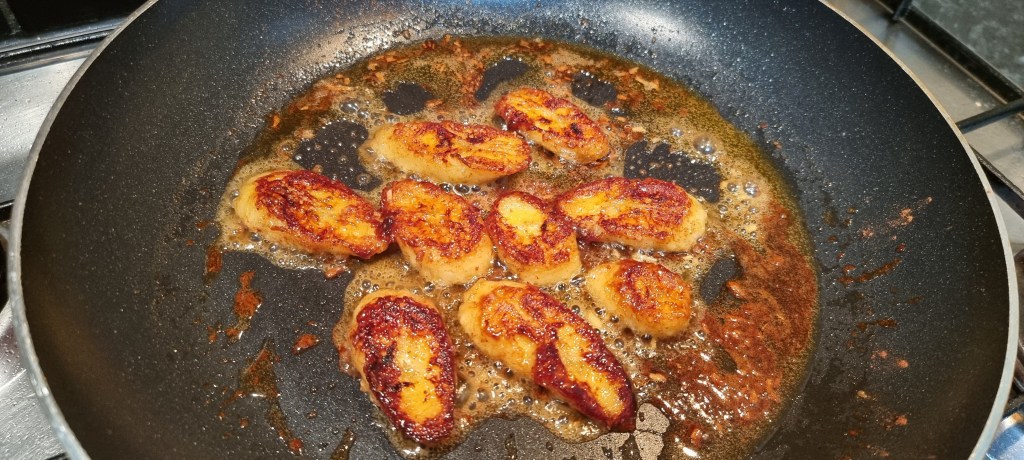
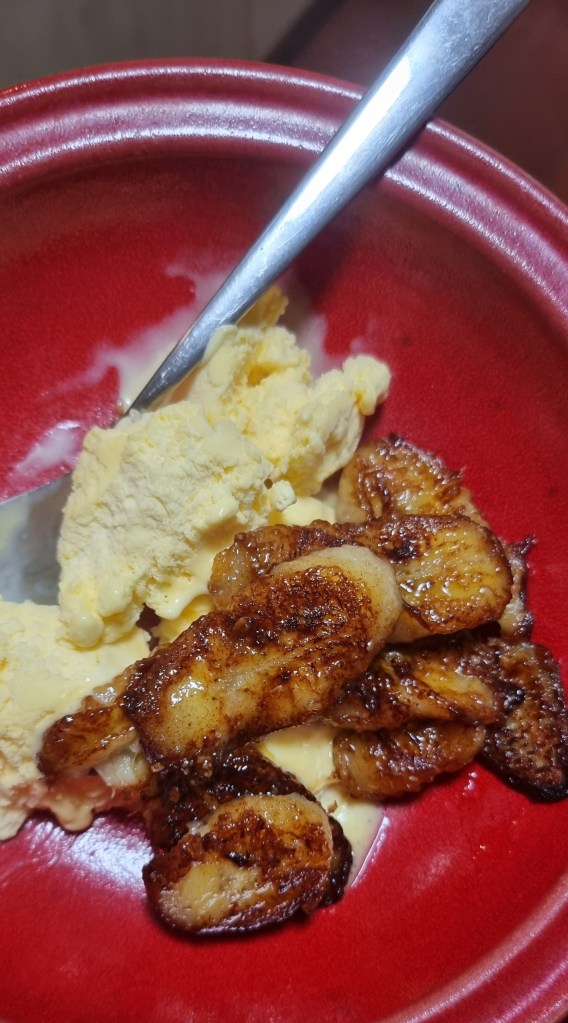
Not sure why I hadn’t tried this previously, easy and delicious. Bananas, melted butter and sprinkle brown sugar over while they are lightly frying, turn over after a few minutes and cook on both sides. I put a little coconut on as well and had with vanilla ice-cream.
Use a banana that’s still a touch green as they hold better, and about 1 tbsp of butter per banana.
(c) K Wicks
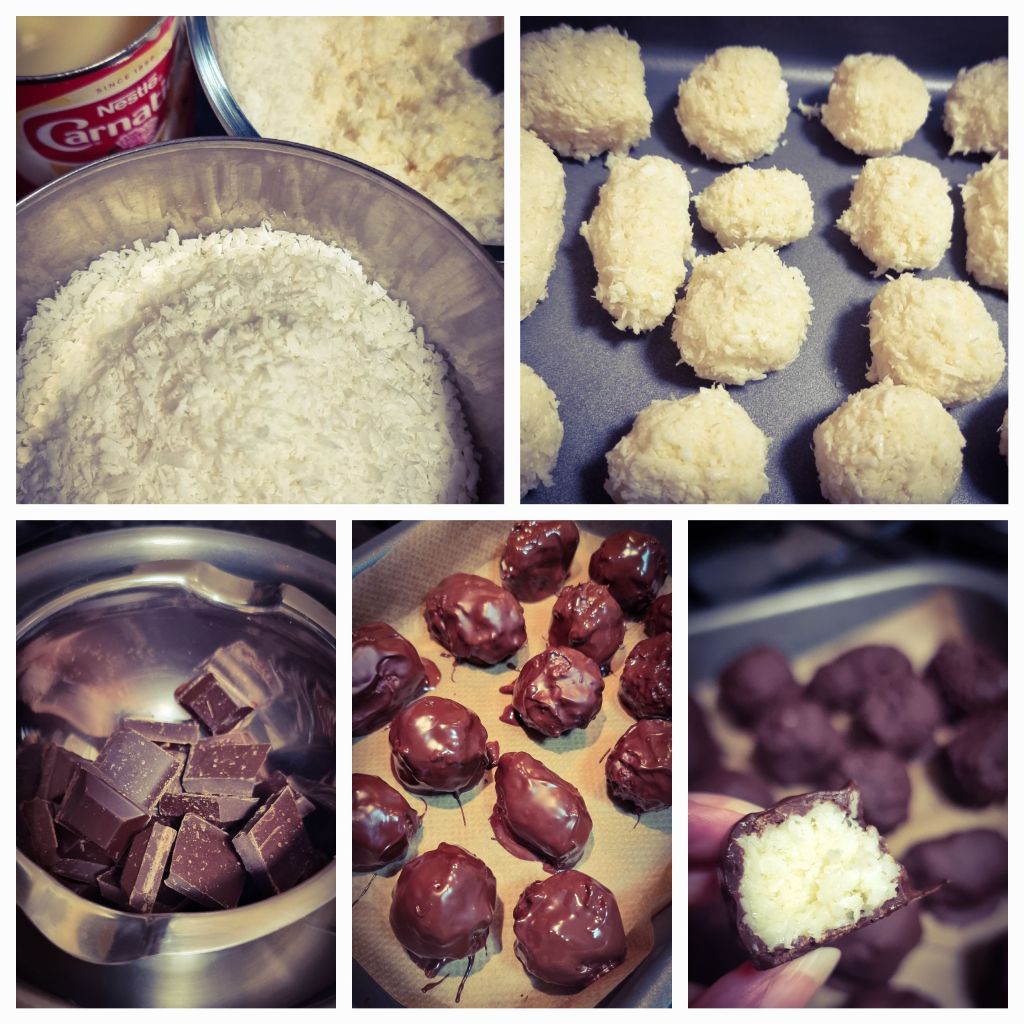
Another surprisingly easy recipe, makes me wonder why I never made these as a kid, my mum loved condensed milk, and I loved bounty bars.
190g sweetened condensed milk
180g desiccated coconut
180g dark chocolate
Combine the condensed milk and coconut, making a very sticky mixture. Use your hands to squeeze into small balls, logs or what shape you can manage (like I did). Then put in the freezer for 30 mins or so to harden them up.
Melt the chocolate in a double boiler, roll them around in it (or try being delicate with 2 spoons like I tried and failed to do), then place on a tray back in the freezer for a bit.
Kept in the fridge thereafter and are extremely tasty.
(c) K Wicks

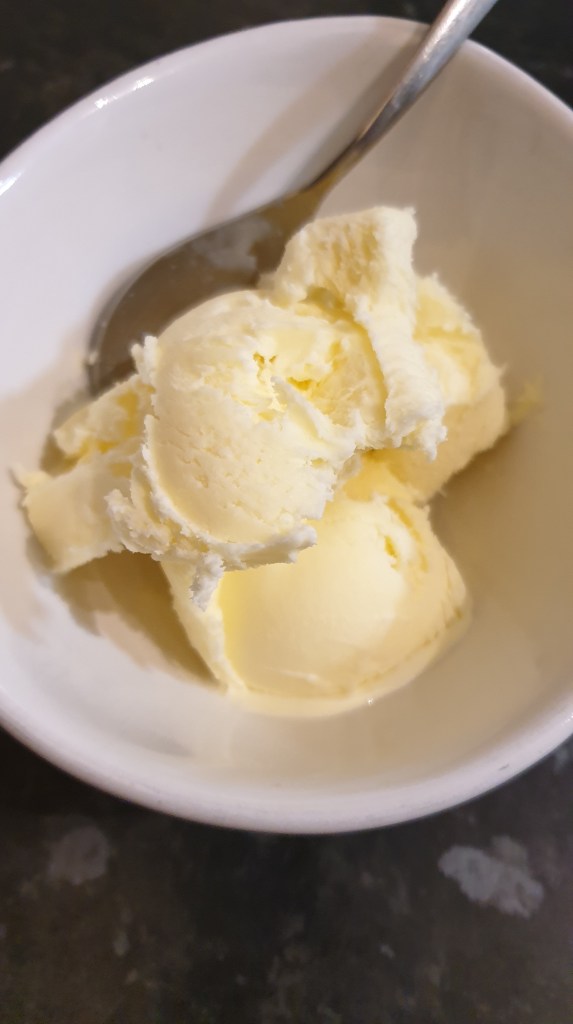
I really liked the sound of this, so decided to give it a go after watching a run through on YouTube. I will share the link at the bottom of this post so you know how it is done and where I got the recipe. How it should look versus how it turned out!
Ingredients:
50ml fresh orange juice
500ml milk
100g Sugar
250 ml double / whipping cream
Orange essence

The black cherry juice wasn’t used in this one, but is there to show will be tried next. This recipe gets you to make your own condensed milk from scratch to make the ice-cream, which is the consistency you want when making the base. But I believe you can use a can of pre made and start from that point.
From scratch – heat the milk and sugar together and bring to the boil, then reduce heat, and reduce the mixture by about a 1/3, stiring and checking the viscosity. When happy with it, take off the heat and allow to cool completely, stiring while it does.
Then stir in the orange juice and mix well. Get a seperate bowl for the cream, and whip it for around 30 seconds, then pour in the orange mixture, add a teaspoon of orange essence. Whip together until as soft peaks (orange colouring can be used if you want it to be colourful).
Put into a dish and put in the freezer to set, will be good to go after about 8-10 hours. I wasn’t sure I had pulled this off, as my mixer wasn’t working that well and I used a fork for the last bit, reaslising I was probably removing most of the airation. It wasn’t soft peaks at all, and seemed rather runny. So in the freezer it went, as I thought it would be good to taste it still and see where I could improve it.
It was a actually a good fail in my opinion, although not like the one in the tutorial video, it is extremely tasty and smooth. I’m excited to try cherry next, and give orange another go, maybe using colouring this time. We’ll see how it goes.
(c) K Wicks
Here is the link for ‘Hands Touch’ on YouTube, where I saw the recipe and method, so you can check out the method as I know my instructions can be quite brief, and this deserves to be shared, it’s awesome –
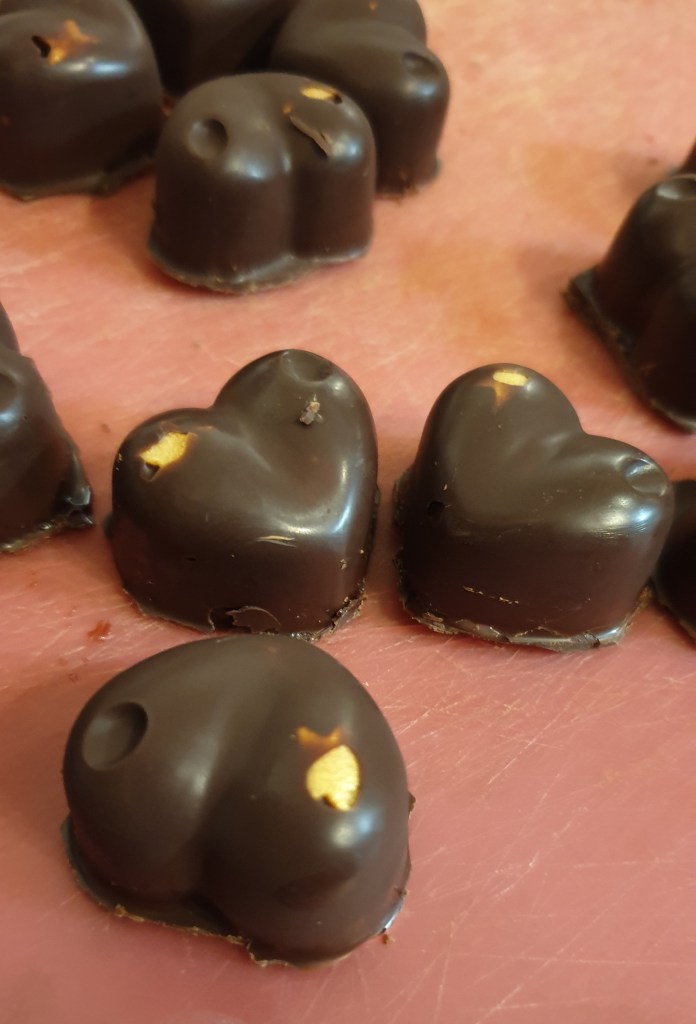
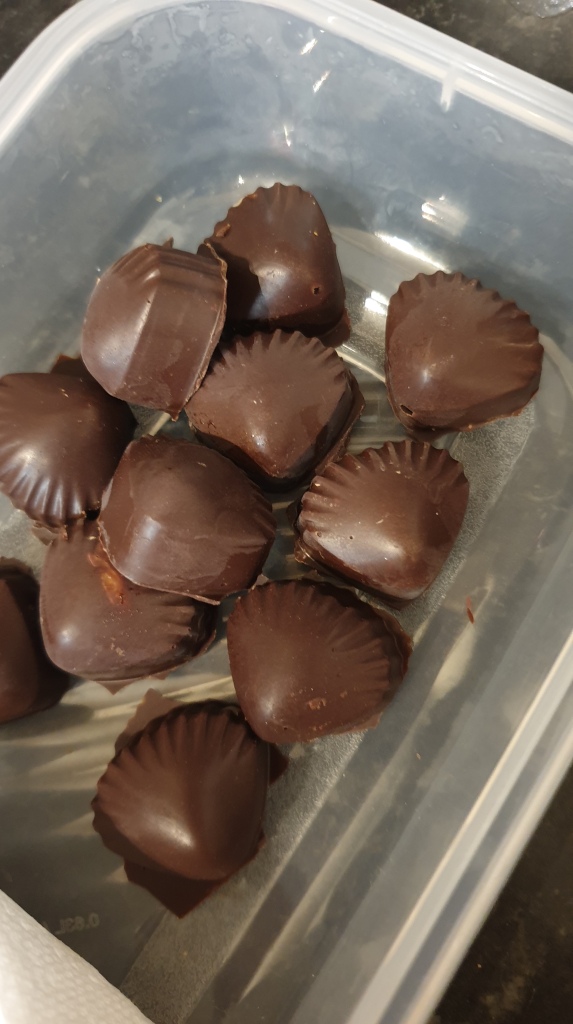
So, same method as the previous recipes for orange creams and strawberry creams, but I halved the recipe again so I stop building up a stockpile of cream fillings!
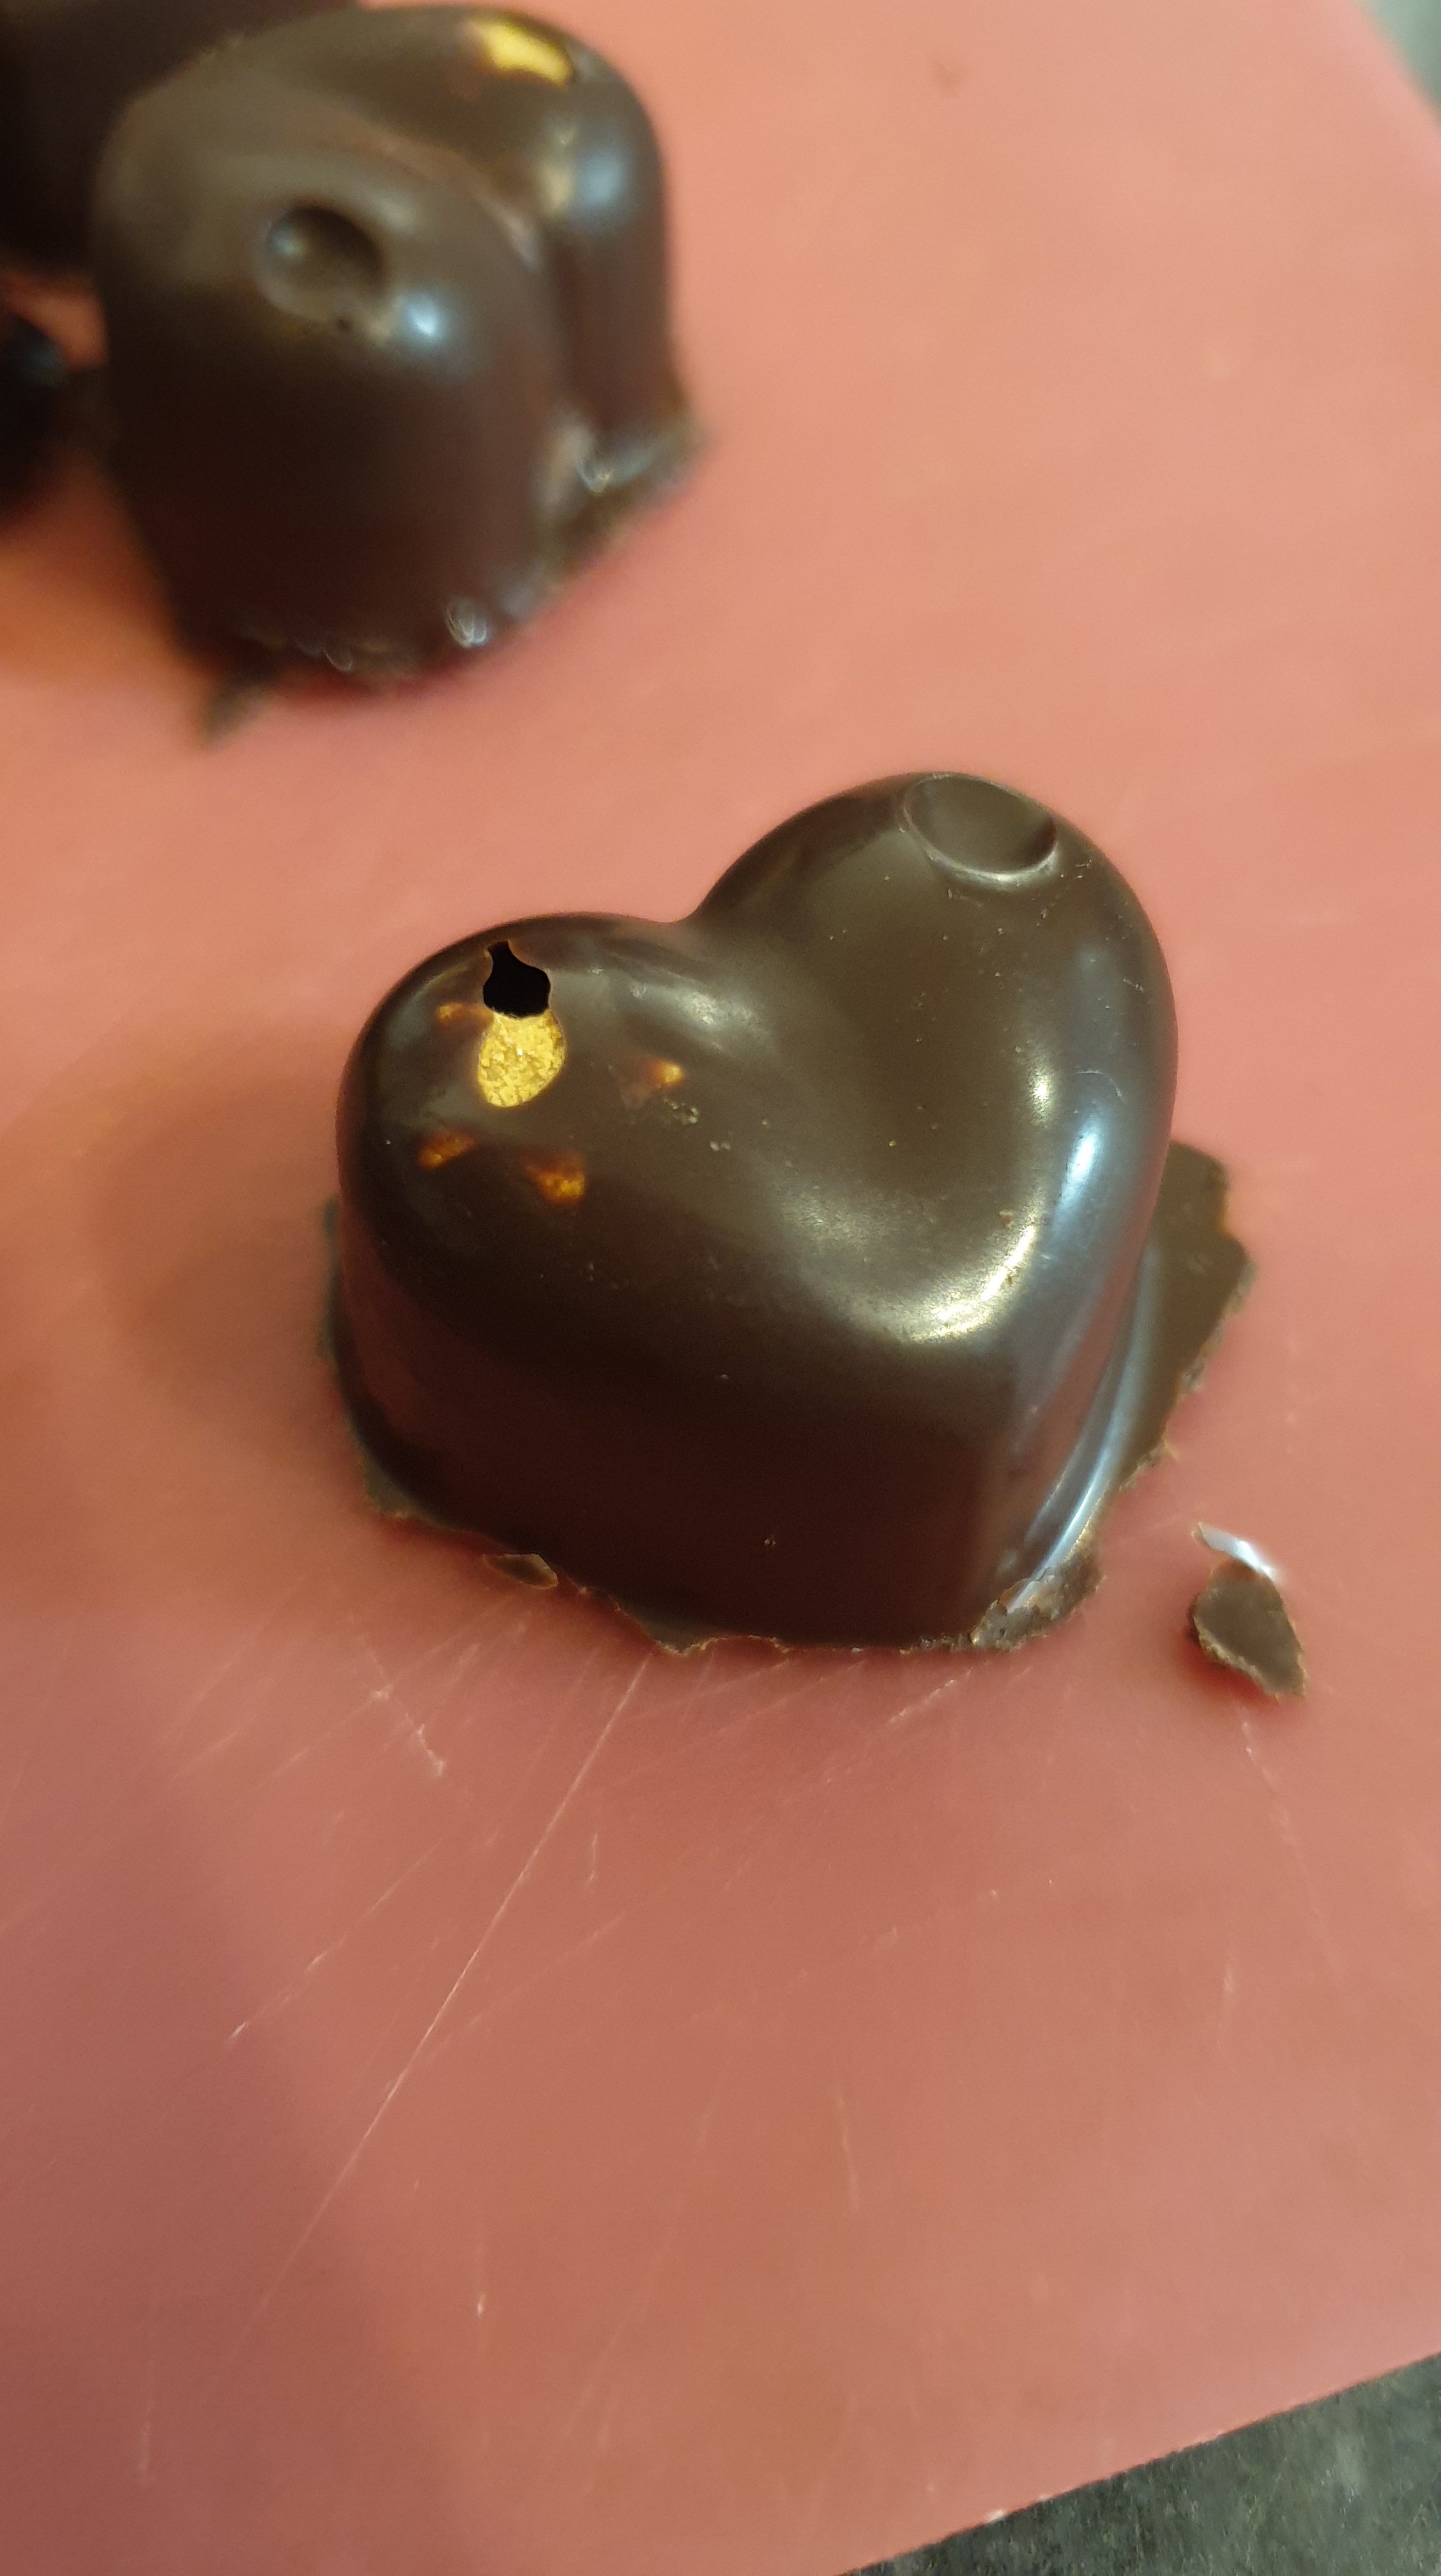
Thought I would be fancy this time, and try and get some gold stars in, realising after they would be enveloped by chocolate.

For the filling i used black cherry concentrate, and a few drops of vanilla. The cherry doesn’t as well i would have liked it to, and I used a good 5 teaspoons of it. Great colour though.
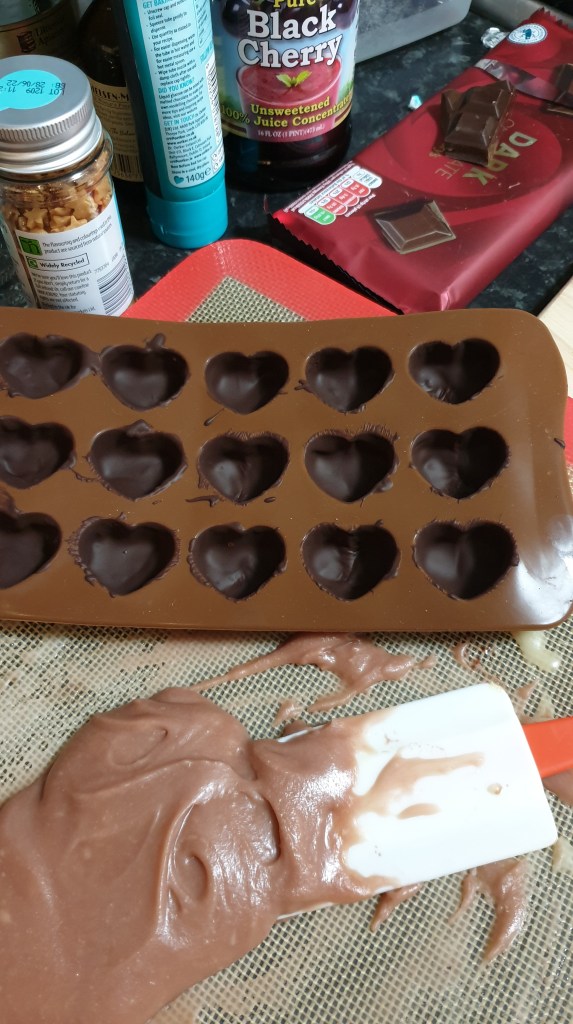
Then, to be super special, I thought i would put a few drops of the cherry juice inside each chocolate before sealing them. On reflection I should have made a small nook in each, as as soon as it was done, I knew it would seep through the chocolate.
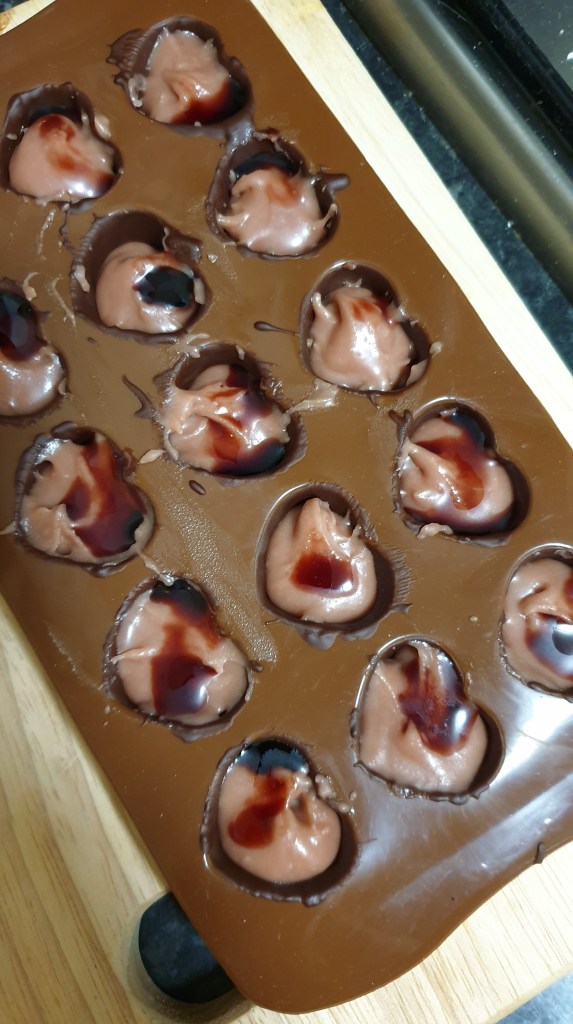
But they turned out ok, and has hints of cherry rather than a blast of flavour like the others.

(c) K Wicks
So, making Orange filled chocoloates wasn’t enough and I now have the bug for making cream filled chocolates. I decided to go for strawberry, with a plan to send some as a gift to my grandpa who adores chocolate and said feel free to post them to him anytime. Say no more…

Same line up as the orange (although at the last minute decided to use a star mould), and used strawberry syrup for the filling. And a pinch of edible glitter, because you know, its christmassy.

I halved the recipe again from the first one, so –
Ingredients
half a cup of double cream,
200g of sugar
100-150g of dark chocolate
Soaked together, then heated to 240f, and a whole tablespoon of corn syrup. The consistency was much sticker and more toffee like for this one, then let cool (adding a small amount of butter and turning over first). Then i mixed in the strawberry syrup, leaving some streaking through (and the glitter). Around 80g of chocolate melted for the mould, then in the freezer for at least 10 minutes too set before you add the filling.

Chocolate moulds filled with strawberry, melt the rest of the chocolate and then cover each splace, smoothing over with a pallet knife if really bumpy, and back in the freezer to chill, then in the fridge.
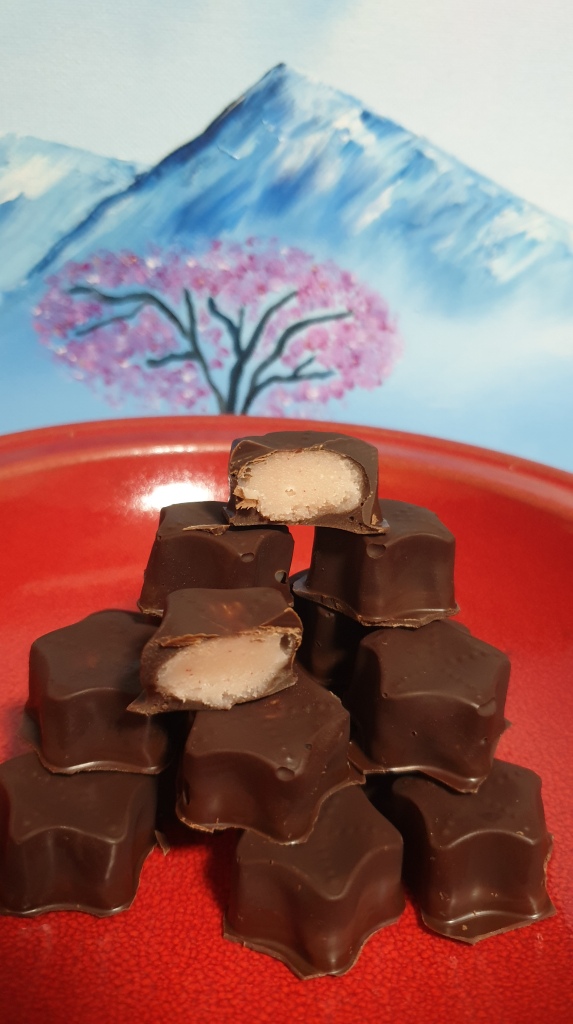
Proper tasty, and I also made some orange shells yesterday with the left over orange filling to have a variety to send.
And now they are boxed up ready to be sent tomorrow after buying a few boxes and little cases for them to stop them sliding around in the dividers. I am rather pleased at how they look and am pretty sure I won’t be buying certain brands again. I’ll be making lemon ones at the weekend hopefully so we’ll see if this is a fluke, or if I’ve got the knack 😉
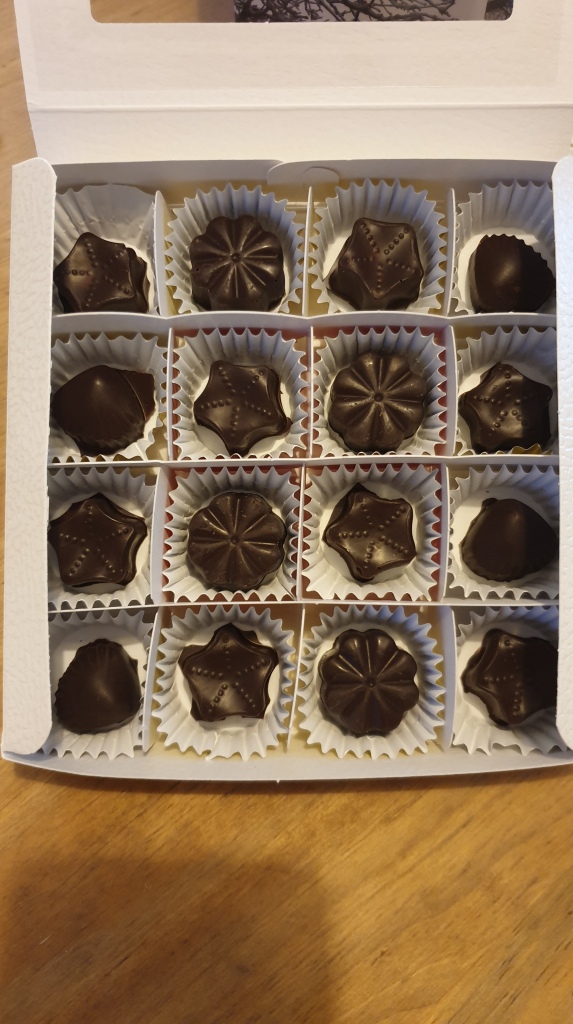
(c) K Wicks
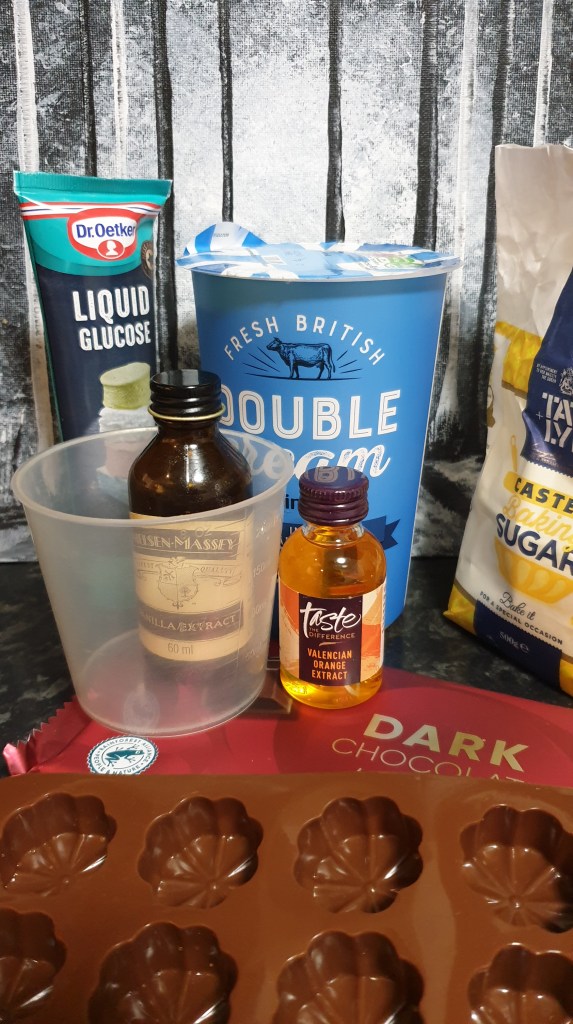
These are my favourites, and not content with only one or two in a box of popular variety chocolates, I decided to finally attempt making my own. I like baking, but sweets and desserts are my favourite. I found a recipe that seemed doable, I halved the ingredients to make a small batch first, and amended slightly as I went. I was actually left with half of the filling left after making this batch, so you could half this again of you want a small amount.
Ingredients
1/2 cup of double cream (250ml / 8oz)
1 1/2 cups of sugar (this was a mix of caster and granulated)
2-3 tbsp of orange extract (apparently if using orange oil, use less)
1/2 tps vanilla extract
1 tbsp of corn syrup (also know as liquid glucose)
1tbsp butter
100g of dark chocolate (ish) – or any chocolate of choice
You’ll need to make the orange filling first. Place the sugar and cream in a pan and let them soak together before putting on a low to medium heat. Stir often and make sure to keep it smooth. Use a pastry brush to water the sides while it’s heating, otherwise the sugar crystalises and can make the mixture gritty. Bring to the boil and add the corn syrup, keep stirring, feeling for when its thickening up. Depends on how solid you like your filling, waiting until it gets sticky will give you a firmer centre.
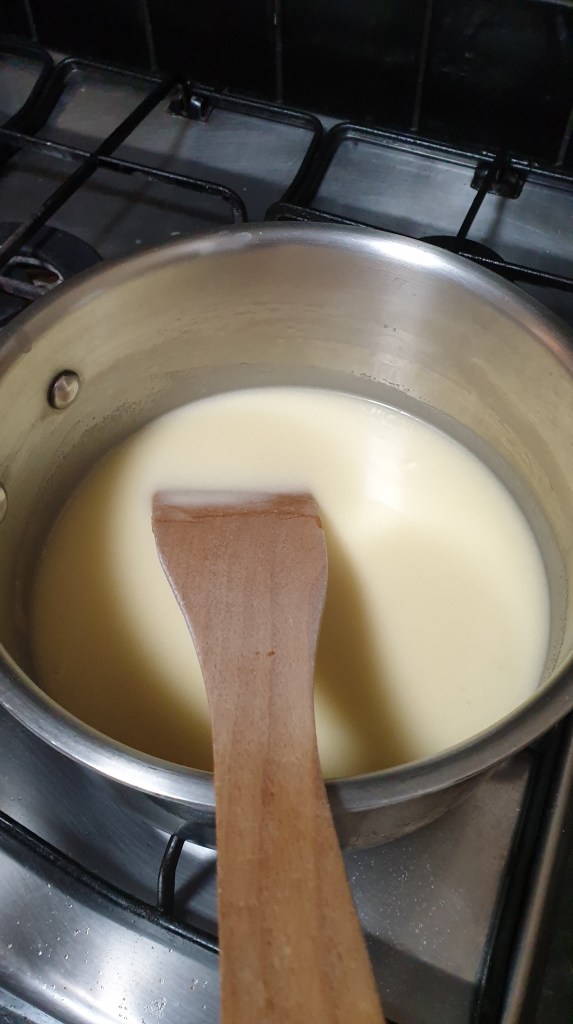
Once you are happy with the texture, pour onto a highsided tray (avoid scraping the sides or the gritty sugar will come with it) – try not to use glass as this mixture will be very hot and may break it. Now, I don’t have large marble slab to hand like the person who’s recipe I checked out, so I used a baking tray with sides, and laid one of my new heat proof baking sheets clumsily in it.
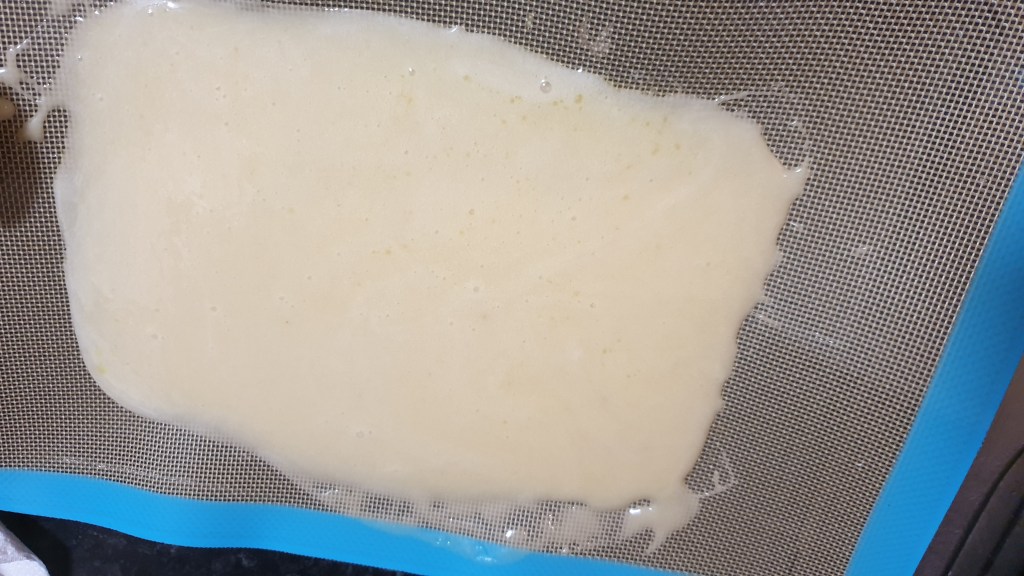
Once there, leave for 10-15 minutes to cool. It would appear that I may have used too little corn syrup (so you may want to use 1-2 for thicker), but it didn’t seem to matter. This worked in the end, so must have been ok. The next process it to turn it over and over, and in on itself for a good 20 minutes or so. It was during this process I decided to add the orange extract – around 1 tablespoon at a time, work it in, keep the mixture moving. Taste it and see how orangy it is, and add more as required. I would say you want to keep working it to be like slightly runny mash potato consistency. Then leave that to one side while we move to the chocolating the cases.
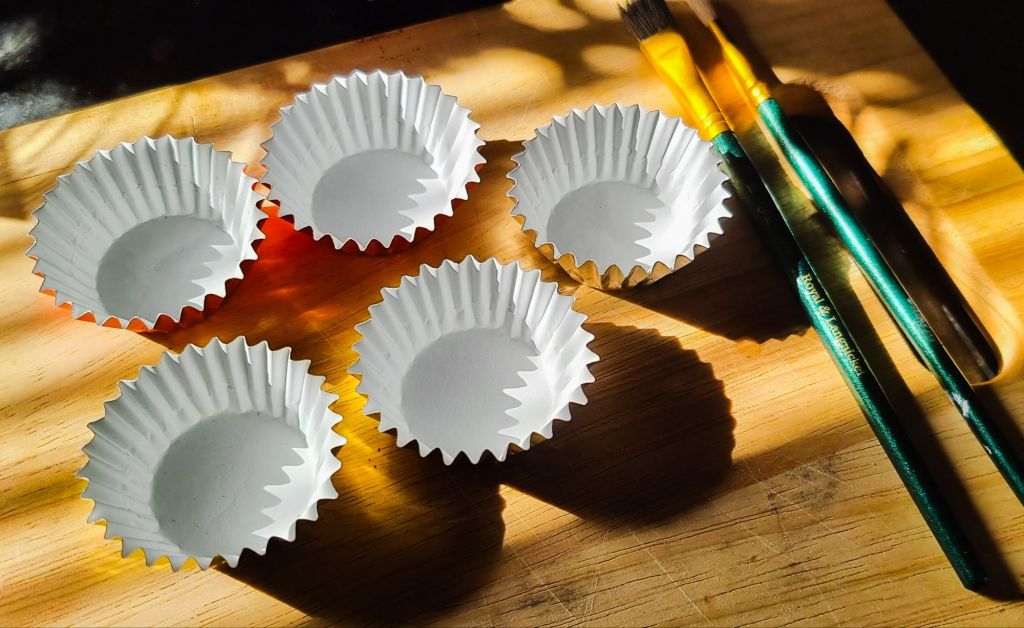
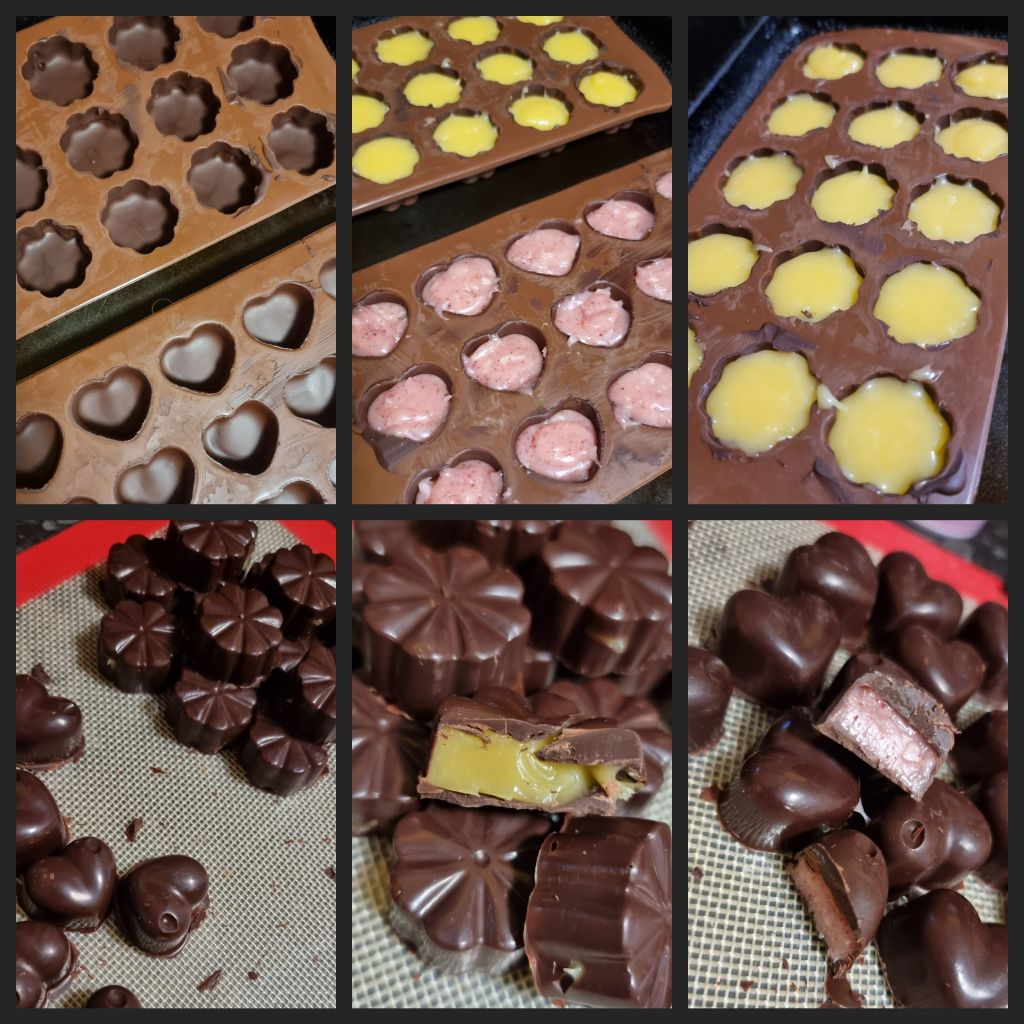
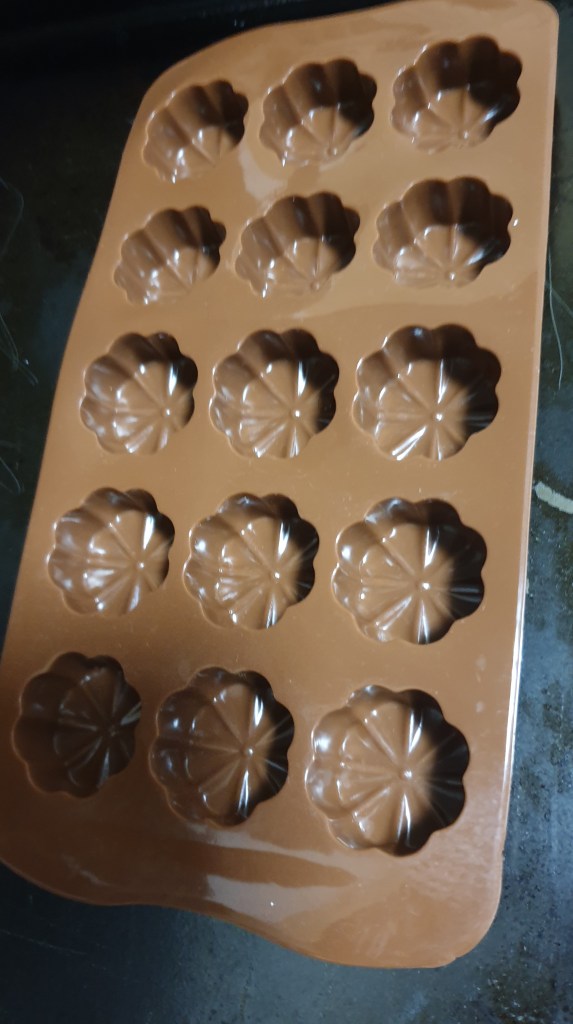
Pick your mould.
Melt your chocolate.
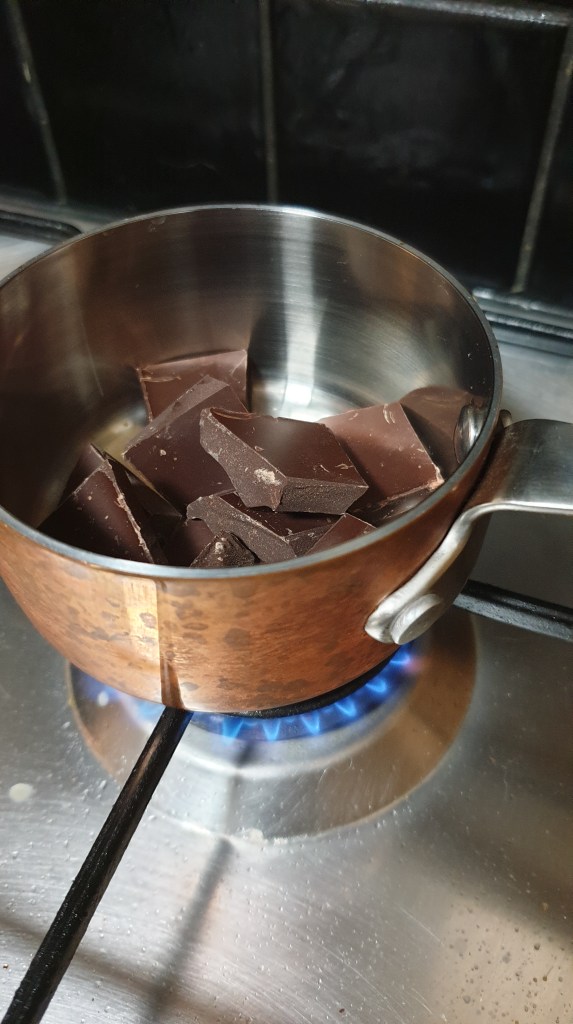
This was enough chocolate to coat the mould.
I used a small spoon to put some in each space, then used a paintbrush 🖌 to get the chocolate up the sides. Then put in the freezer for about 15 minutes.
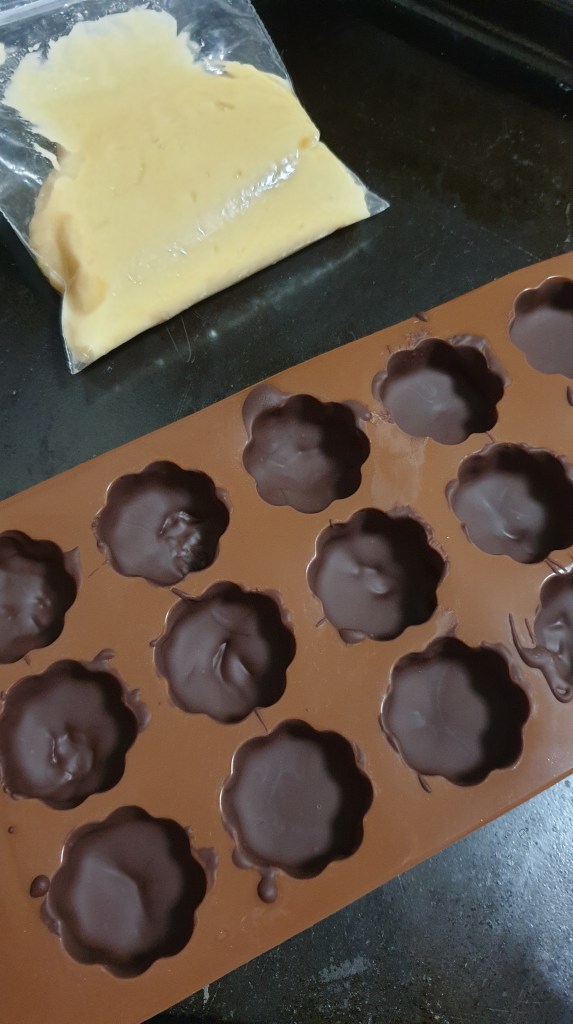
I didn’t have a pipping bag, or a proper zip lock bag, so used a small plastic bag with small sealer (remember to actually seal it though! I didn’t 🤣). And just cut off one corner to squeeze out enough mixture into each space.
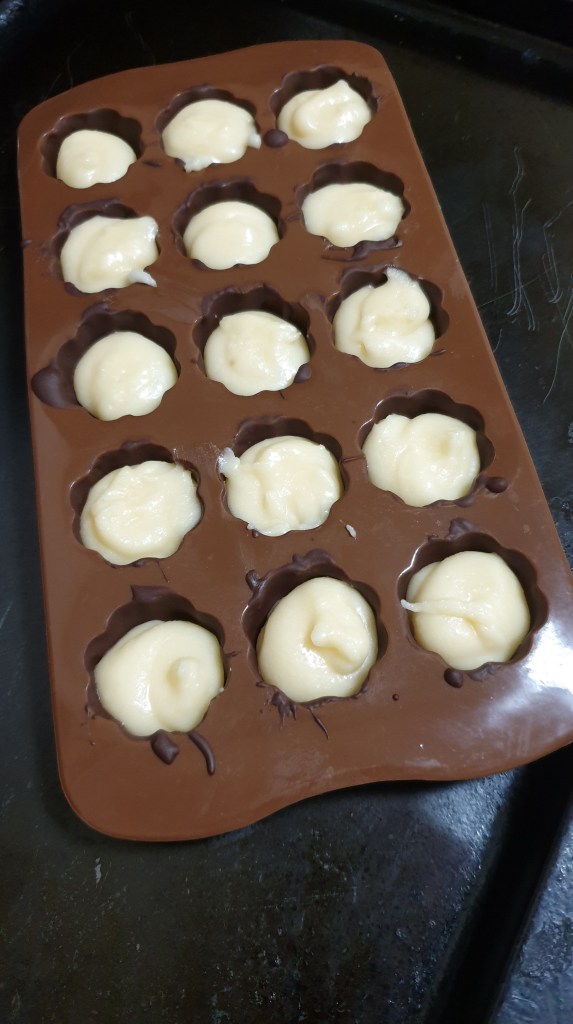
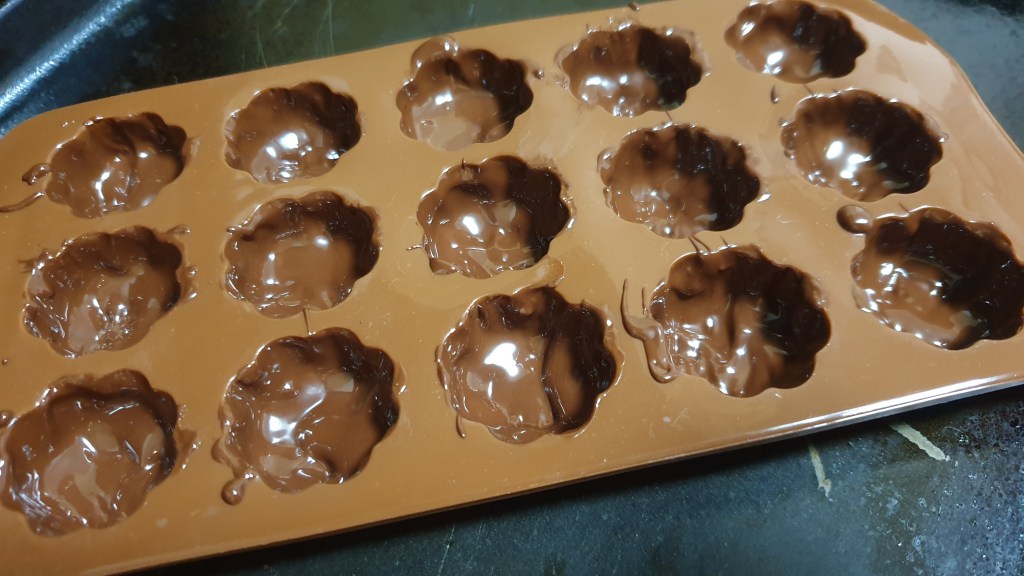
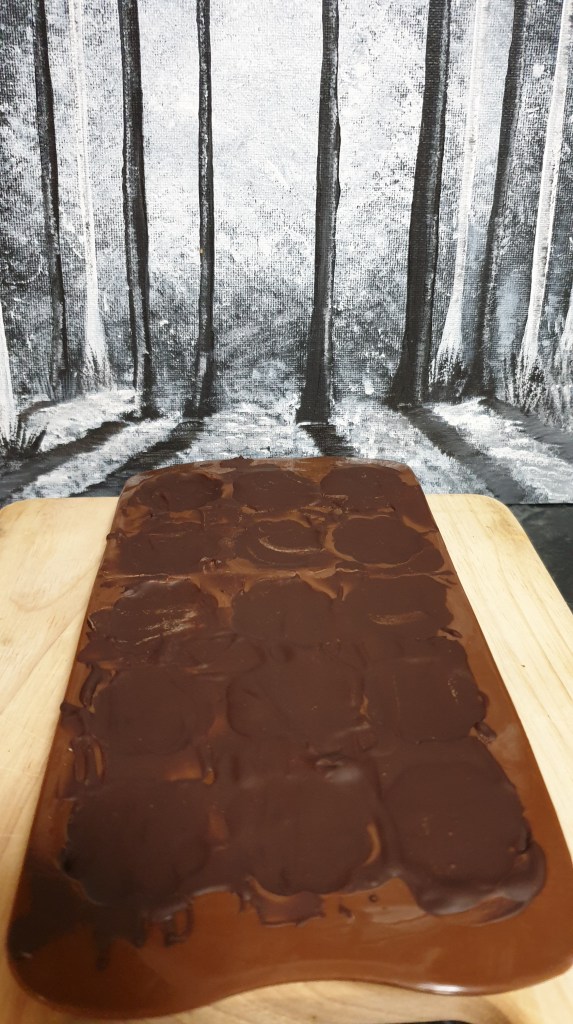
Fill each mould space with filling, but not quite to the top. Then melt up the second round of chocolate and place over the top.

Smooth them over with the back of a spoon or small pallet knife (art supplies came in handy for this kitchen time). I then put them in the fridge for an hour or two but you can put in the freezer for 20 mins maybe if you want them quicker. Then remove from the mould.
They were super easy to turn out, and looked perfect. After being in the fridge overnight, the filling had set even further but was still super soft.
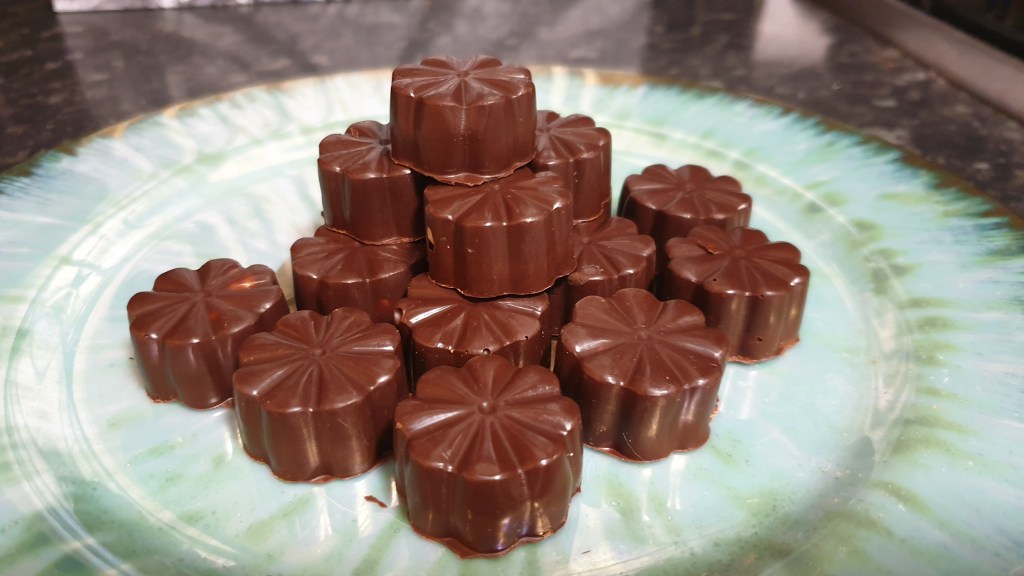
I’m going to admit, I was very chuffed with myself for manging to make something that looked and tasted this good first time.
(c) K Wicks
