I’ve had this recipe knocking around for over a decade having pulled it from the internet for my own simple recipe folder. Thanks Patricia, whoever you are.
Finally, I got round to trying it and have to say was rather impressed. I am quite a simple cook and cannot do complicated or fancy, so often don’t always get things right. (Full receipt at the bottom of the post).
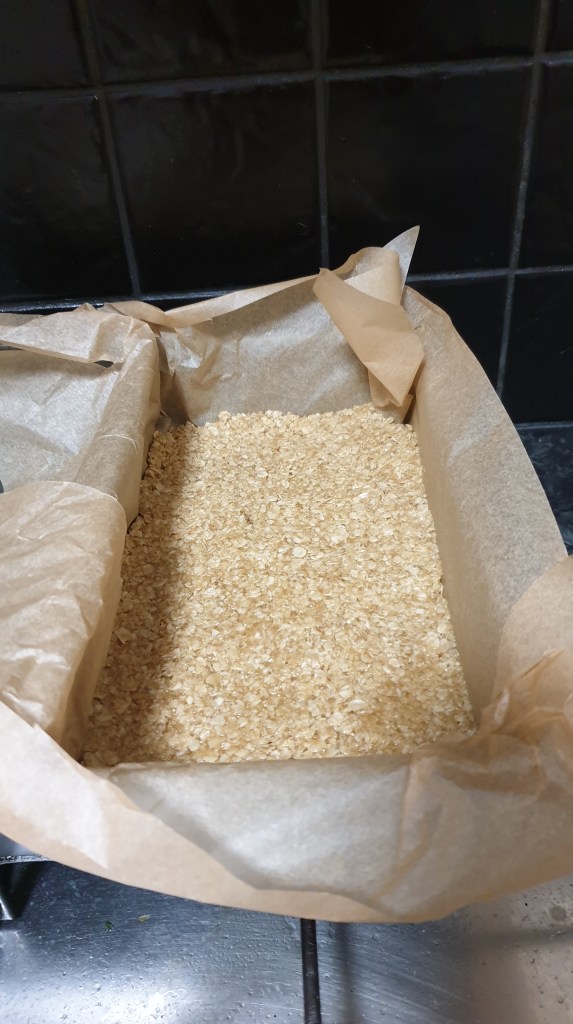
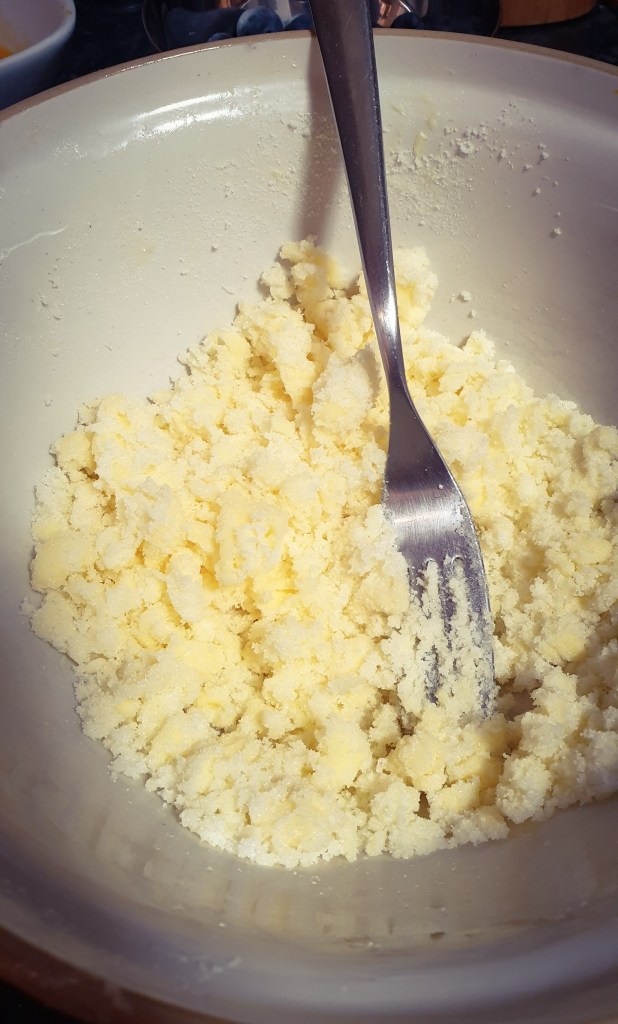
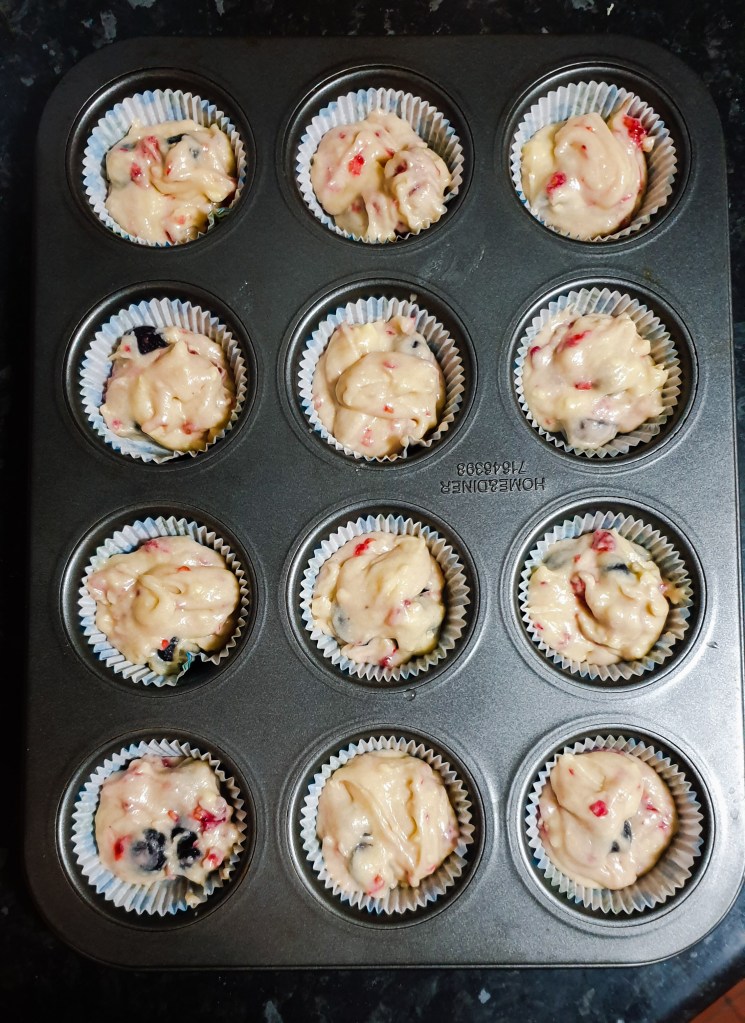
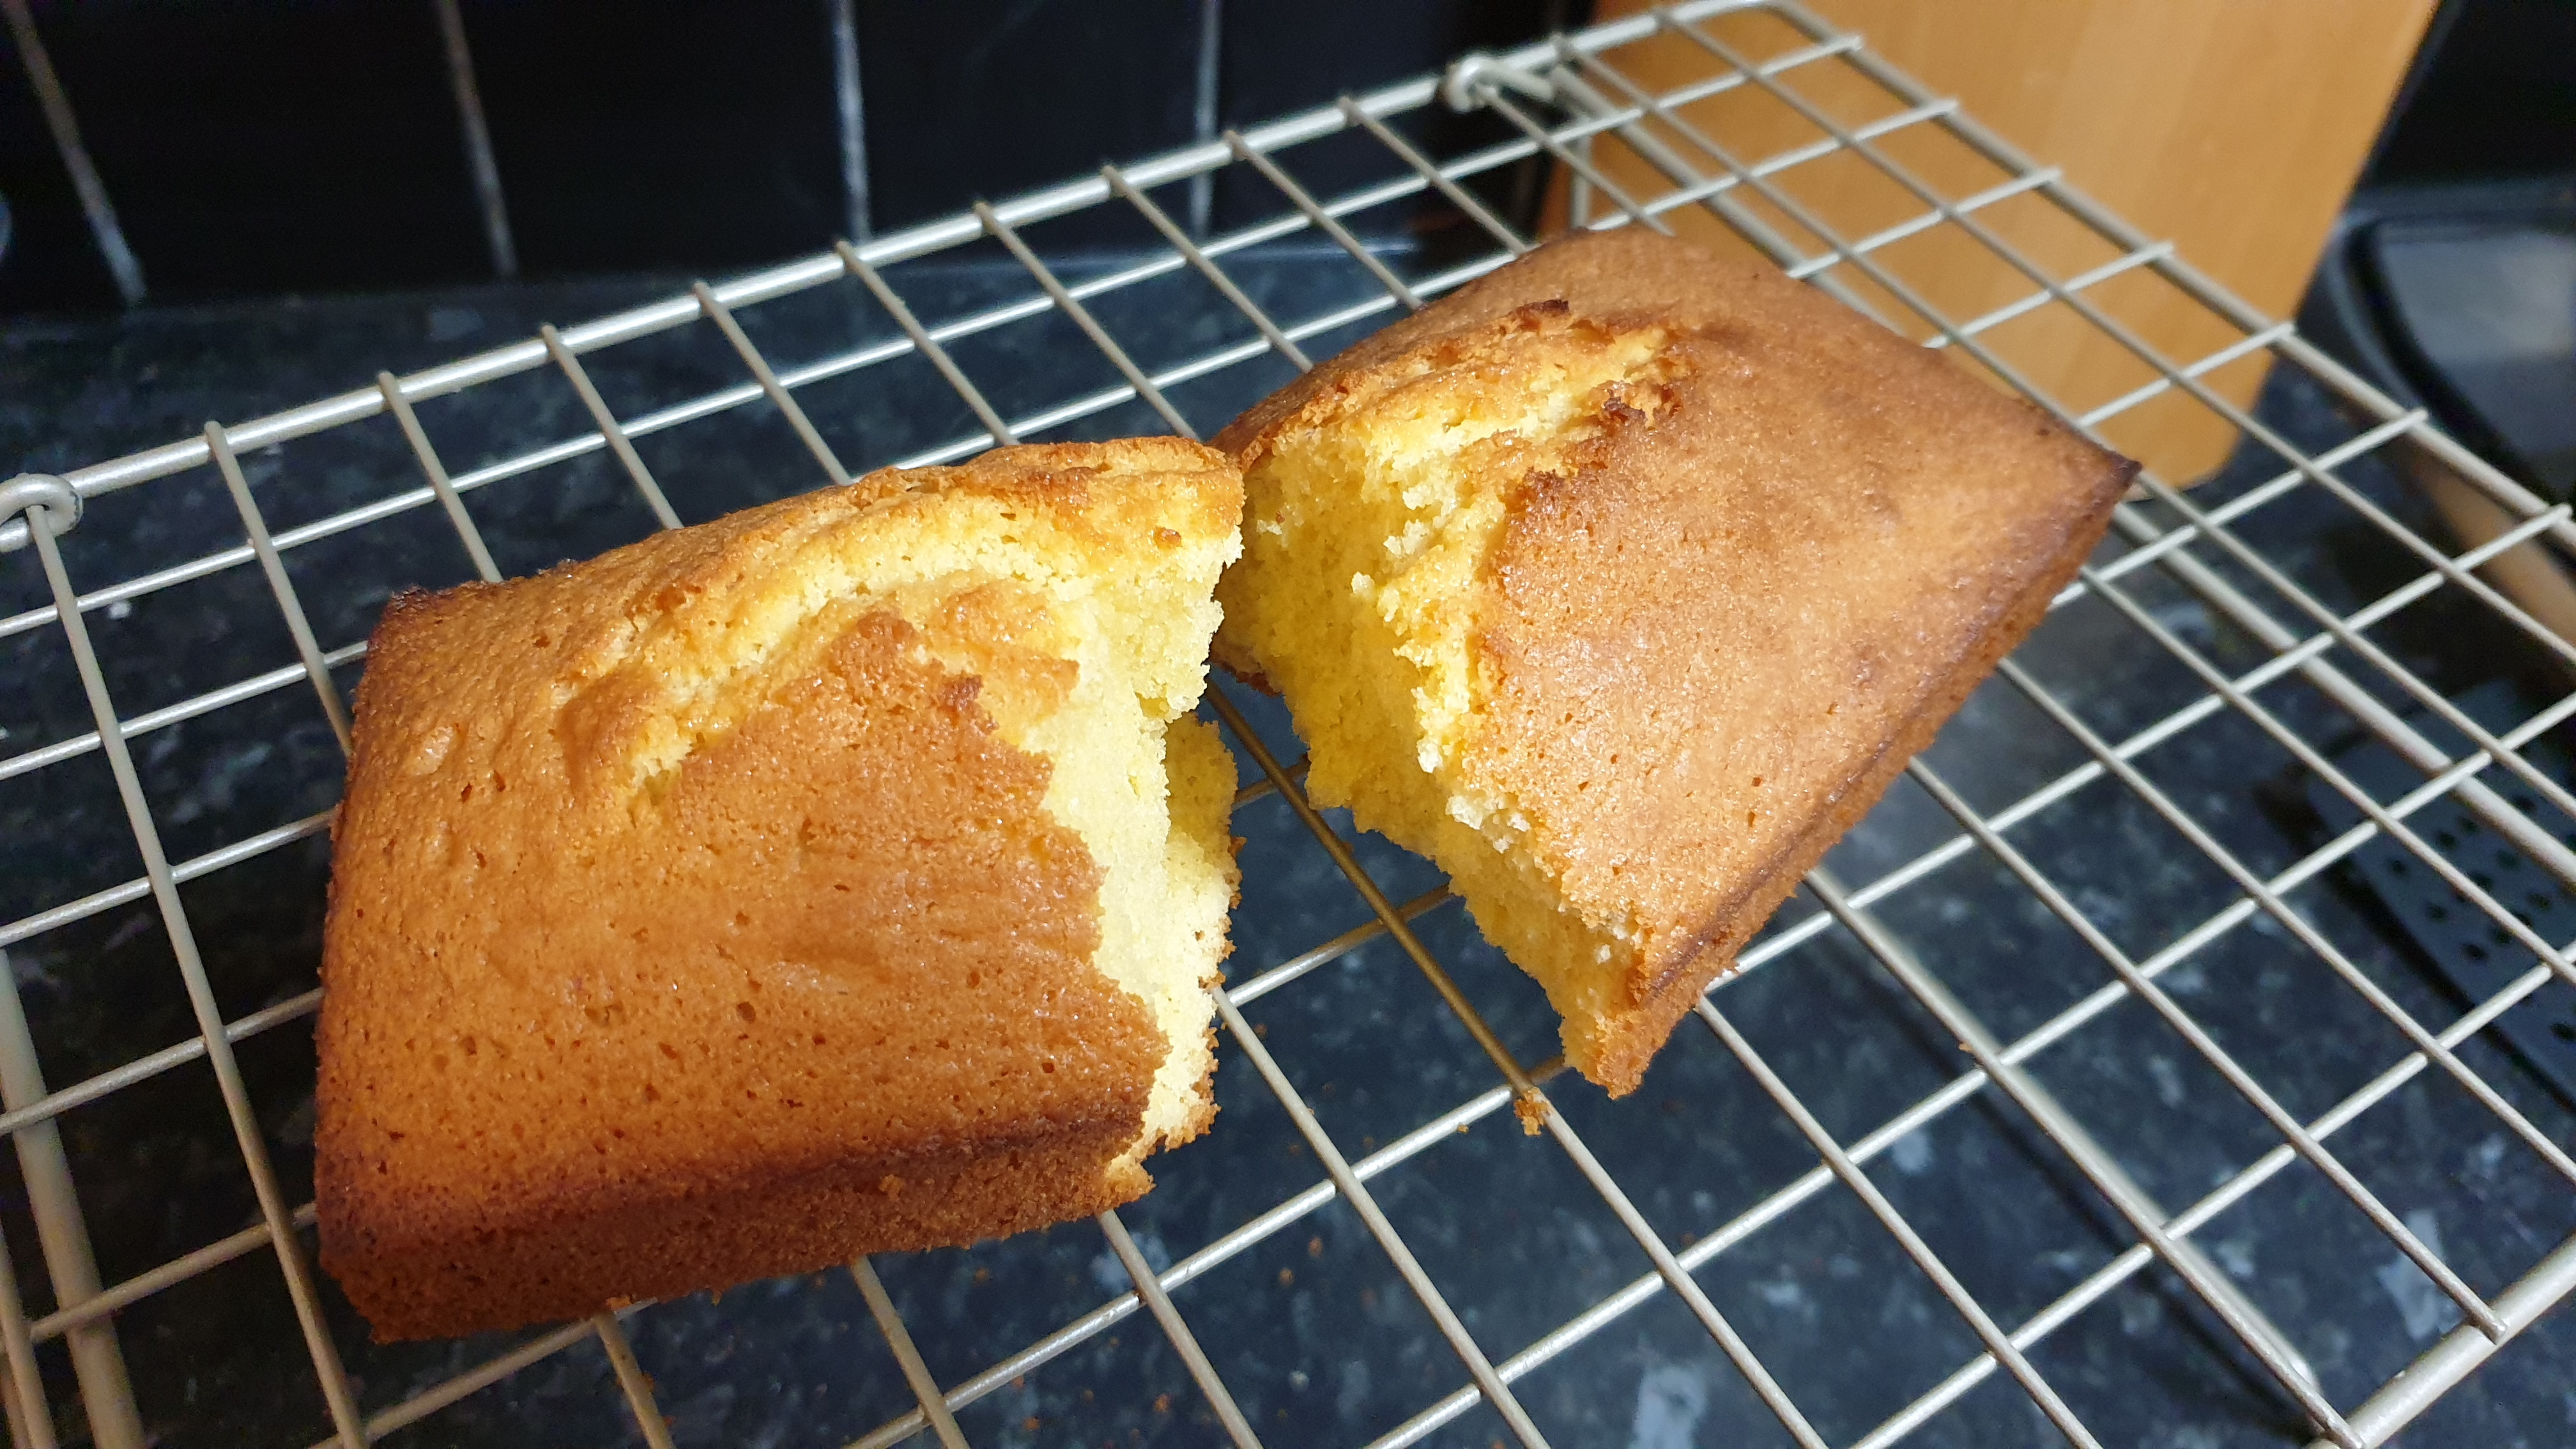
This was super easy to follow. I didn’t rush it, as is sometimes my way (not hard to see why I don’t always get it right!) and took extra time to properly cream the butter and sugar. It took longer than the recipe said to cook for, but I have a fan assisted oven these days and didn’t think to check the difference. Although, I didn’t use a flat cake tin, instead using a loaf tin, so that is probably why. However, I know to test the cake center with a knife to make sure cooked and gave it another 15 minutes.

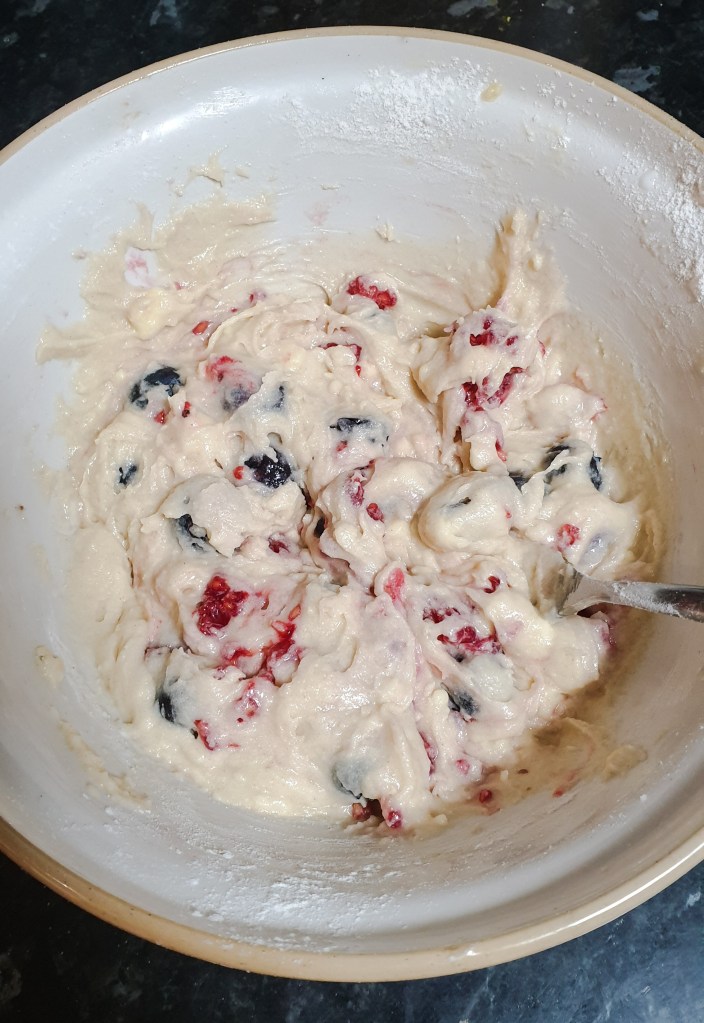
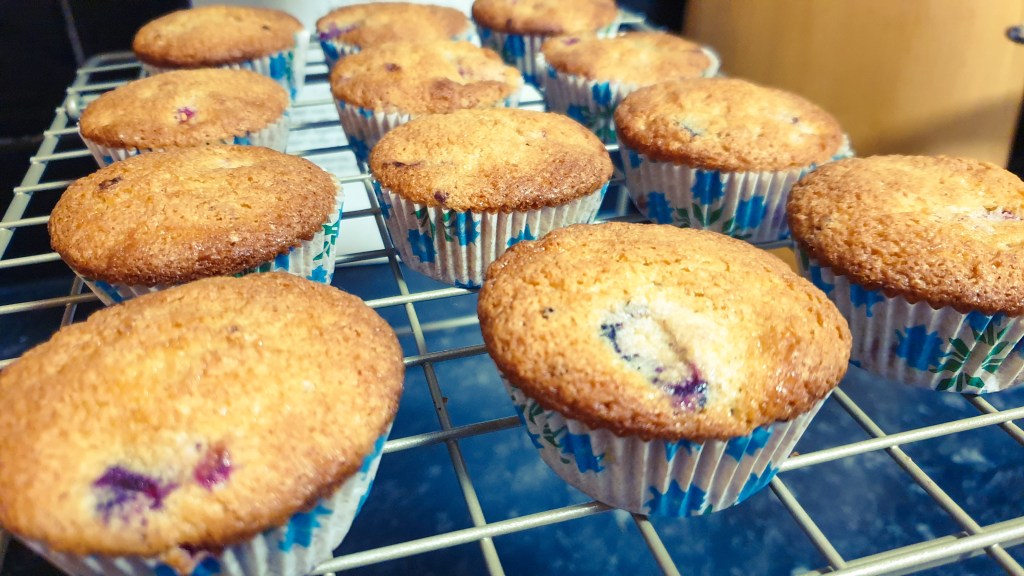
It was so light I was surprised, I also make banana bread now and again and that is extremely dense and heavy. The flavour was also perfect. I had been concerned about the vanilla extract as the recipe doesn’t state a quantity, so I went with 1 teaspoon and it worked well.
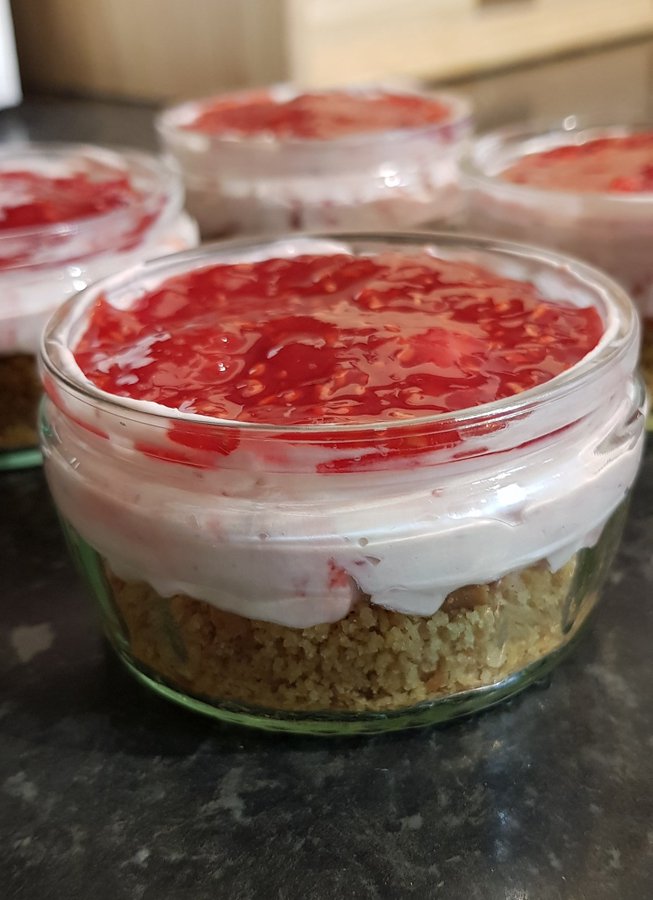
It was enjoyed with fresh whipped cream and strawberry jam. As many would agree it should be. My winter sweet tooth has returned so there might be more…
(c) K Wicks
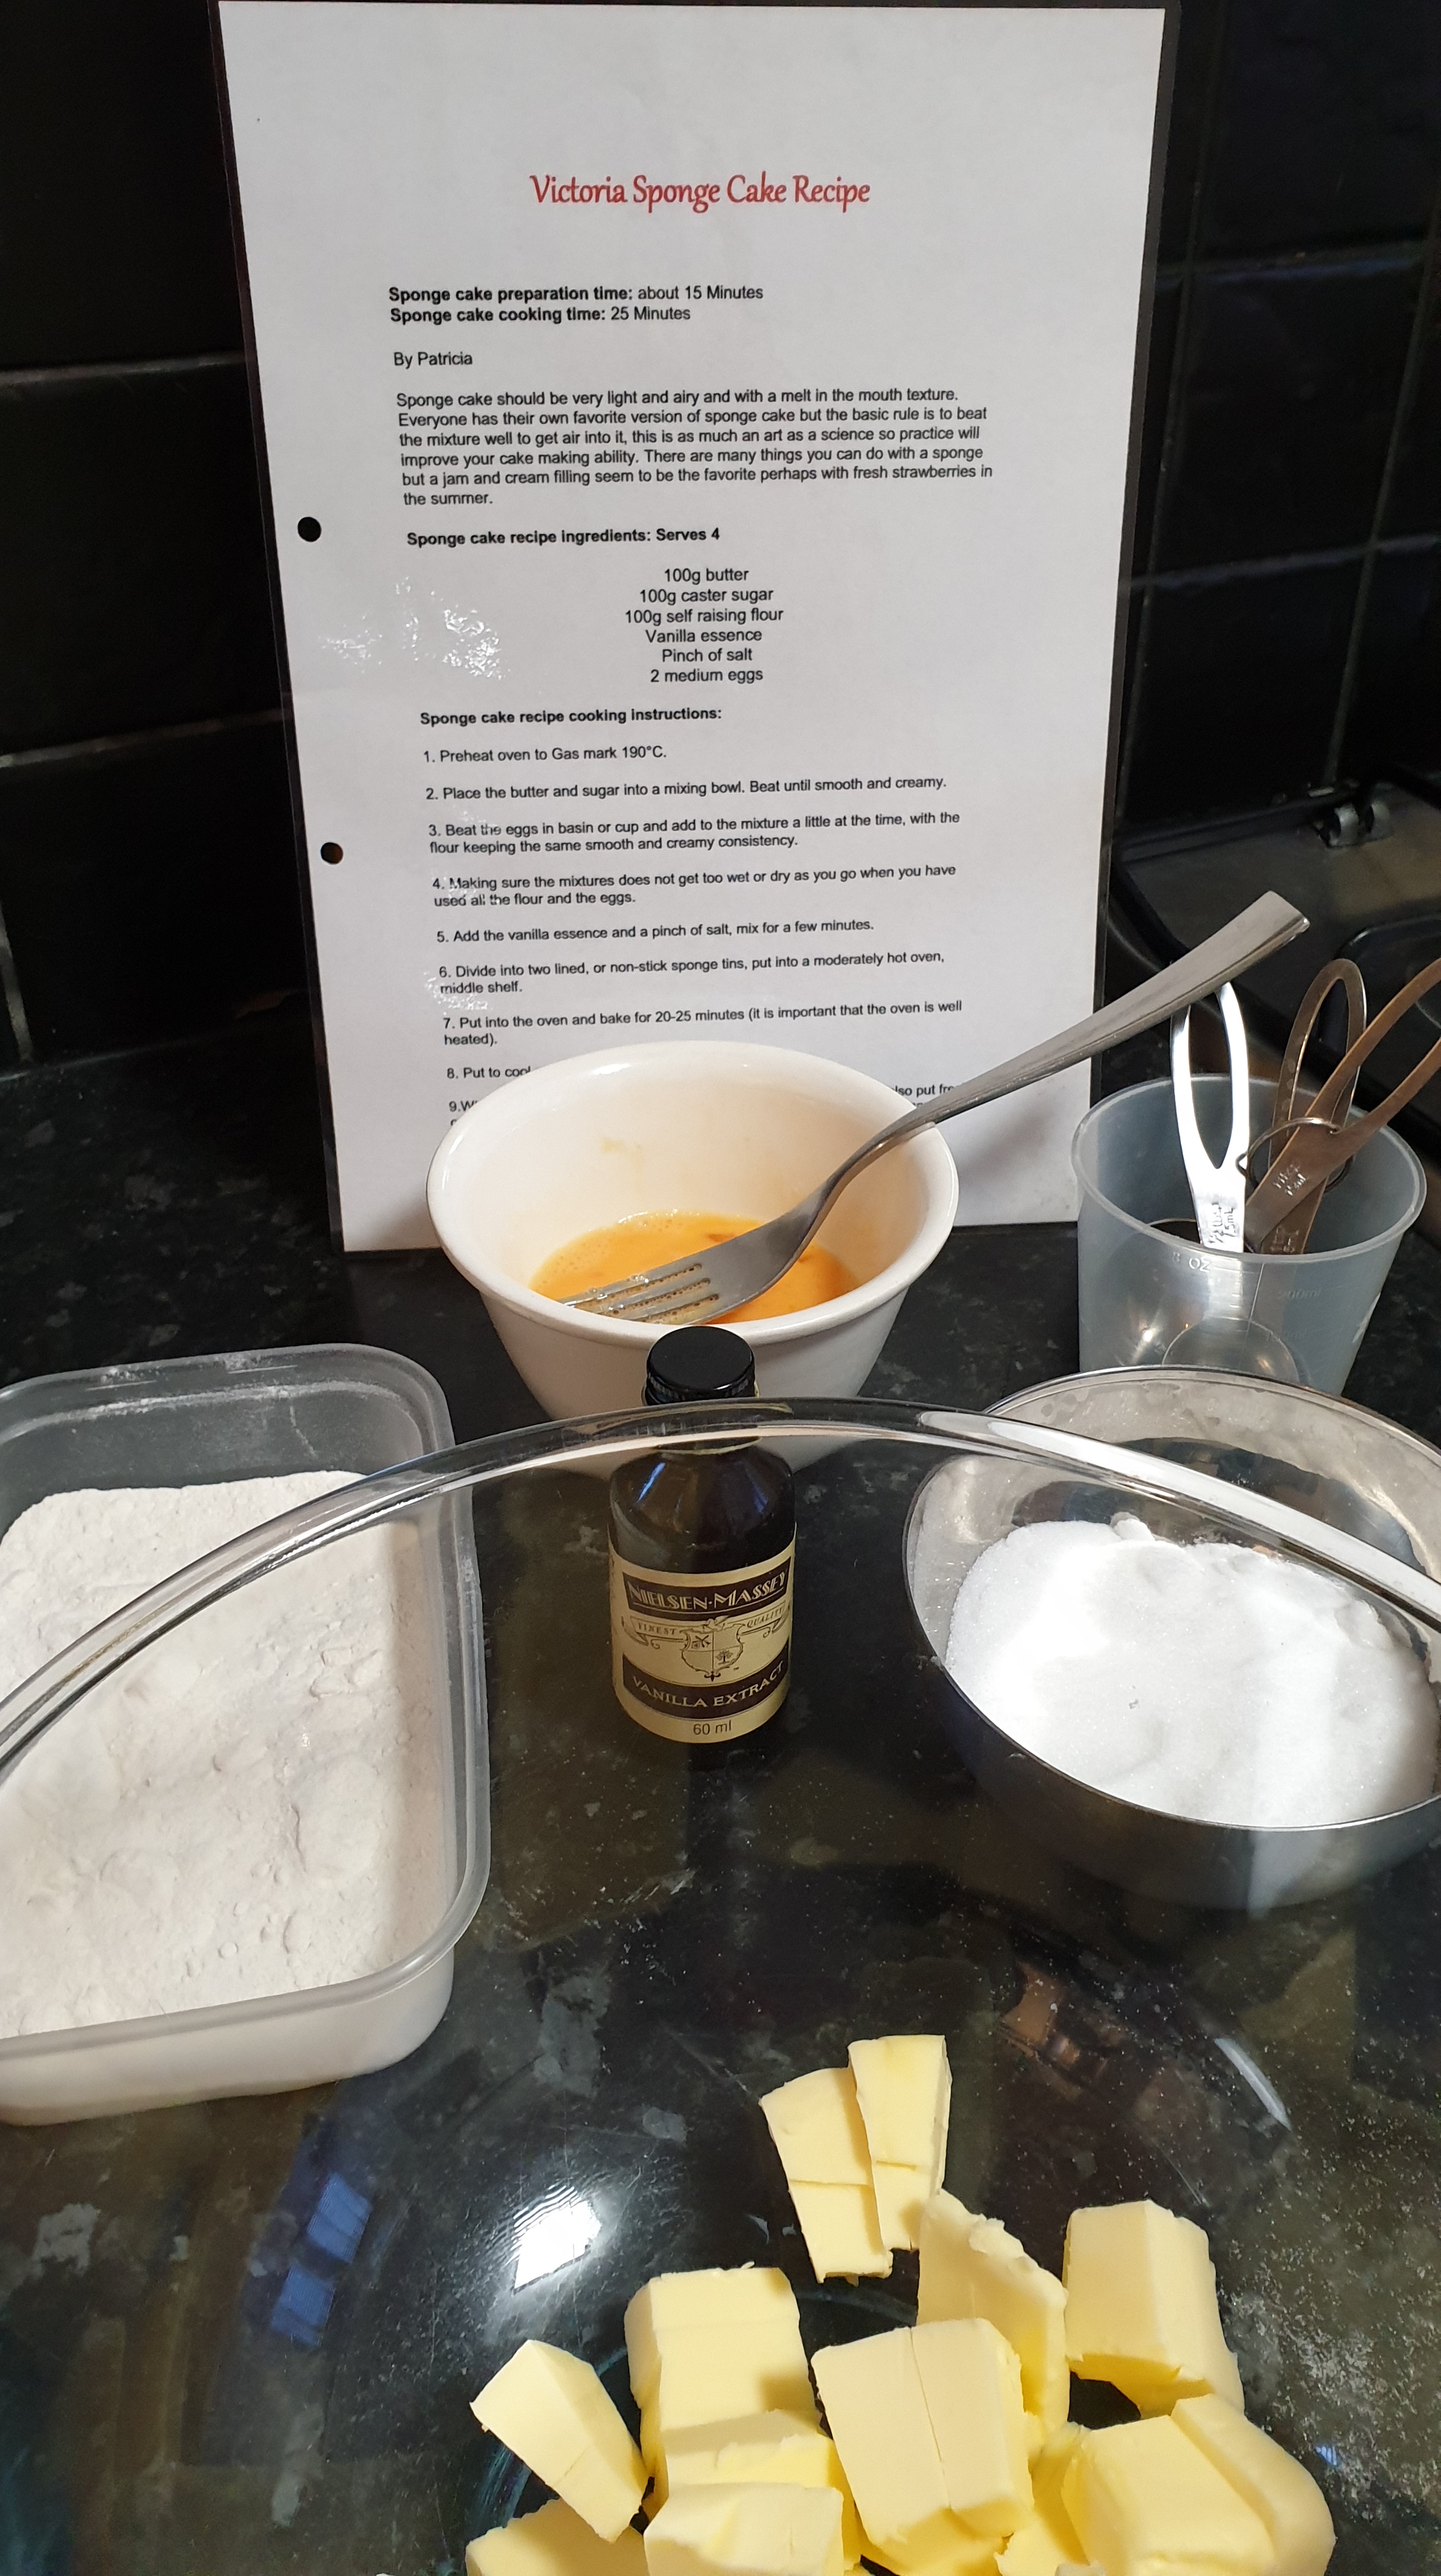
Victoria Sponge Cake Recipe
Sponge cake preparation time: about 15 Minutes
Sponge cake cooking time: 25 Minutes
By Patricia
Sponge cake should be very light and airy and with a melt in the mouth texture. Everyone has their own favorite version of sponge cake but the basic rule is to beat the mixture well to get air into it, this is as much an art as a science so practice will improve your cake making ability. There are many things you can do with a sponge but a jam and cream filling seem to be the favorite perhaps with fresh strawberries in the summer.
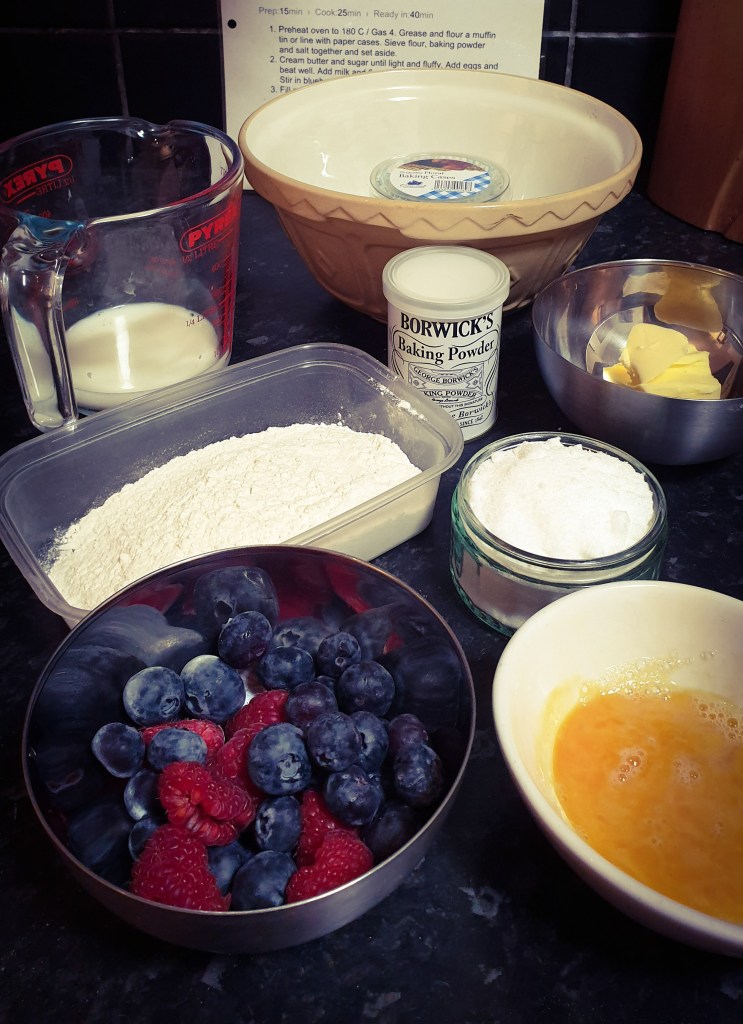
Sponge cake recipe ingredients: Serves 4
100g butter
100g caster sugar
100g self raising flour
Vanilla essence
Pinch of salt
2 medium eggs
Sponge cake recipe cooking instructions:
1. Preheat oven to Gas mark 190°C.
2. Place the butter and sugar into a mixing bowl. Beat until smooth and creamy.
3. Beat the eggs in basin or cup and add to the mixture a little at the time, with the flour keeping the same smooth and creamy consistency.
4. Making sure the mixtures does not get too wet or dry as you go when you have used all the flour and the eggs.
5. Add the vanilla essence and a pinch of salt, mix for a few minutes.
6. Divide into two lined, or non-stick sponge tins, put into a moderately hot oven, middle shelf.
7. Put into the oven and bake for 20-25 minutes (it is important that the oven is well heated).
8. Put to cool on a rack to cool.
9.When cool put one upside down on a plate spread with jam, you can also put fresh cream in at this stage, put the other piece on the top and dust with icing sugar.