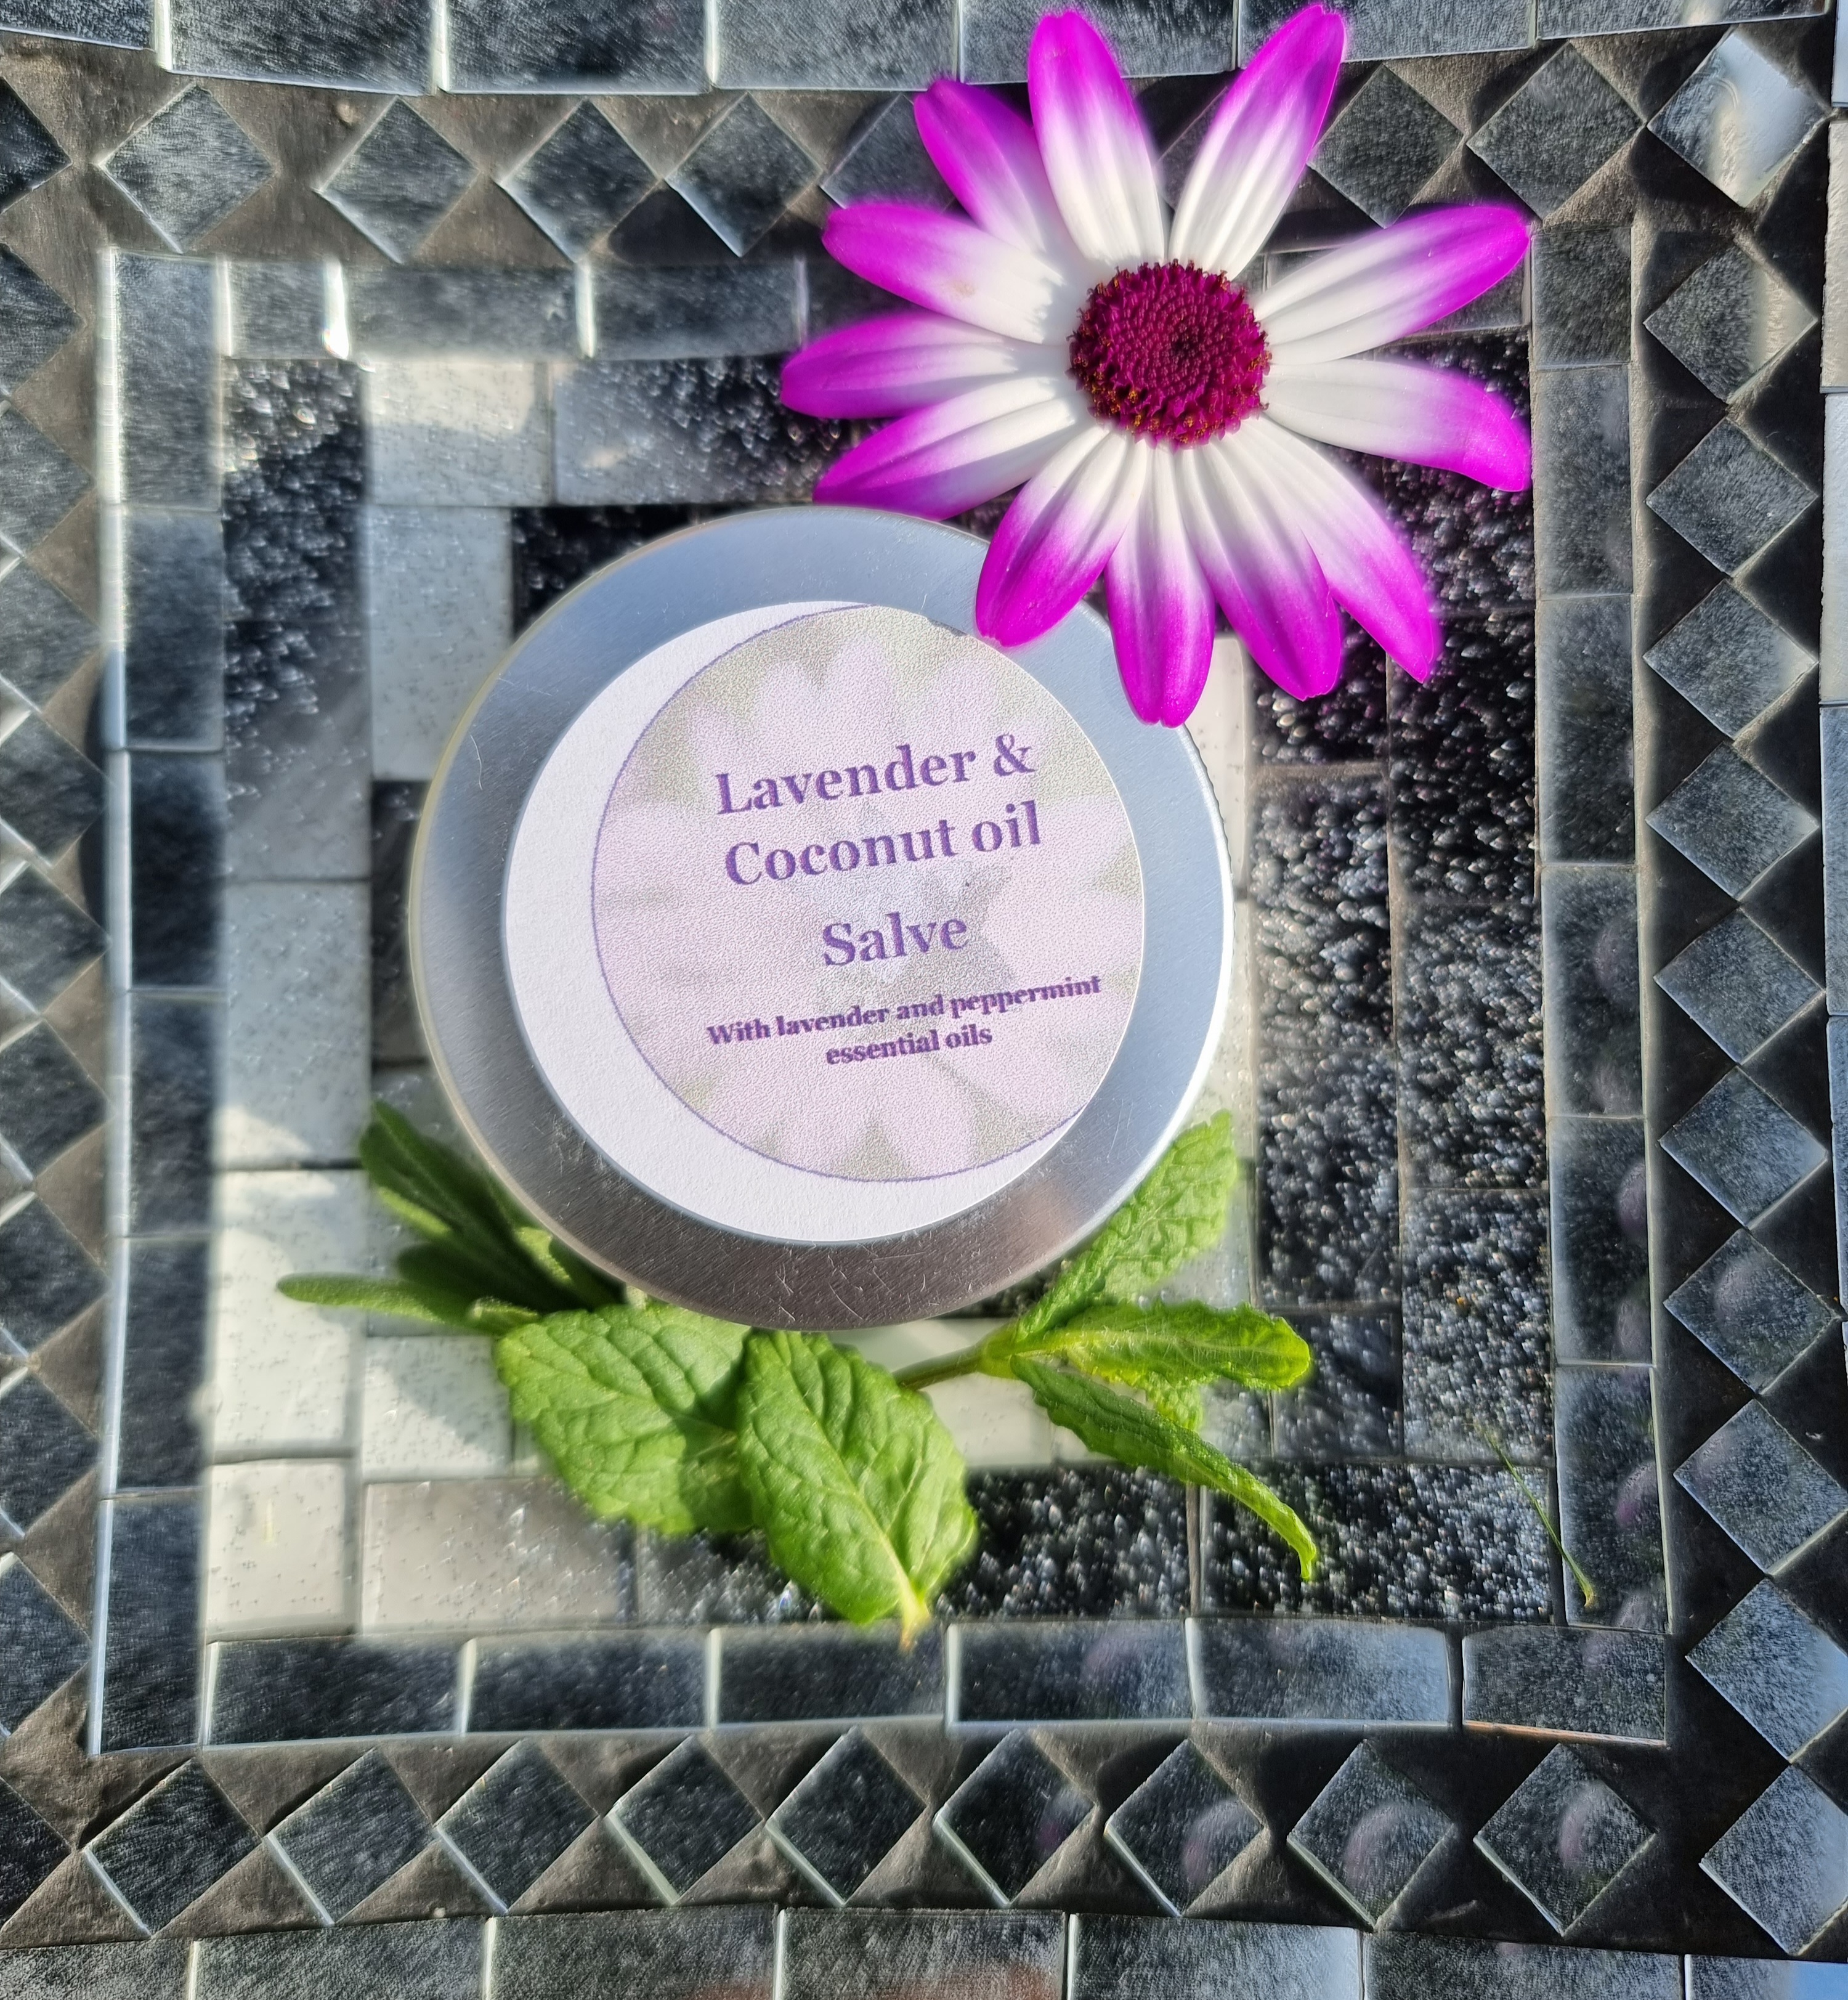
I’m in love with these salves 😍 and with making them! I have now got daisies, calendula, lavender and chamomile infusing to make more. Also will have a mosquito balm, and tattoo salve coming up for the summer ☀️ 💚
On a bit of a mish for making things. Decided to go for moisturiser, having never really liked shop bought I tend to avoid it, but with making my own flower oils now, thought why not.
Only 4 ingredients. And a nice glass pot I found on ebay for not very much!
32g Shea Butter
1 tbsp dandelion infused oil
1 tbsp coconut oil
10 drop of essential oil – I’m pretty sure more than 10 hurtled out of the bottle, but it seemed ok.
(I chose orange essential oil for this one having bought a small selection last week).
Melt together in a double boiler and stir in the essential oil after, then pour into the glass jar and put in the fridge to set overnight (or for 6-8 hours), apparently setting it in the fridge bit is important, as it prevents is separating when it softens.
It does go quite soft once out of the fridge, but can be kept at room temperature and they say lasts for around 6 months. A small amount go a long way.
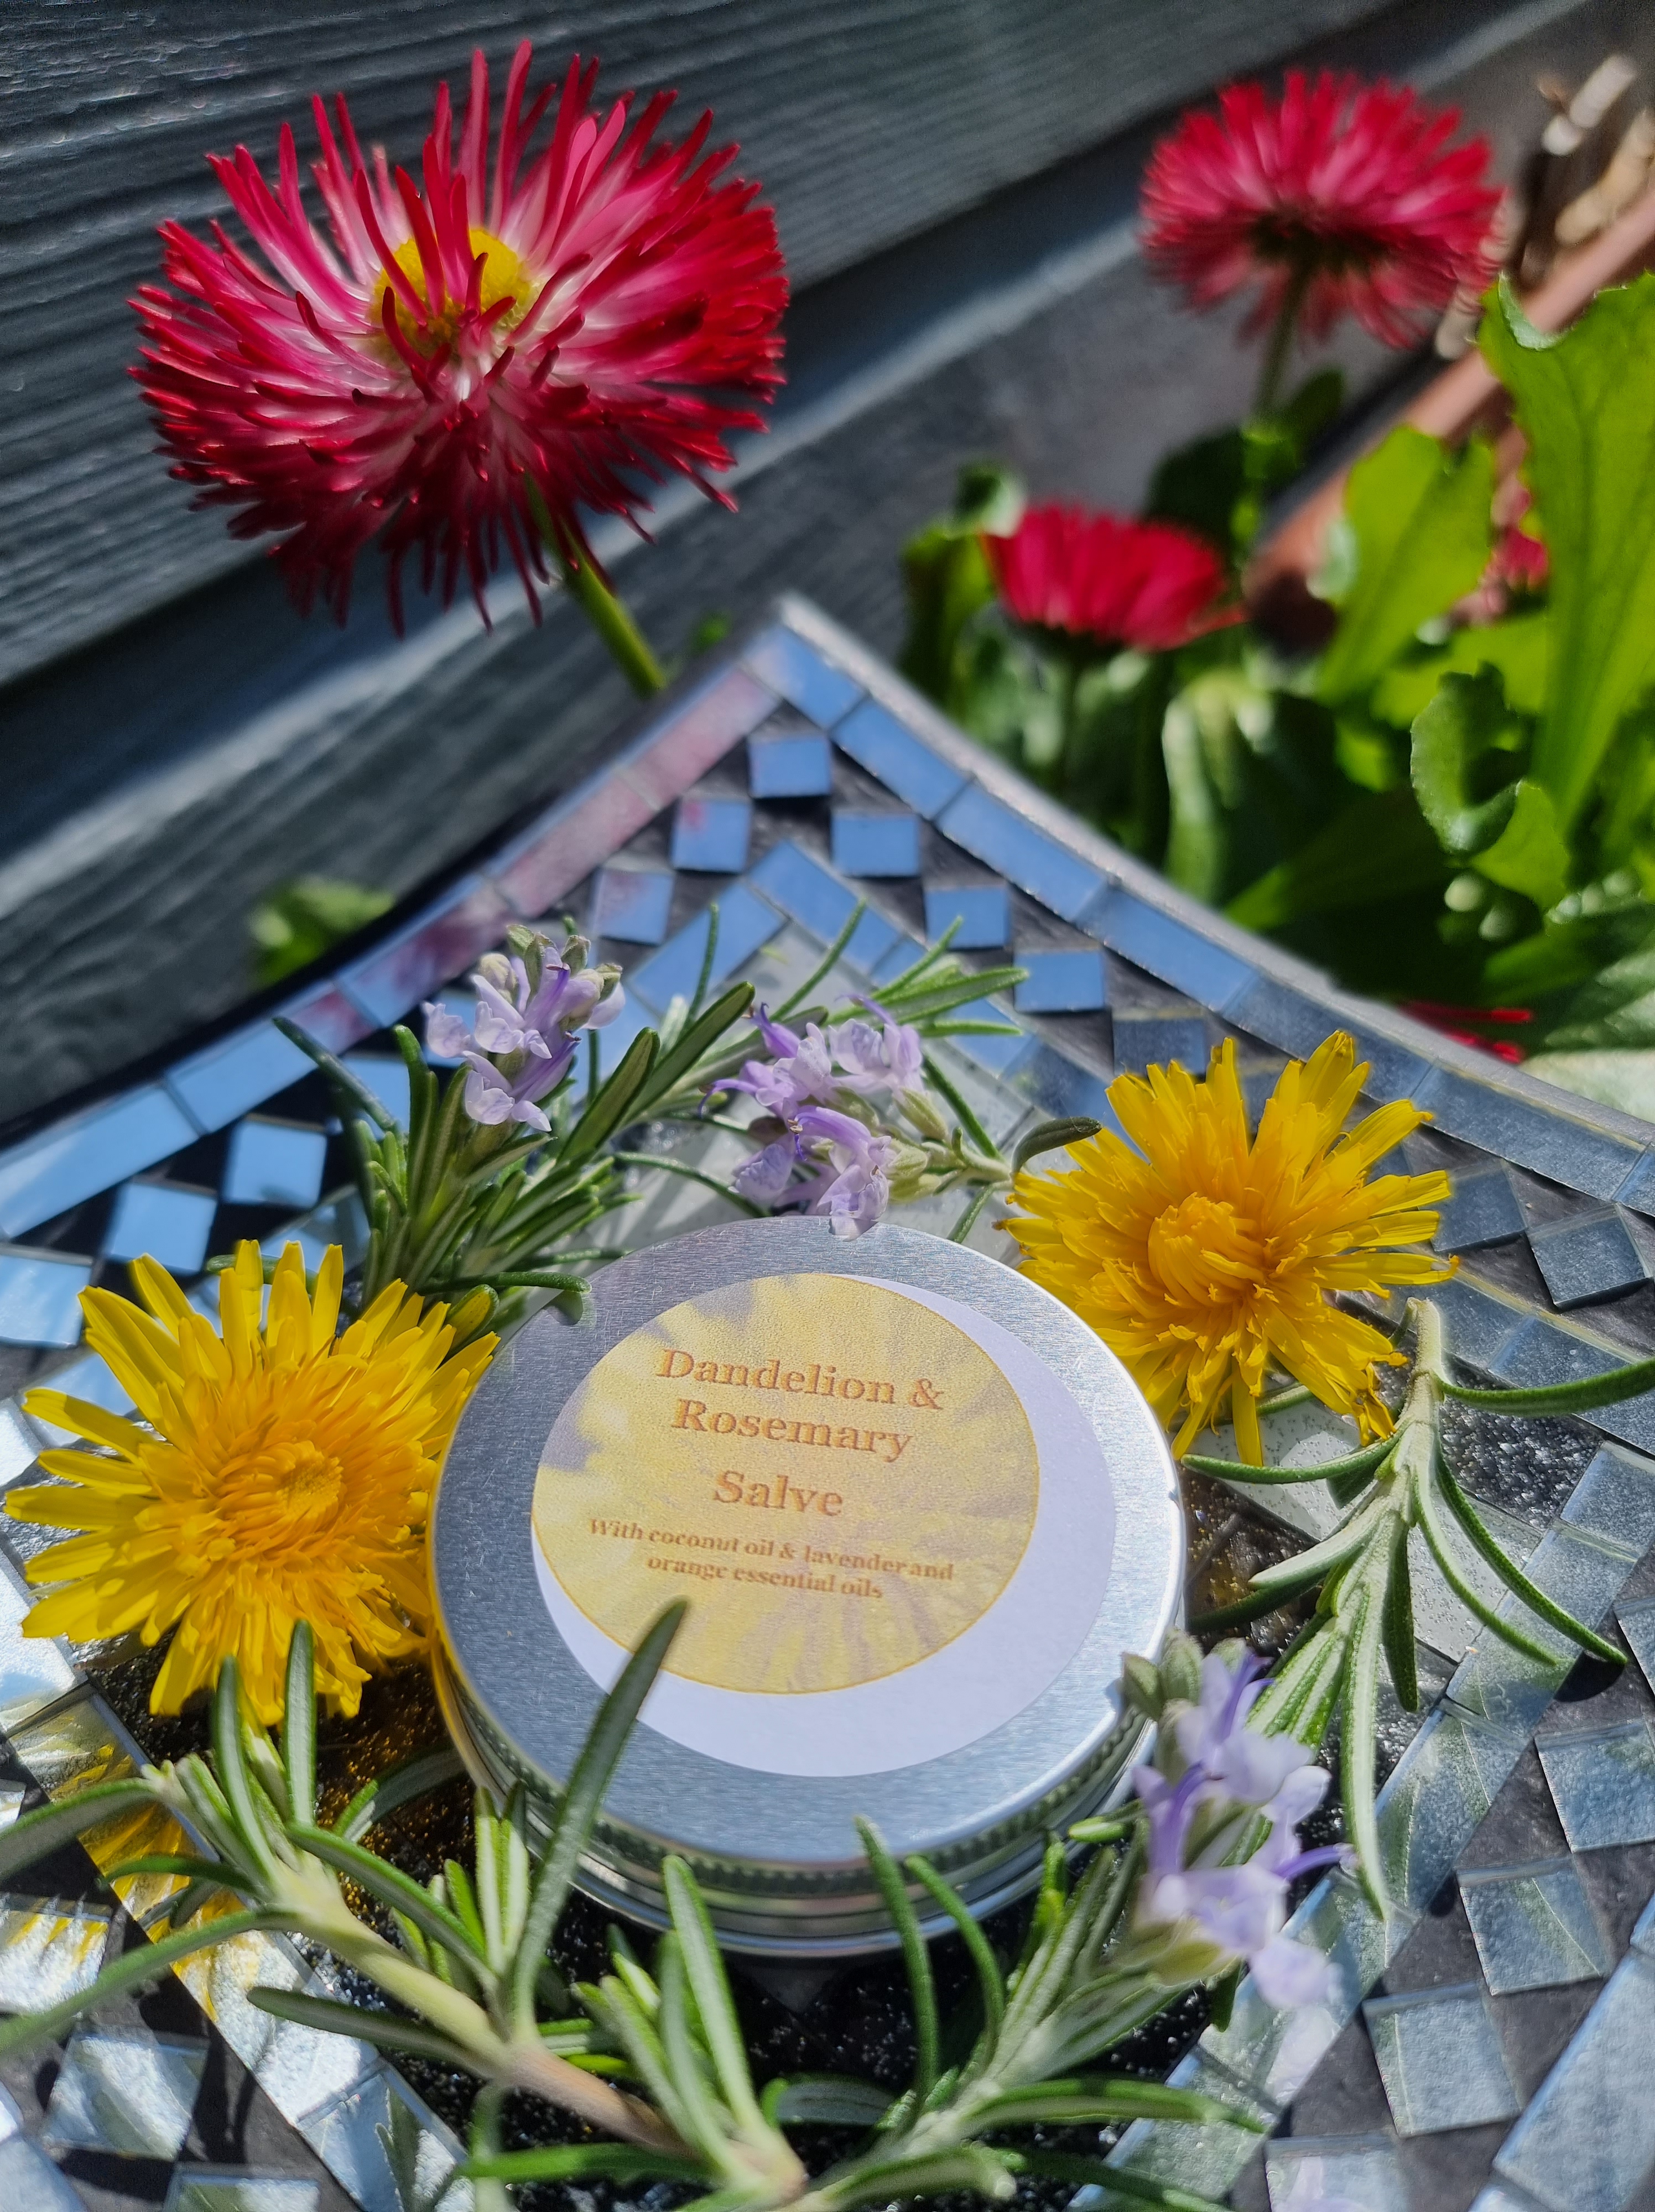
In the quest for learning to make things yourself, I decided to make use of herbs and flowers. A dandelion salve seemed a good choice as we now have an abundance of them popping up. Make sure to always leave enough for the bees. It’s been a cold start to the season and the early ones and other pollinators will need them. Note – don’t pick dandelions that have been sprayed with pesticides, or that are exposed to domestic animals, or kerbside.
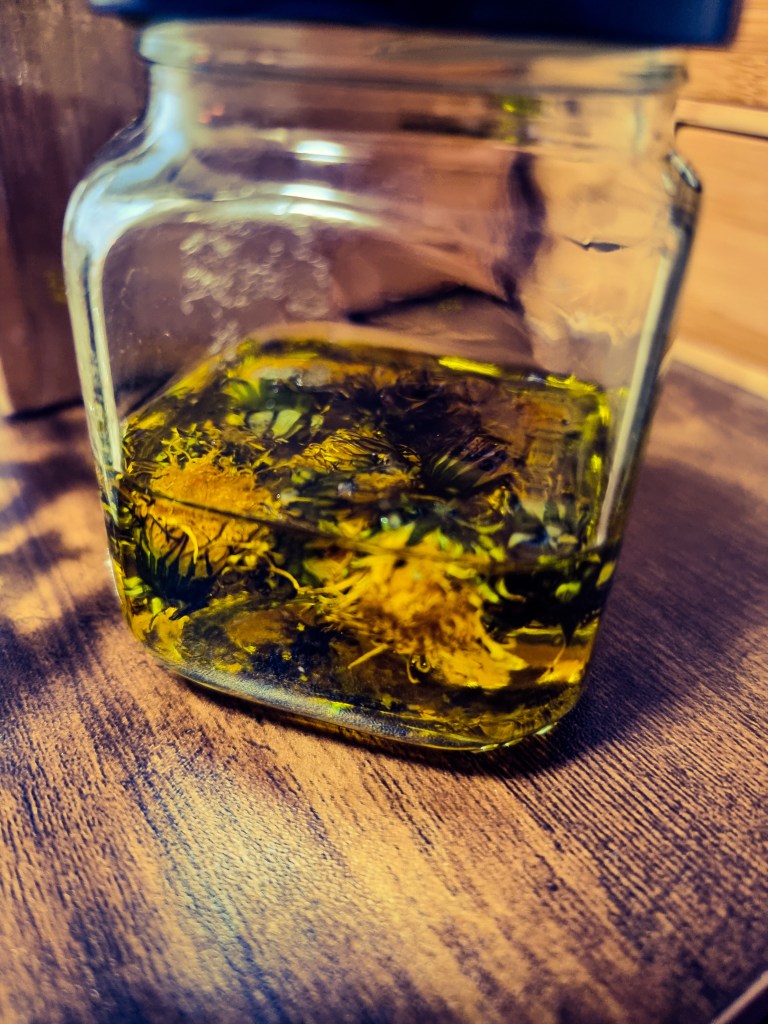
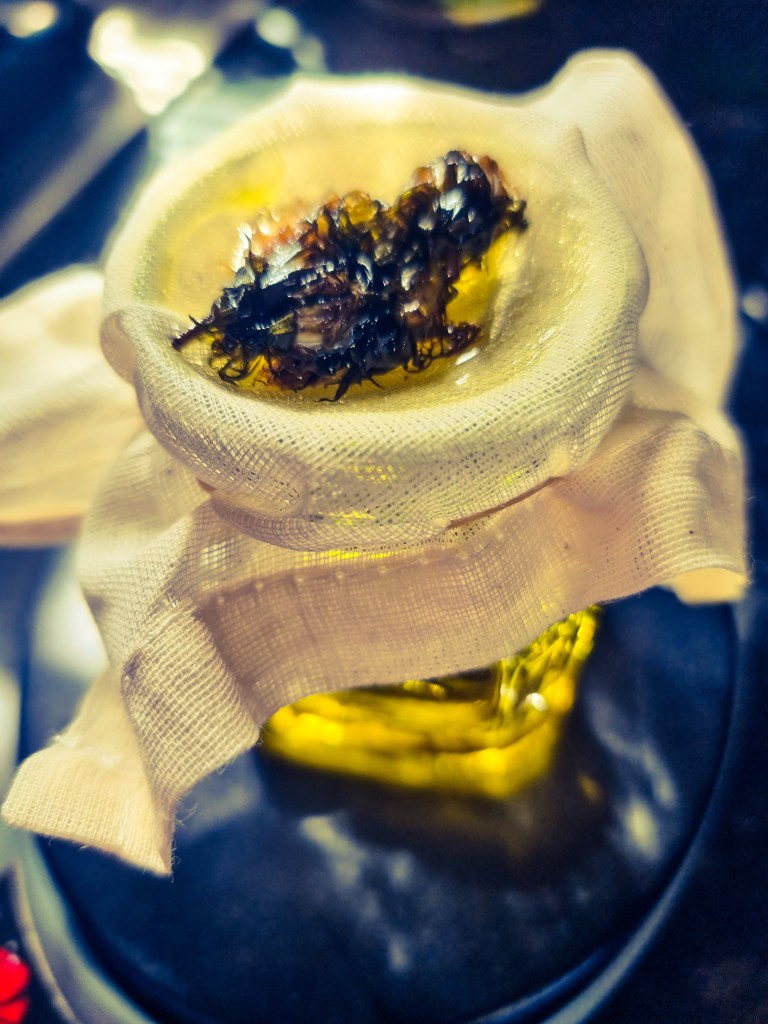
They need to be dried, for a day or so (and good to leave them outside for a little while after picking to let any bugs escape). Then put then in a jar and cover with olive oil (or any carrier oil of choice), to infuse for a week or two. Shake lightly every day and put on a sunny sill if available.
Then drain the oil through some cheesecloth to get all the bits out.
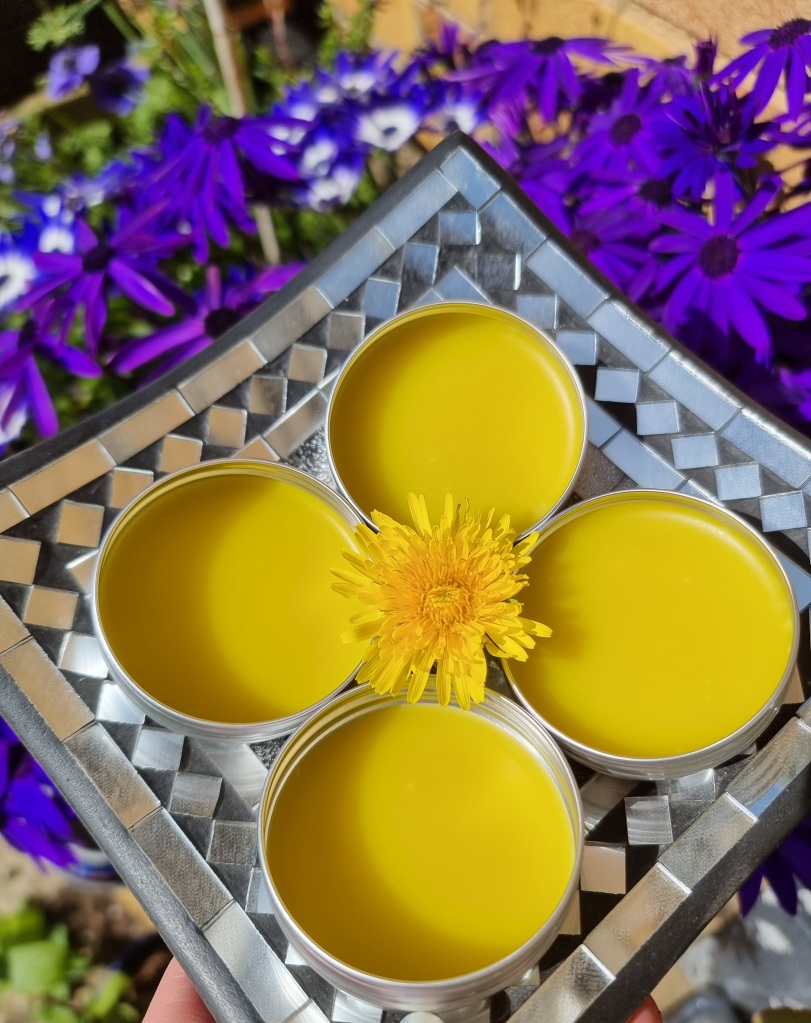
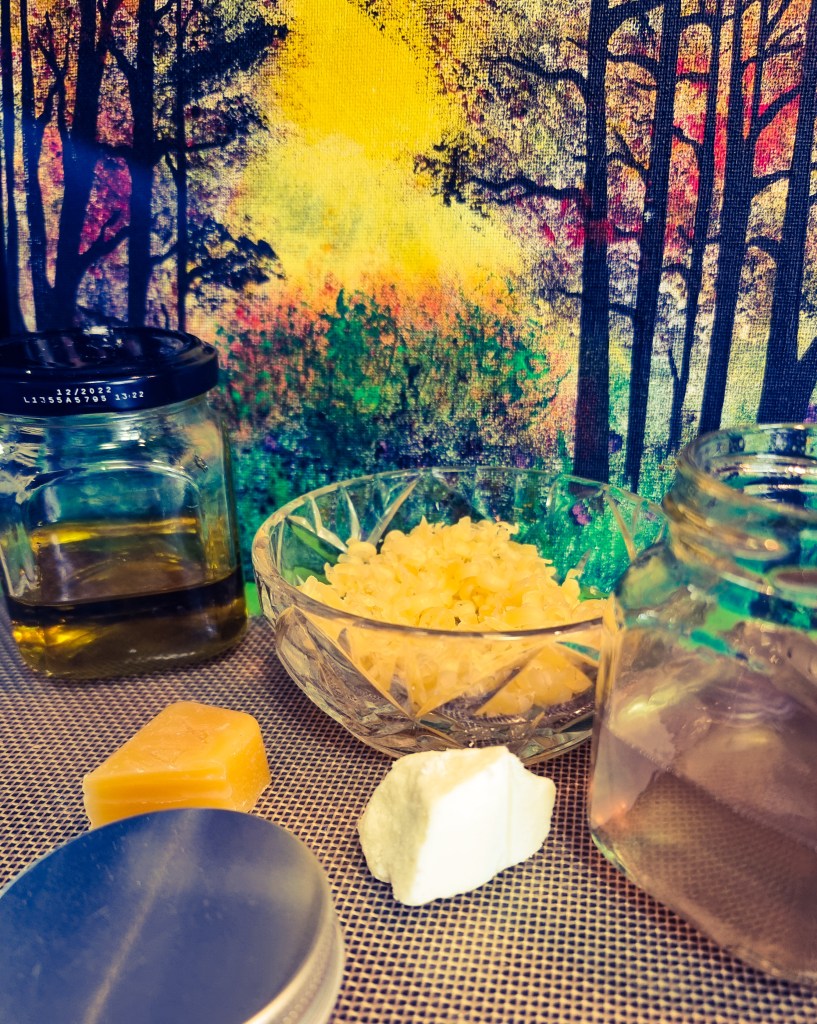
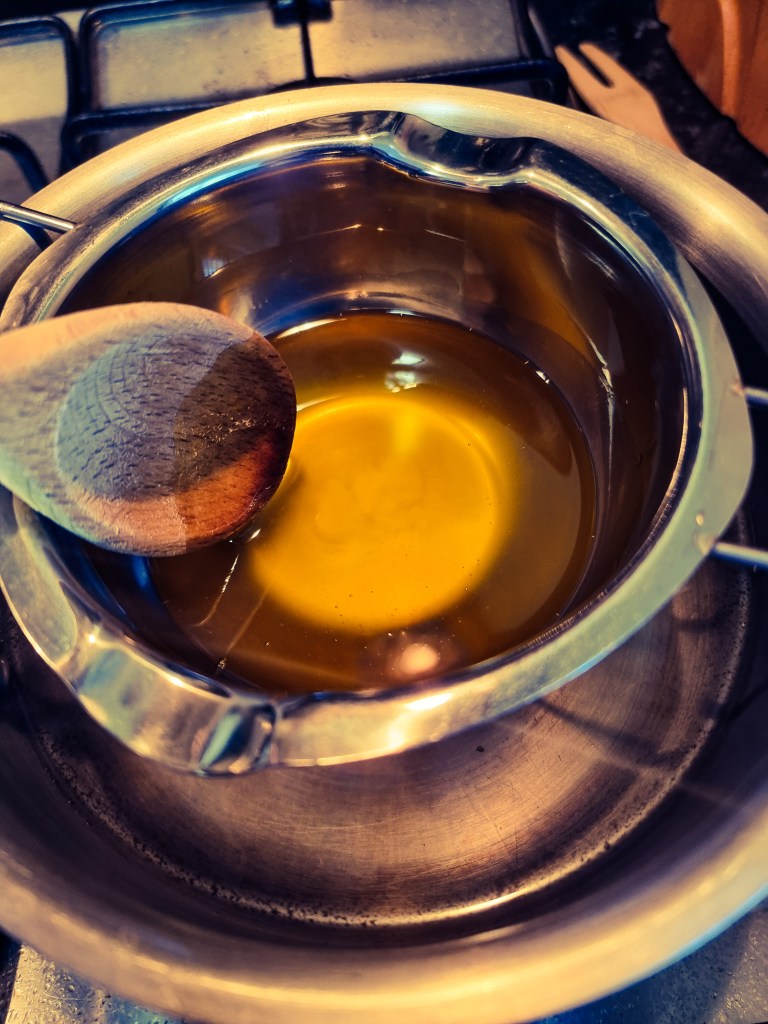
Add beeswax, the oil, a small bit of shea butter and essential oils if you want, melt together until the wax is dissolved using a double boiler.
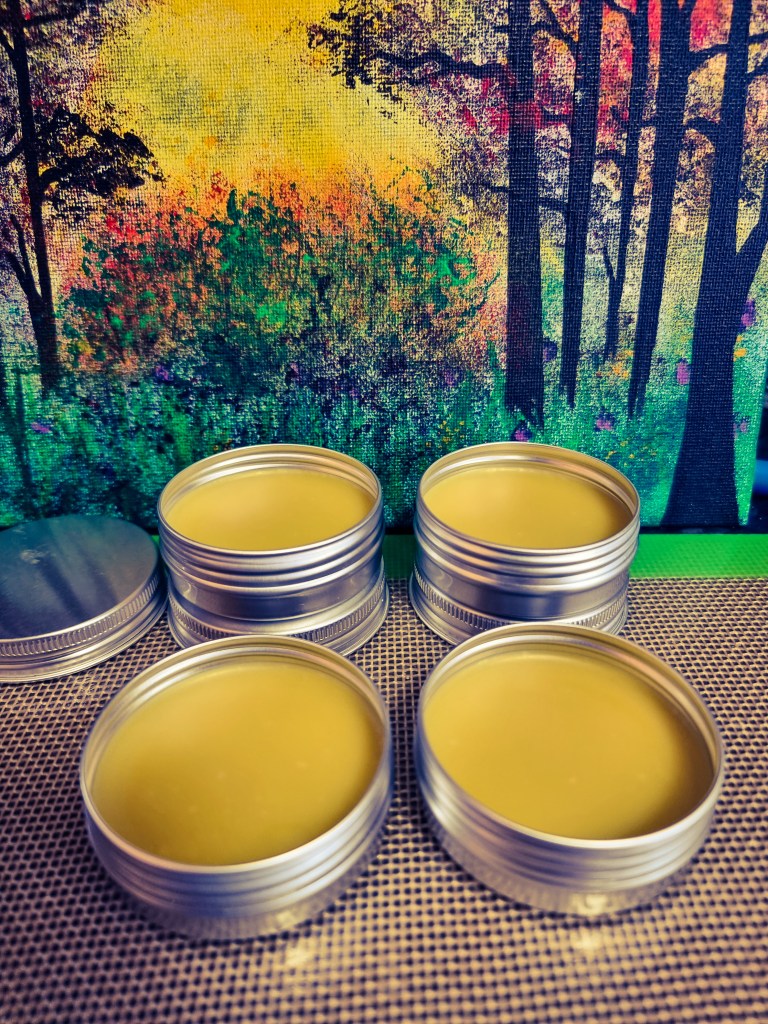
Then pour into containers. Leave to set for half an hour, job done.
I actually put a bit of homemade lavender coconut oil in as well for some extra aroma as I don’t have any essential oils. Also have some rosemary and dandelion infusing currently so will see how that combo turns out next week.
This recipe was
42.2g dandelion infused olive oil
14.8g beeswax
9.2g shea butter
2.5 tps of lavender infused coconut oil
It can be tinkered with and adapted as necessary they say, but it’s a start. YouTube vids are good for tips and techniques as well.
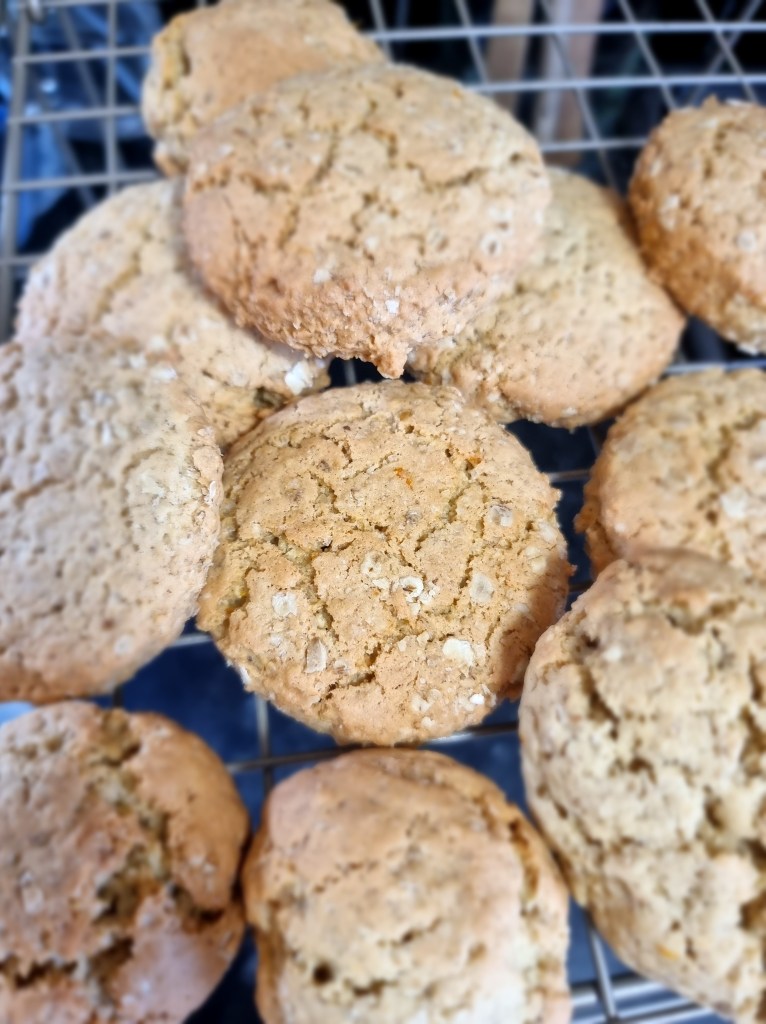
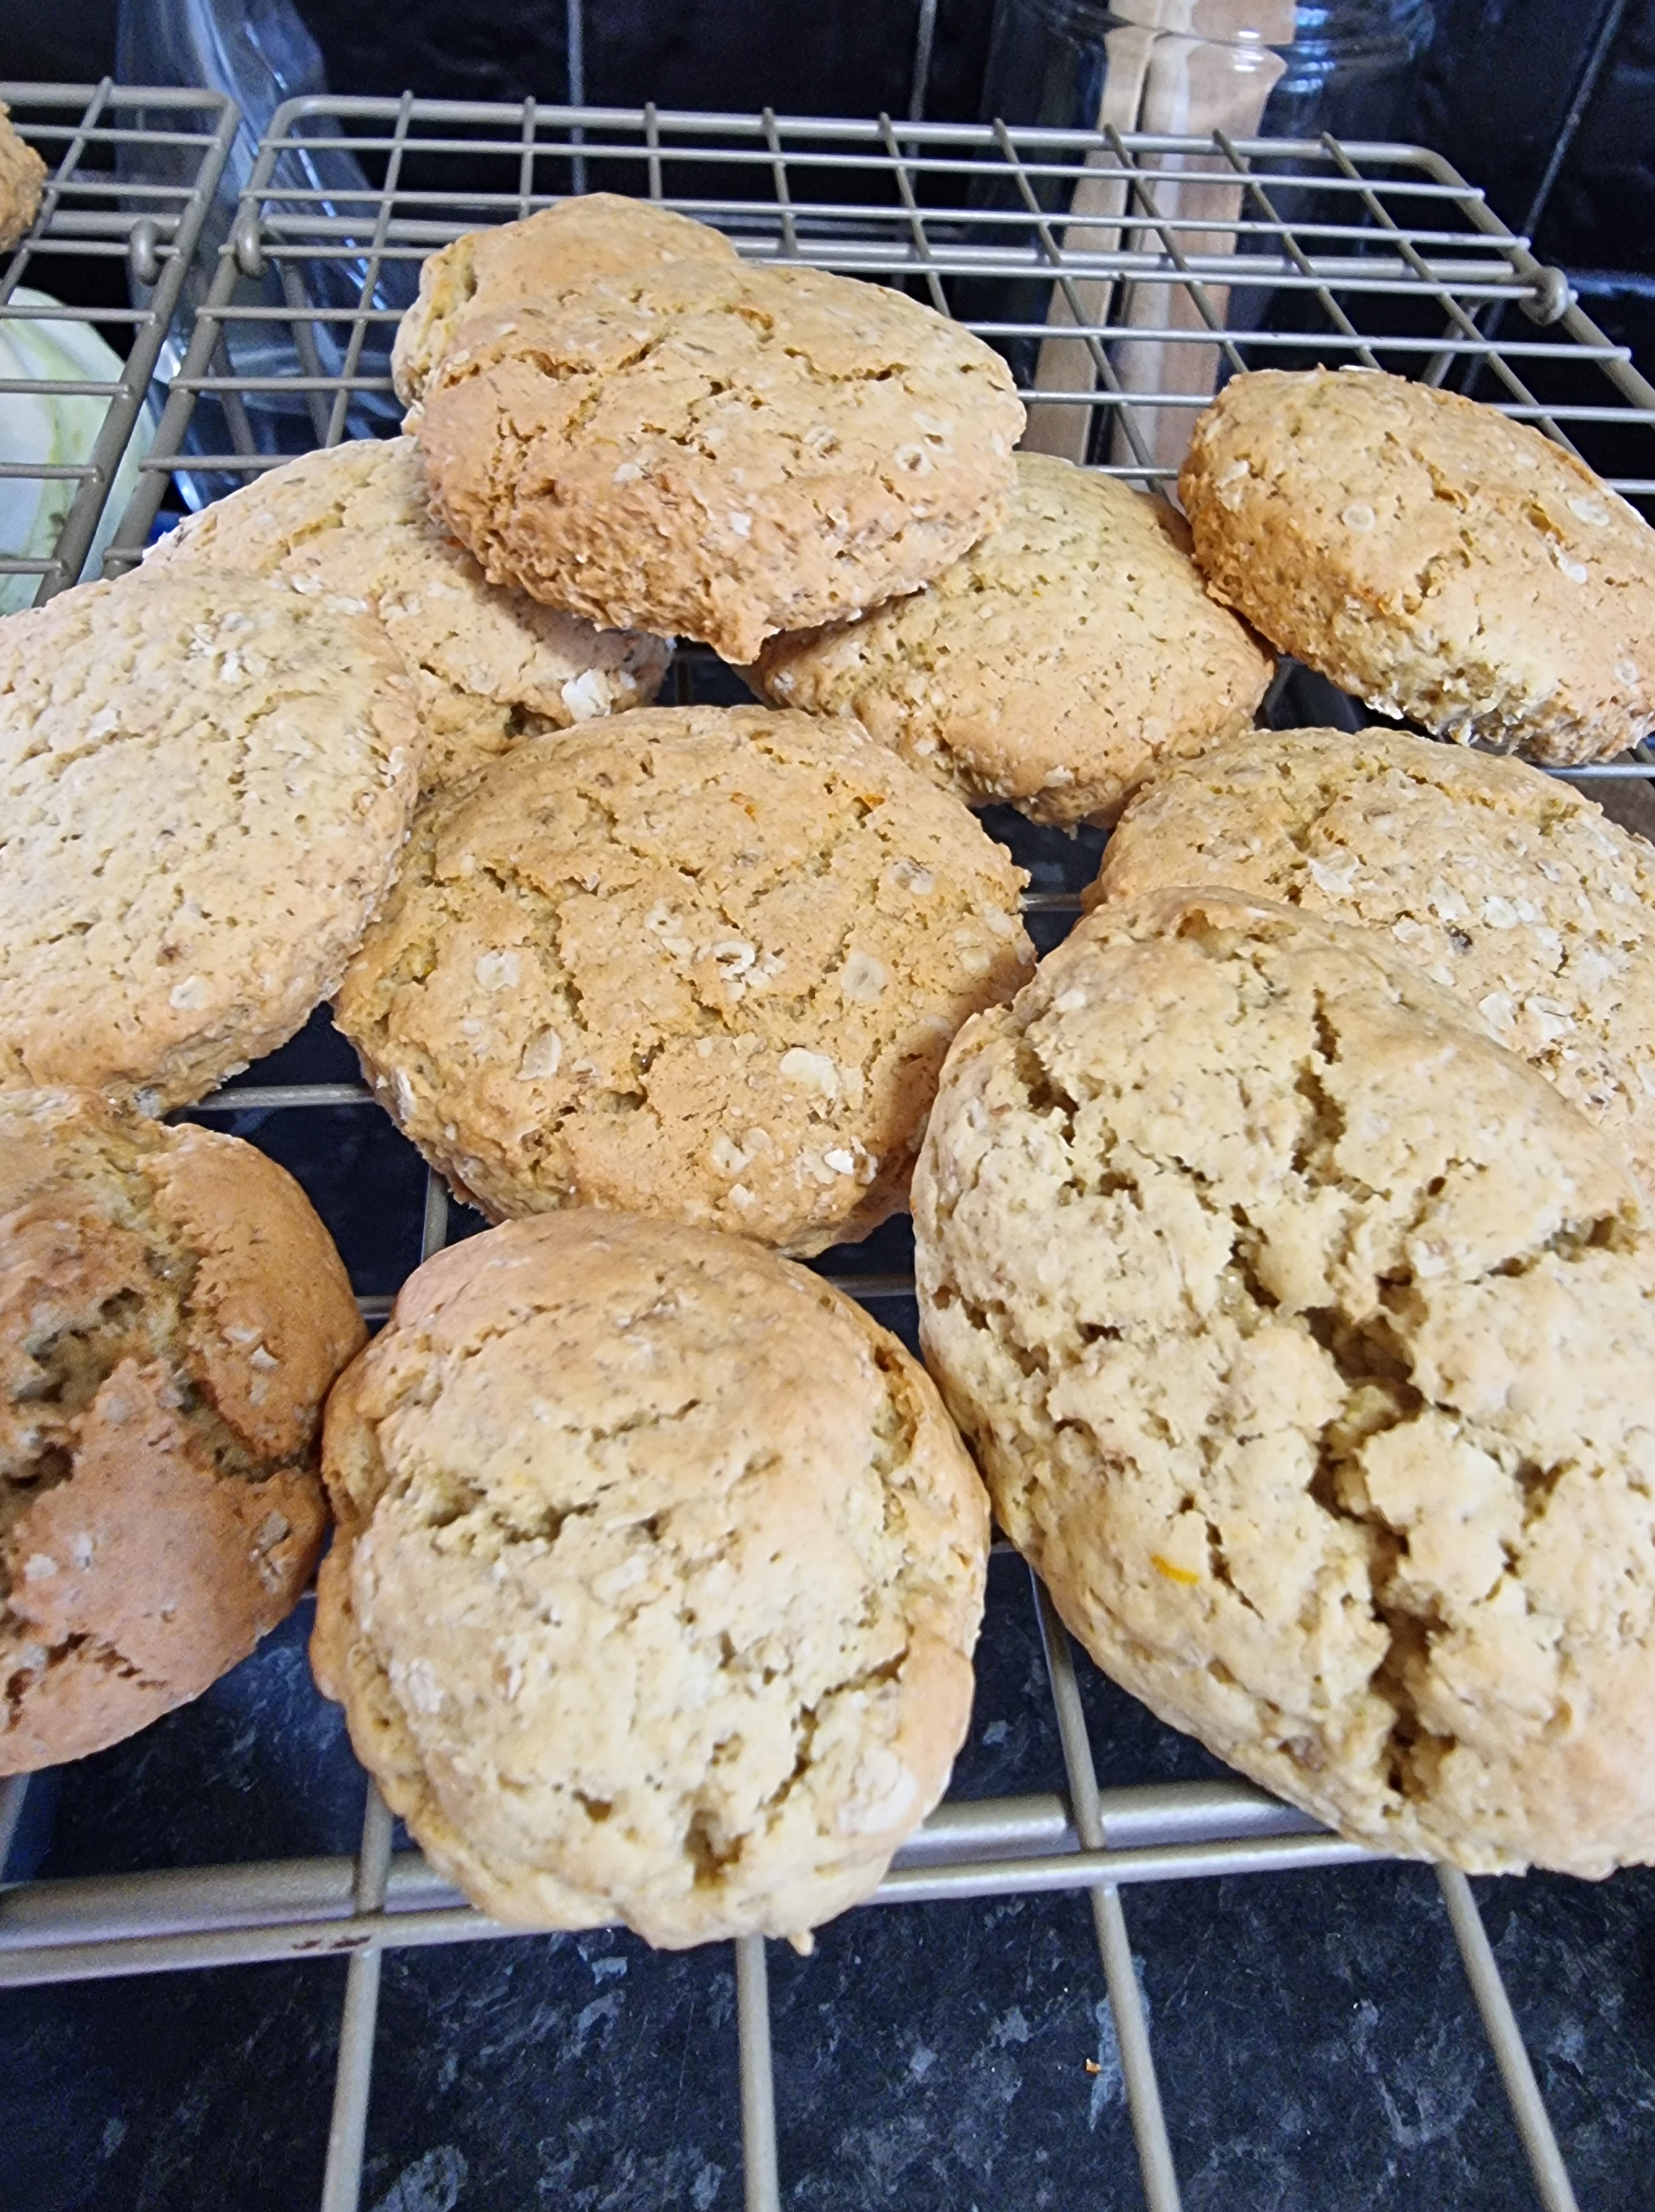
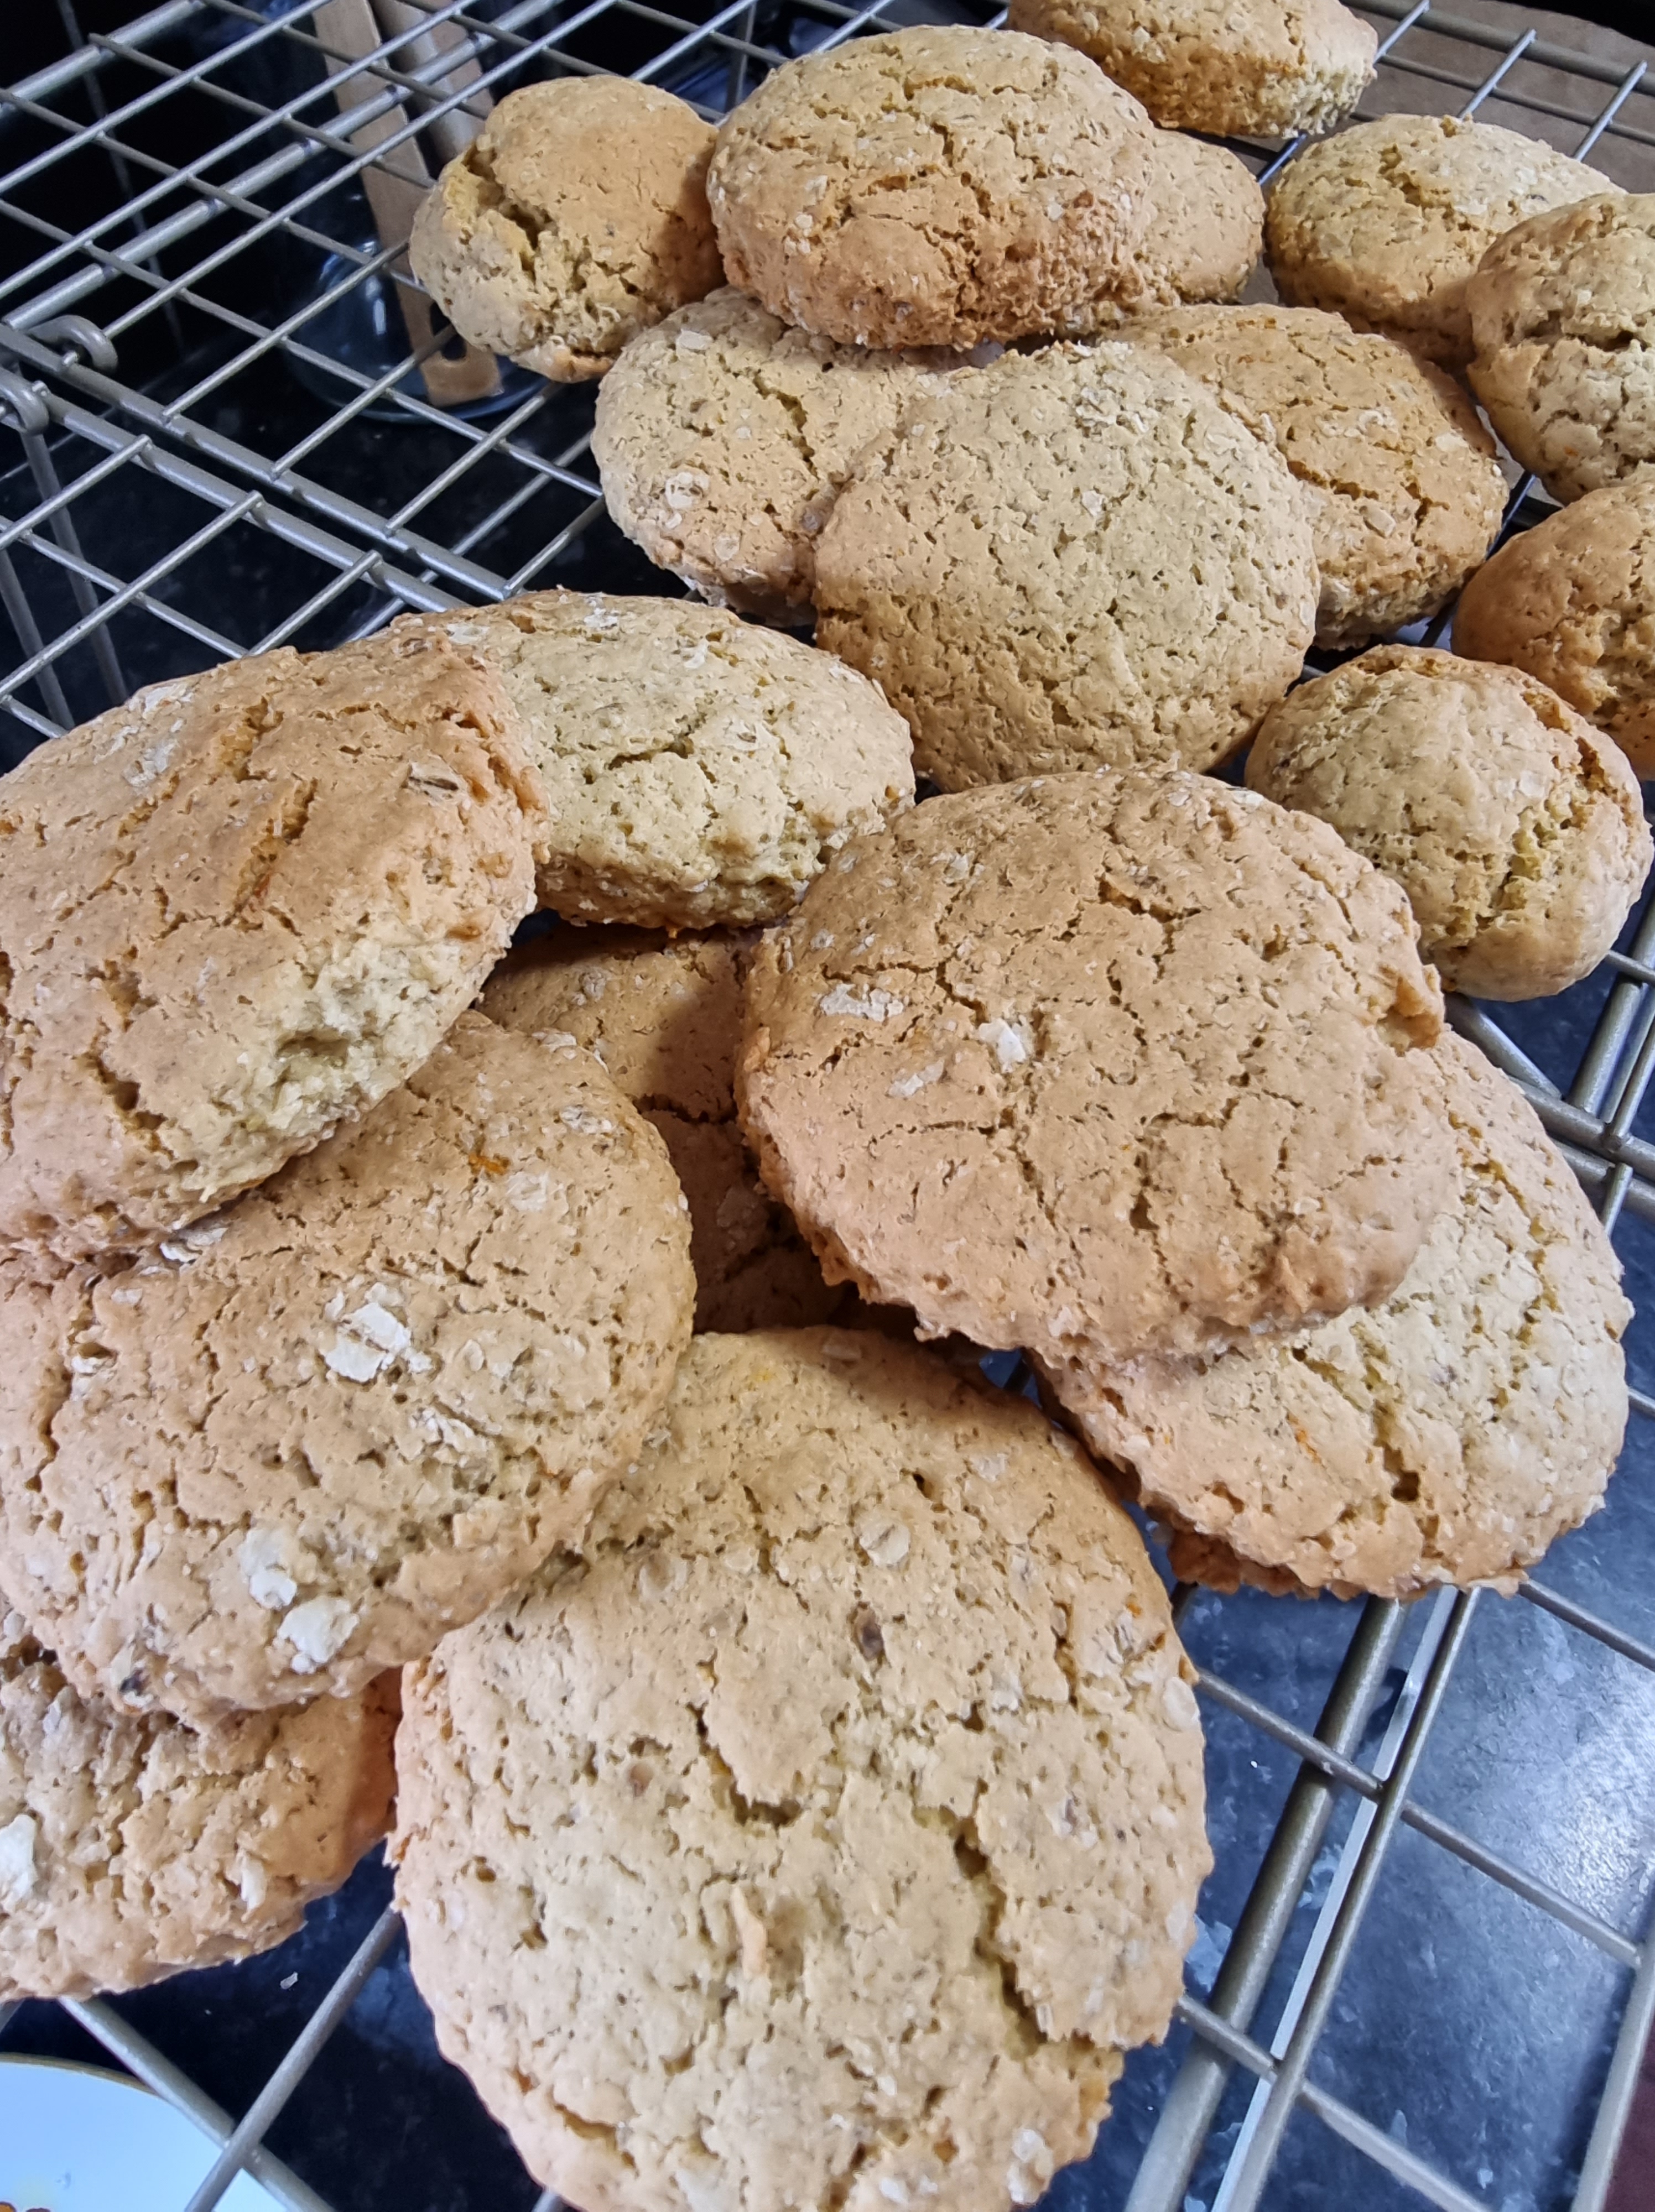
This is a variation on the oat, coconut and choc chip cookie, taking out the coconut and choc and using orange instead. I guess if you wanted orange and chocolate chip cookies, then leave the chips in 🙂
85g Granulated sugar
85g Demerera sugar
100g butter (at room temp)
300g Plain Flour / All purpose flour
1/2 tps salt
1 tsp baking powder
1 tsp baking soda
1 egg
125g oats (you may need to add more if the mixture is a bit wet)
1 Orange – grate a bit of rind when needed, then use the juice of the whole orange
2 tsp of orange extract
60g choc chips optional
Cream the butter and sugar together until smooth (ish), add the egg, orange rind, juice and extract and mix. Then add the flour, salt and baking soda & powder. It needs to start binding like a dough, so if it’s a bit sloppy, then add a bit more flour (I didn’t weigh mine before adding, so went from 250g to 300g in the ingredients, but a bit more may be needed).
Once it’s binding well, add the oats by hand. Then put on a baking sheet and flatten out with your hand to about 1 – 2cm depth. Then use a cookie/biscuit cutter to get your desired shape and size.
Put on a baking tray either greased or on baking paper, and cook for around 10 – 15 mins or until going brown at 180 degrees.
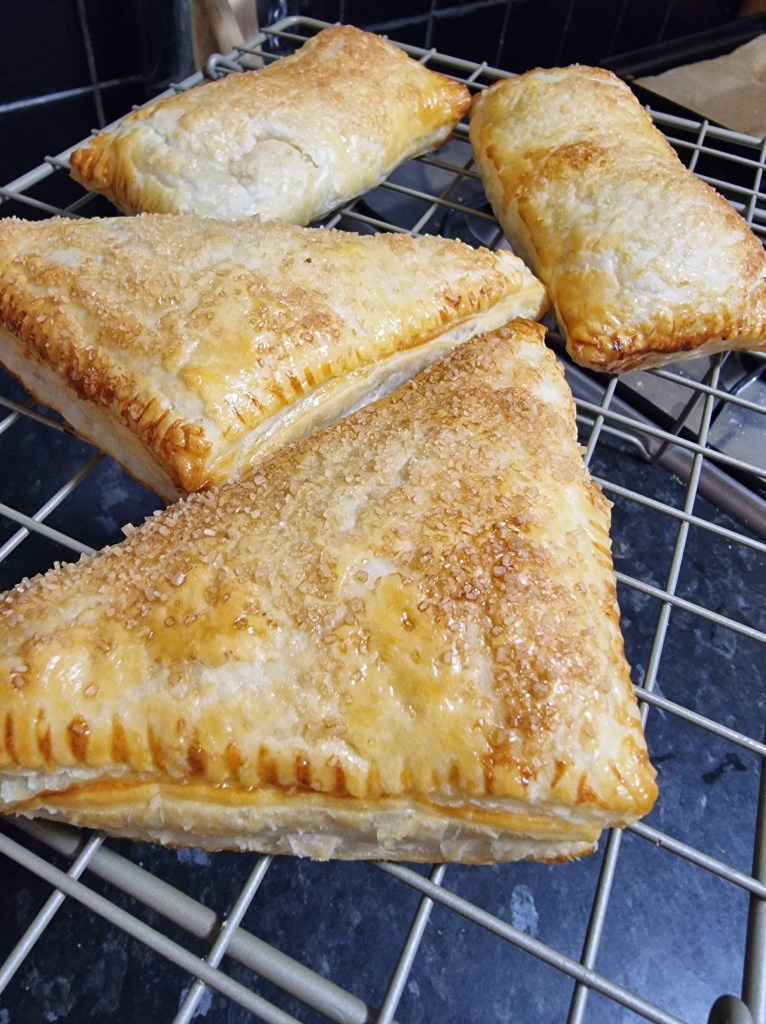
Turns out the oat cookie recipe works with orange, just a bit more flour and oats needed to compensate for the orange juice – i’ll update and post the recipe later in case anyone wants to give them a go. Also decided to get some cherries and make cherry turnovers, as they are a favourite. I haven’t had a cherry turnover since the ‘Nobody likes a mouldy turnover‘ incident with the local bakery.
But it inspired me to start baking more at home, so it turned out to be a good thing.
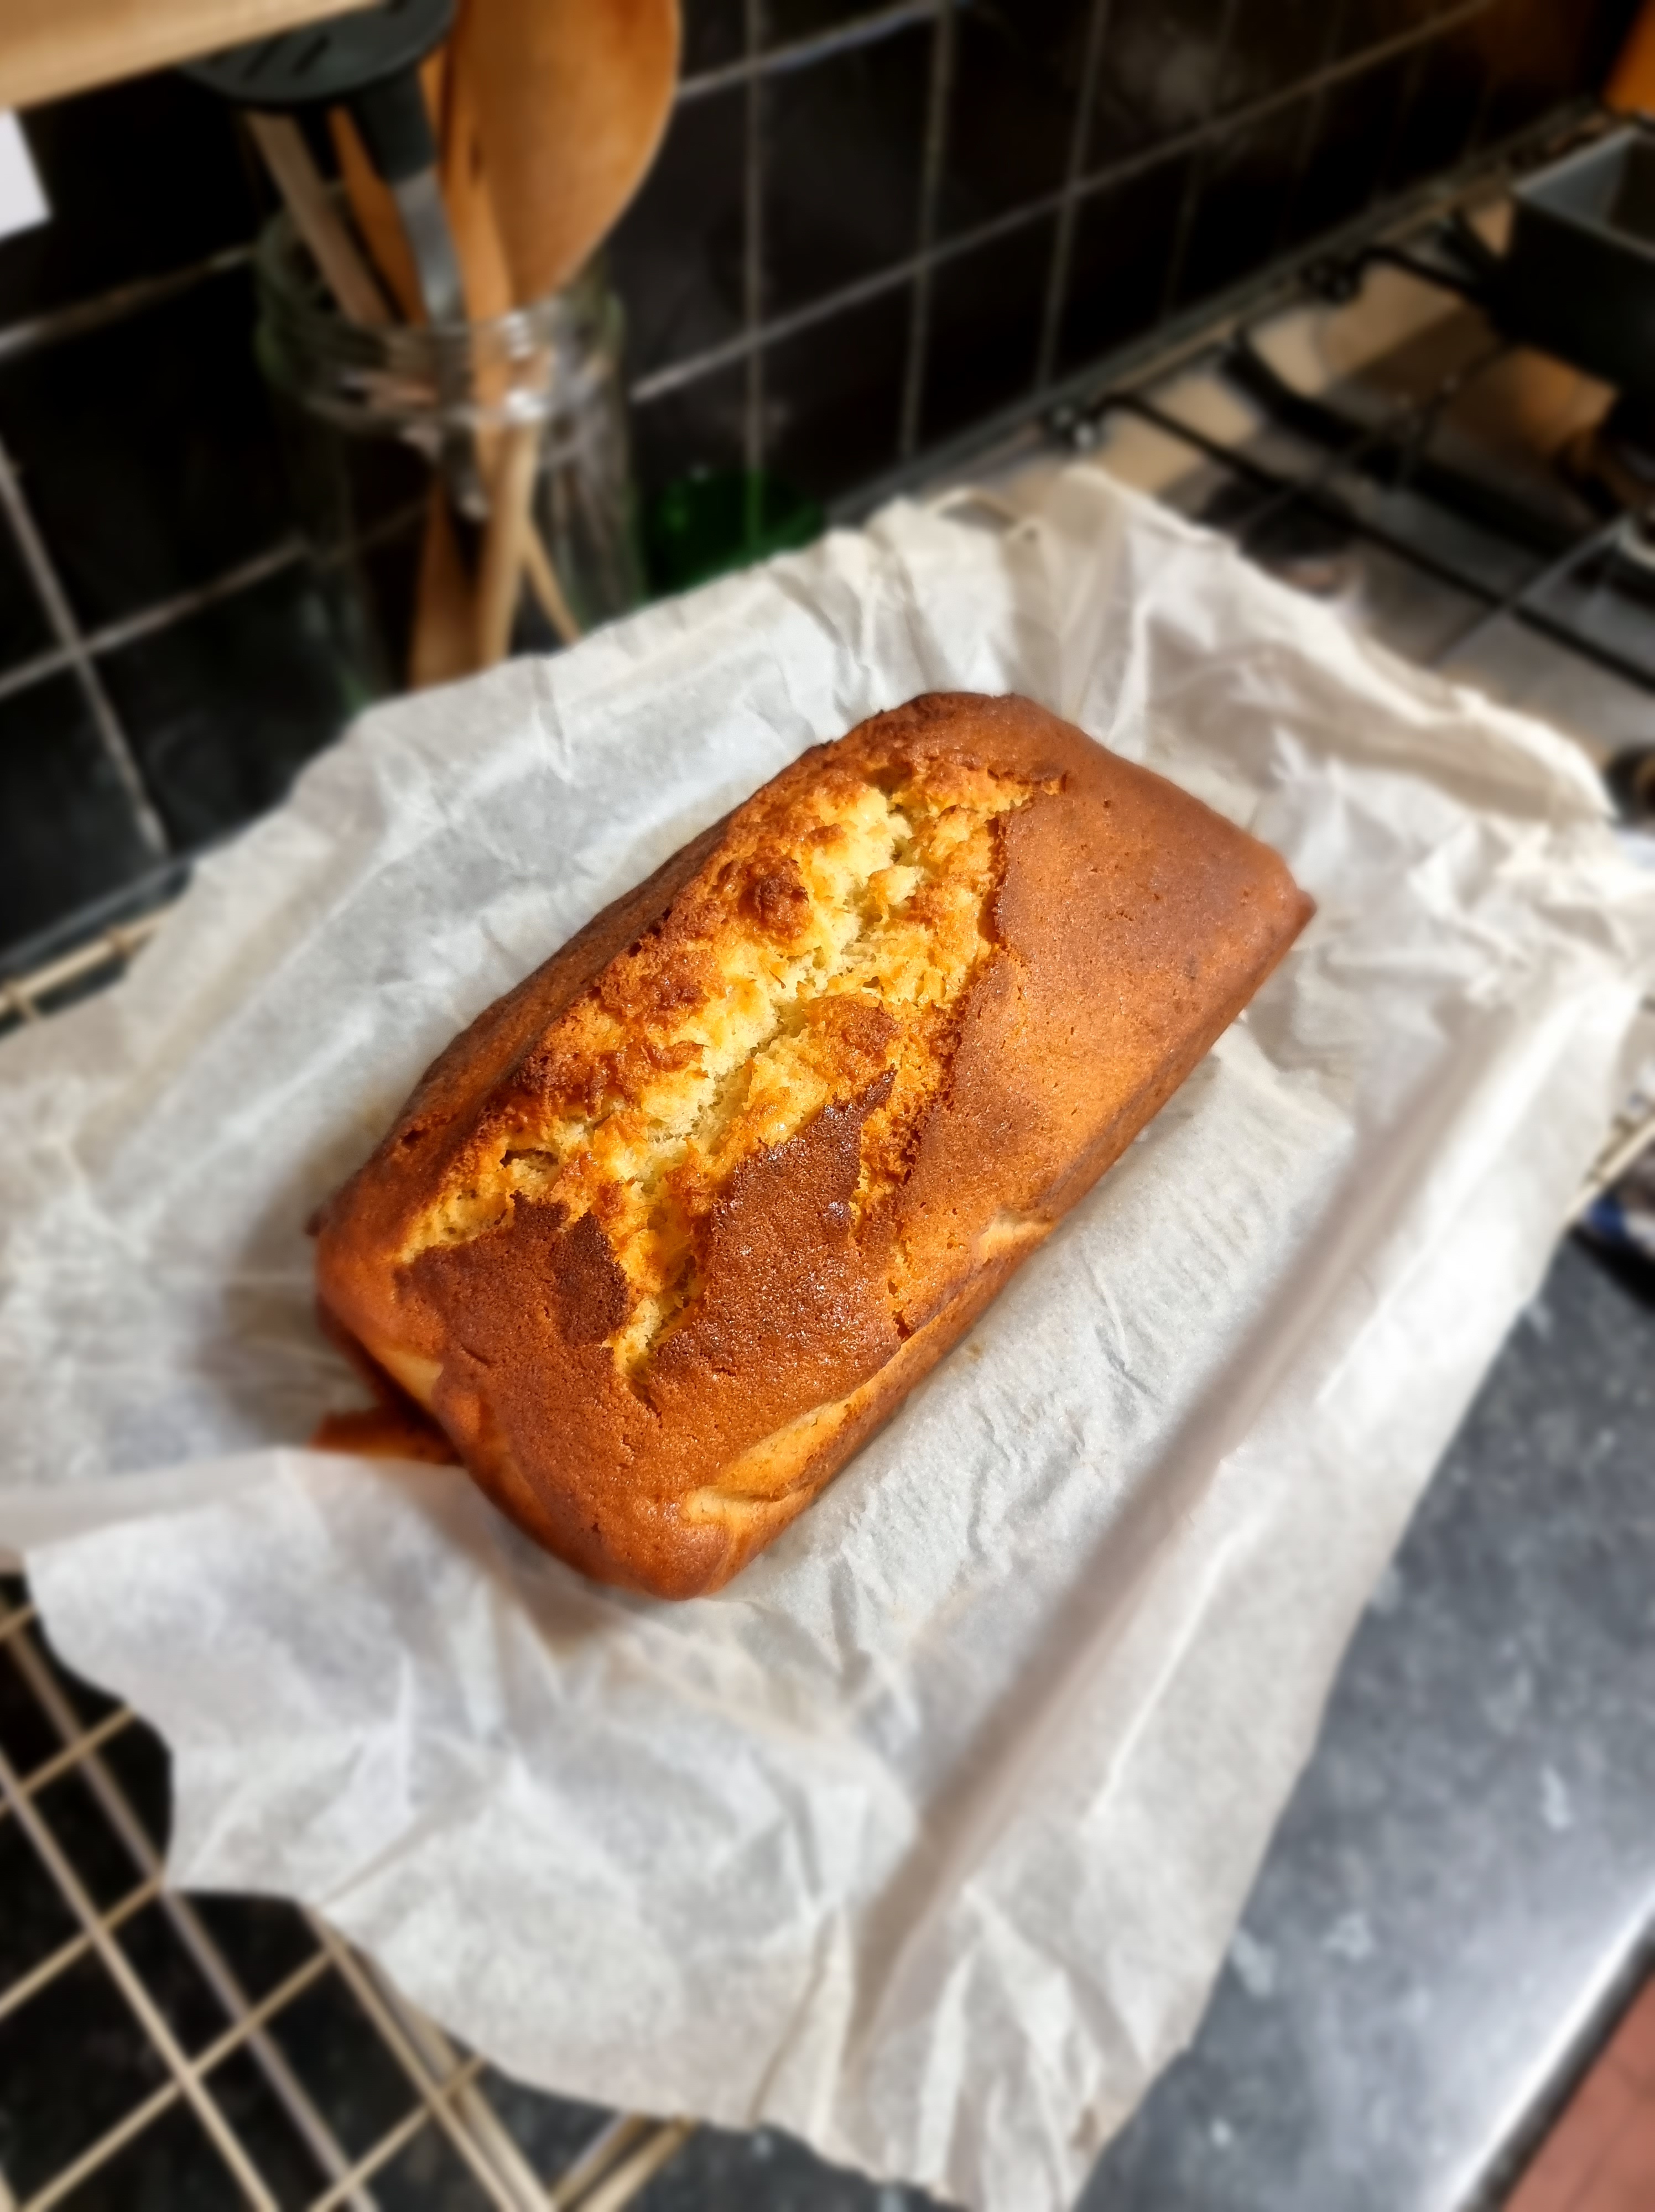
Thought I would give baking bread a go by hand. A very quick method and was so easy it made me feel a bit silly for not realising it was this quick and simple to do.
350g bread flour
200ml warm water
2 tbsp sunflower oil
1/2 tsp dried yeast
1 tsp salt
Mix the water, salt, yeast and oil together. Then add the flour. Work together to form a sticky dough.
Place on a mat/surface with some flour and knead. This one required being rolled in on itself a few times after a short time kneading (like you would roll up a pair or trousers for packing), and pinched in where it joins.
Then place in a tray on baking paper and cover with a tea towel for half an hour to give it time to rise.
Then score down the middle with a knife to give it room to spread. Sprink with flour. Bake for 25 mins at 190 Celsius. (Halfway through take out and sprinkle or spray a bit of water on it).
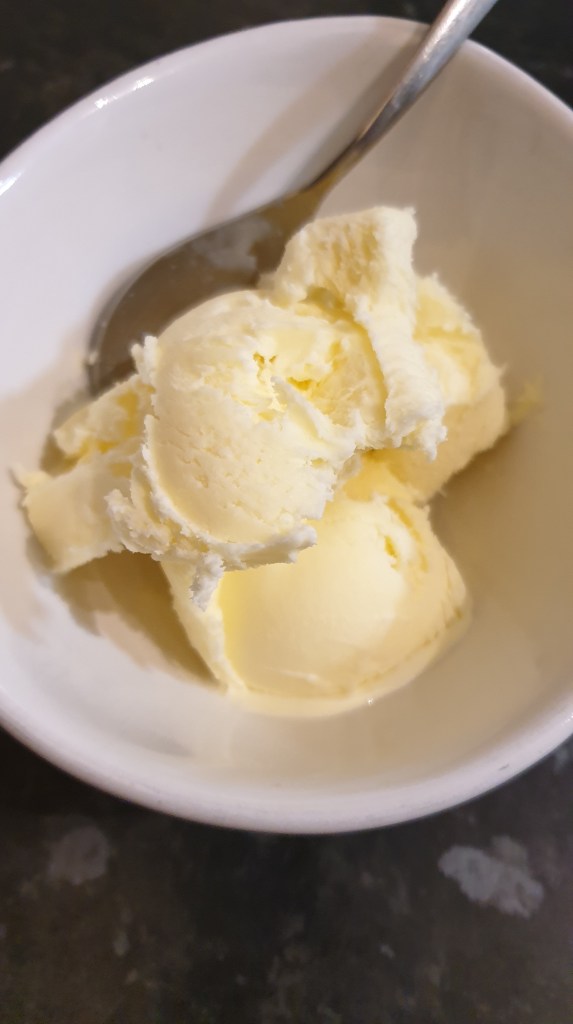
I really liked the sound of this, so decided to give it a go after watching a run through on YouTube. I will share the link at the bottom of this post so you know how it is done and where I got the recipe. How it should look versus how it turned out!
Ingredients:
50ml fresh orange juice
500ml milk
100g Sugar
250 ml double / whipping cream
Orange essence
The black cherry juice wasn’t used in this one, but is there to show will be tried next. This recipe gets you to make your own condensed milk from scratch to make the ice-cream, which is the consistency you want when making the base. But I believe you can use a can of pre made and start from that point.
From scratch – heat the milk and sugar together and bring to the boil, then reduce heat, and reduce the mixture by about a 1/3, stiring and checking the viscosity. When happy with it, take off the heat and allow to cool completely, stiring while it does.
Then stir in the orange juice and mix well. Get a seperate bowl for the cream, and whip it for around 30 seconds, then pour in the orange mixture, add a teaspoon of orange essence. Whip together until as soft peaks (orange colouring can be used if you want it to be colourful).
Put into a dish and put in the freezer to set, will be good to go after about 8-10 hours. I wasn’t sure I had pulled this off, as my mixer wasn’t working that well and I used a fork for the last bit, reaslising I was probably removing most of the airation. It wasn’t soft peaks at all, and seemed rather runny. So in the freezer it went, as I thought it would be good to taste it still and see where I could improve it.
It was a actually a good fail in my opinion, although not like the one in the tutorial video, it is extremely tasty and smooth. I’m excited to try cherry next, and give orange another go, maybe using colouring this time. We’ll see how it goes.
(c) K Wicks
Here is the link for ‘Hands Touch’ on YouTube, where I saw the recipe and method, so you can check out the method as I know my instructions can be quite brief, and this deserves to be shared, it’s awesome –
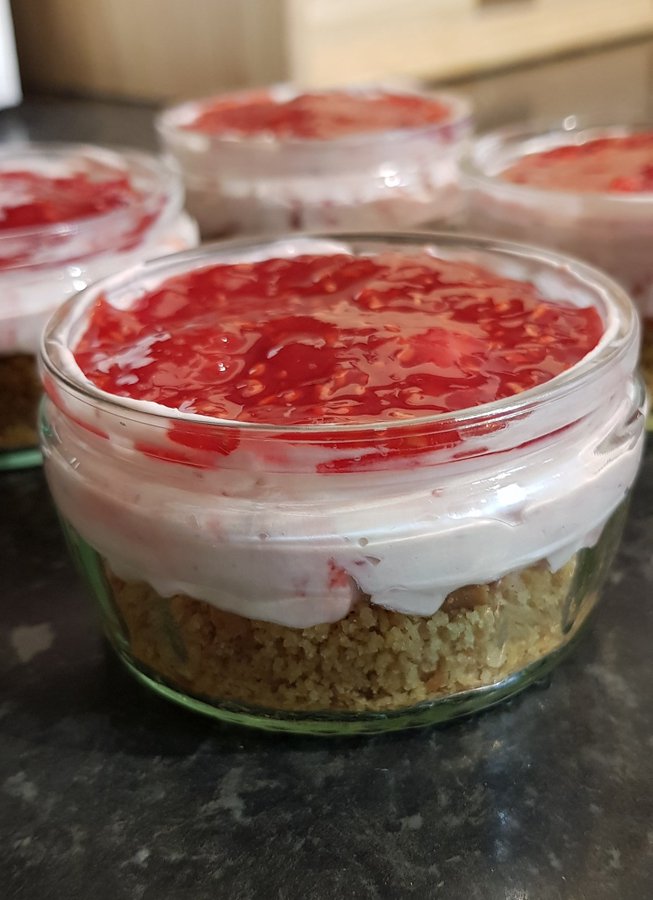
I’ve used raspberries for this cheesecake, but you could also substitute blueberries, blackcurrants, gooseberries or strawberries. (this is adapted from an internet recipe for a whole cheesecake of which I cannot find the source).
My adaption is for 4 ramekin servings
SYRUP
110 g raspberries
50 g caster sugar
50 ml water
5 g cornflour
BASE
65 g digestive biscuits or Hobnobs
25 g butter, melted
FILLING
75 ml double cream
25 g caster sugar
130 g cream cheese, such as Philadelphia/mascarpone (or mixed)
½ tsp vanilla extract
Syrup = 90 g of the raspberries into a pan with the sugar and 40 ml of the water. Slowly bring to the boil to dissolve the sugar, then simmer for 7 minutes or so. Mix the cornflour with the remaining 10 ml water and add to the pan, stirring. Simmer and stir, for 2-3 minutes until thick. Remove from the heat and leave to cool.
Base = Crush the biscuits in a food processor until they are the texture of coarse breadcrumbs. (Or smash them in a plastic bag with a rolling pin which is my preferred method.) Melt the butter and add the blended/crushed biscuit crumbs, evenly divide the mixture between the 4 ramekins and leave to cool.
Filling = Whip the cream and sugar together until fairly stiff. In another bowl, beat the cream cheese to soften, then fold in the whipped cream and vanilla extract. Lightly fold through half of the raspberry syrup (not too thoroughly though if you want a rippled effect).
Spoon the mix on to the biscuit bases, mix the rest of the raspberries with the remaining raspberry syrup and divide between the 4 dishes on top of the cream cheese mixture.
Place in the fridge for 2-3 hours until firm. Eat and enjoy.