I used my other cheesecake recipe for this, but reduced the ingredients slightly and swapped raspberries for strawberries.
Ingredients:
150g digestive biscuits
50g melted butter
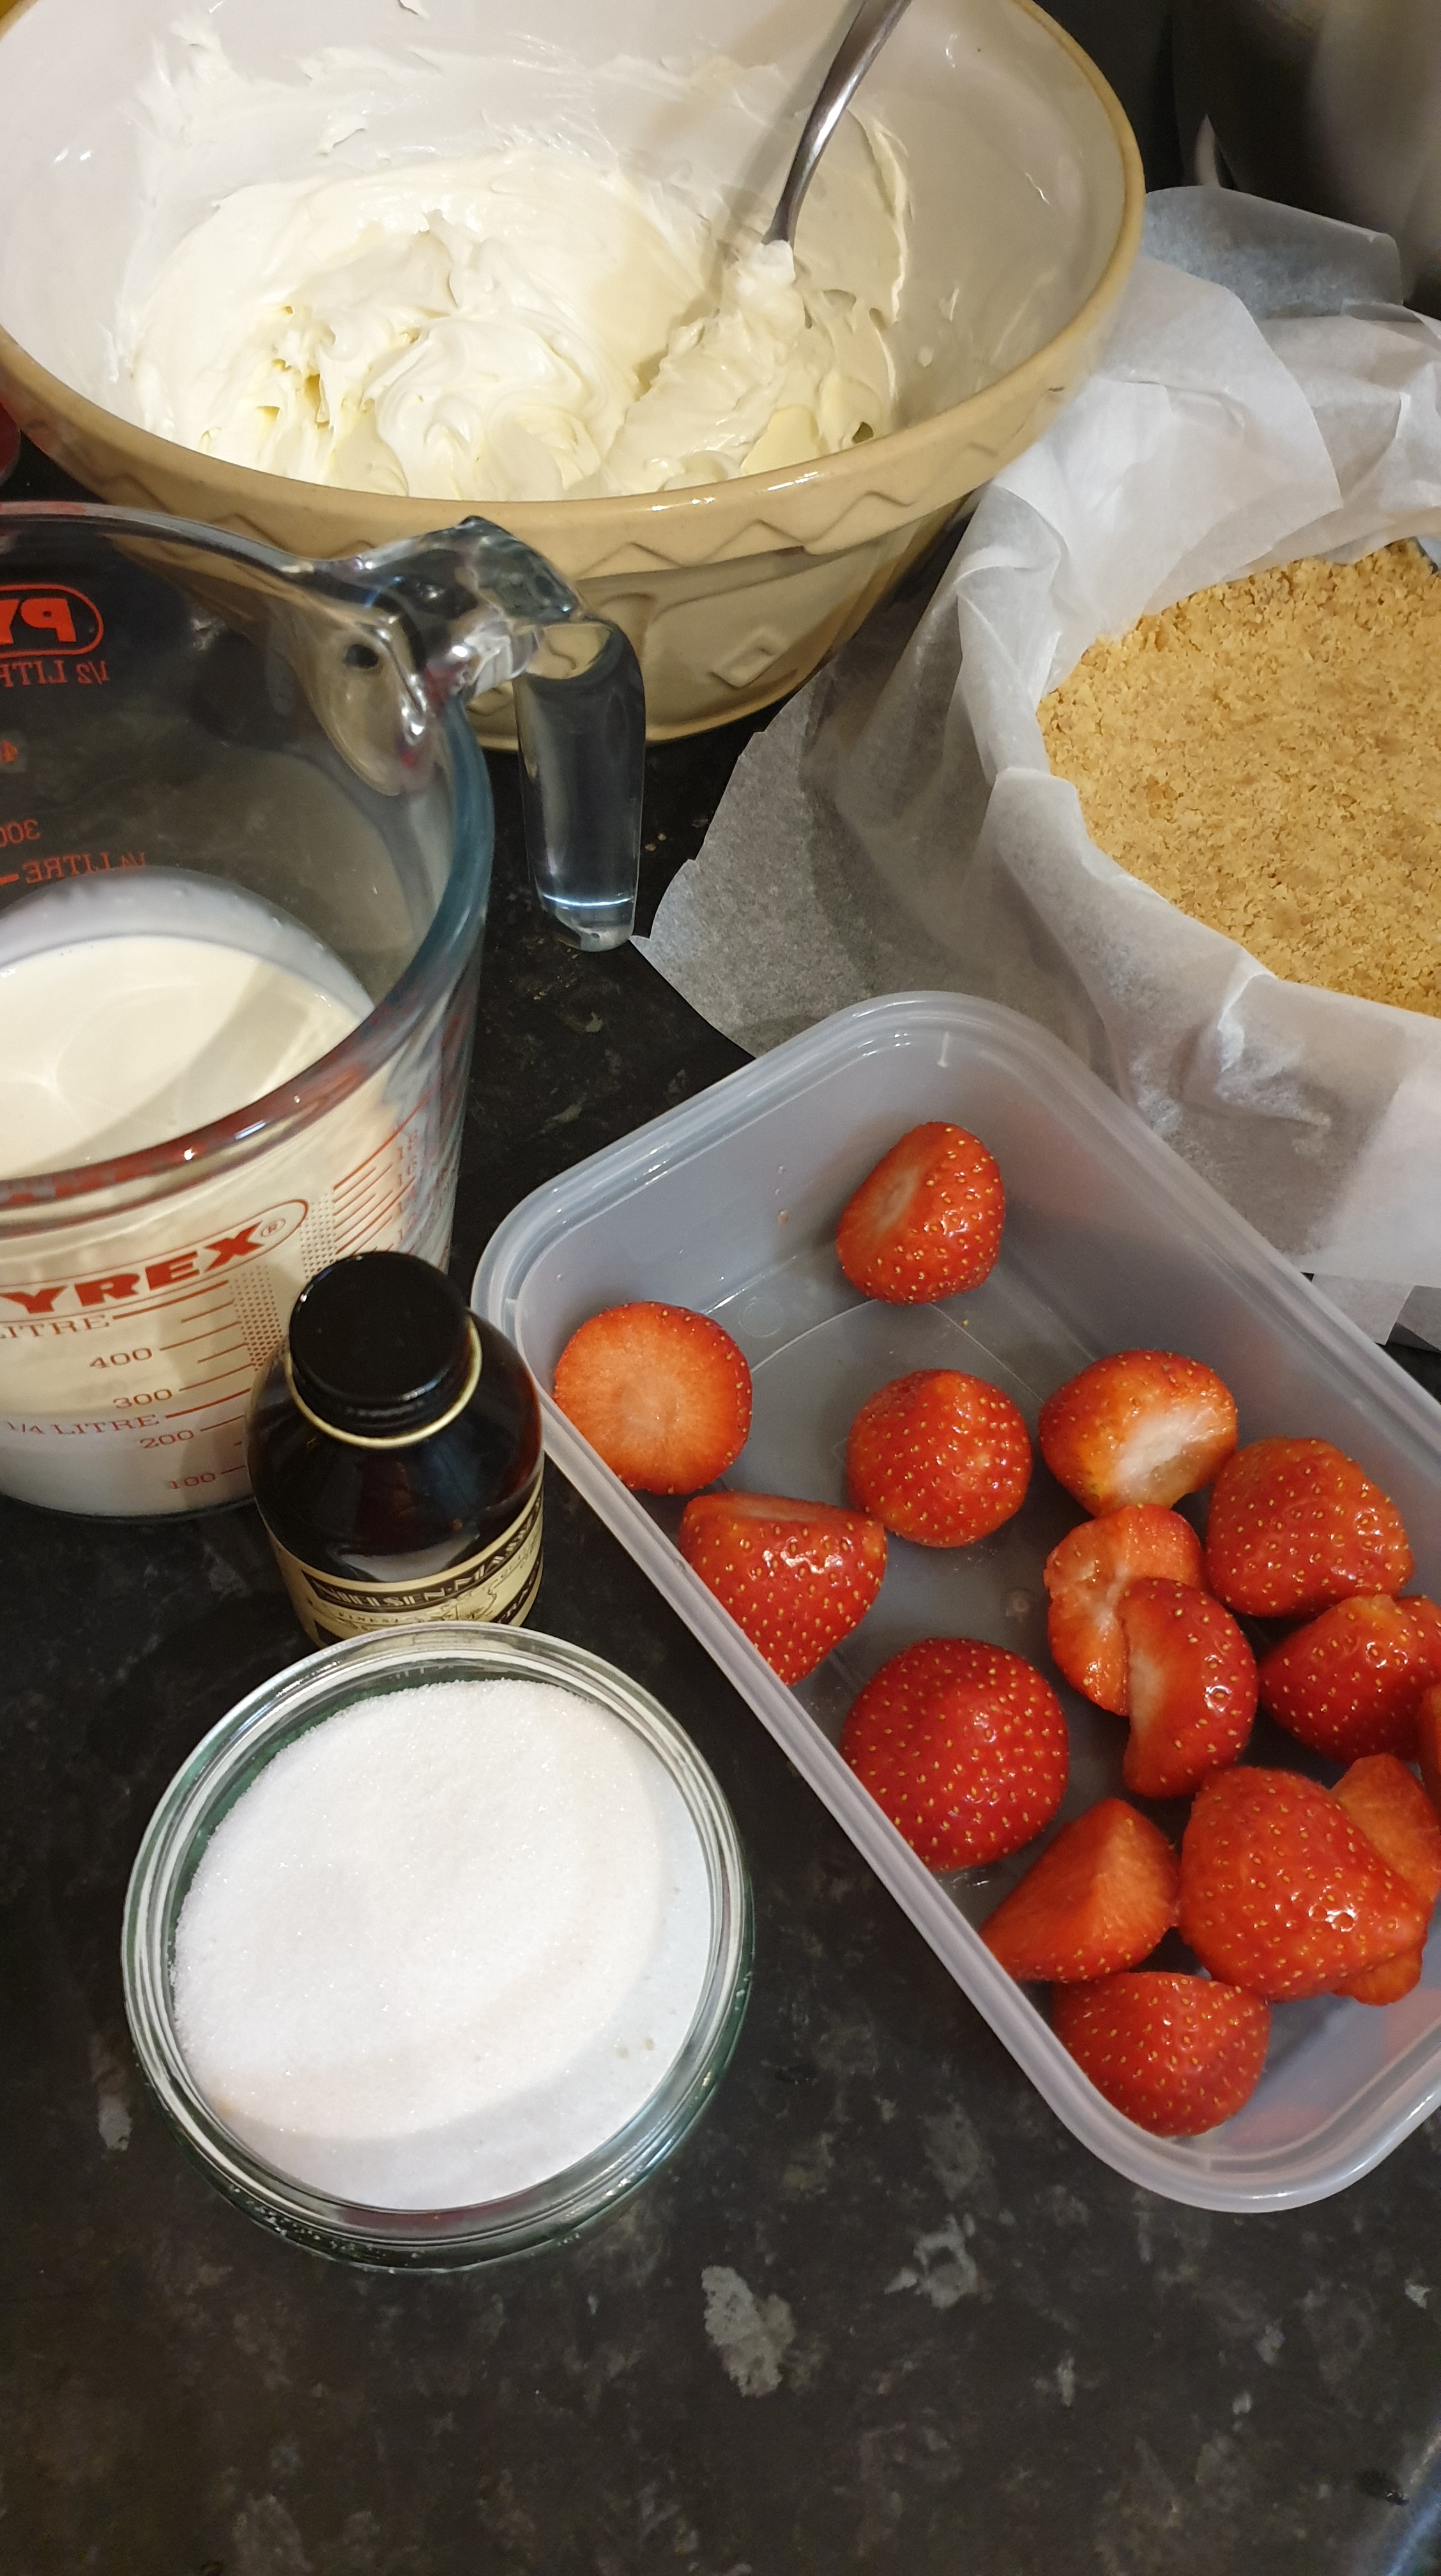
170ml double cream
60g caster sugar
300g cream cheese
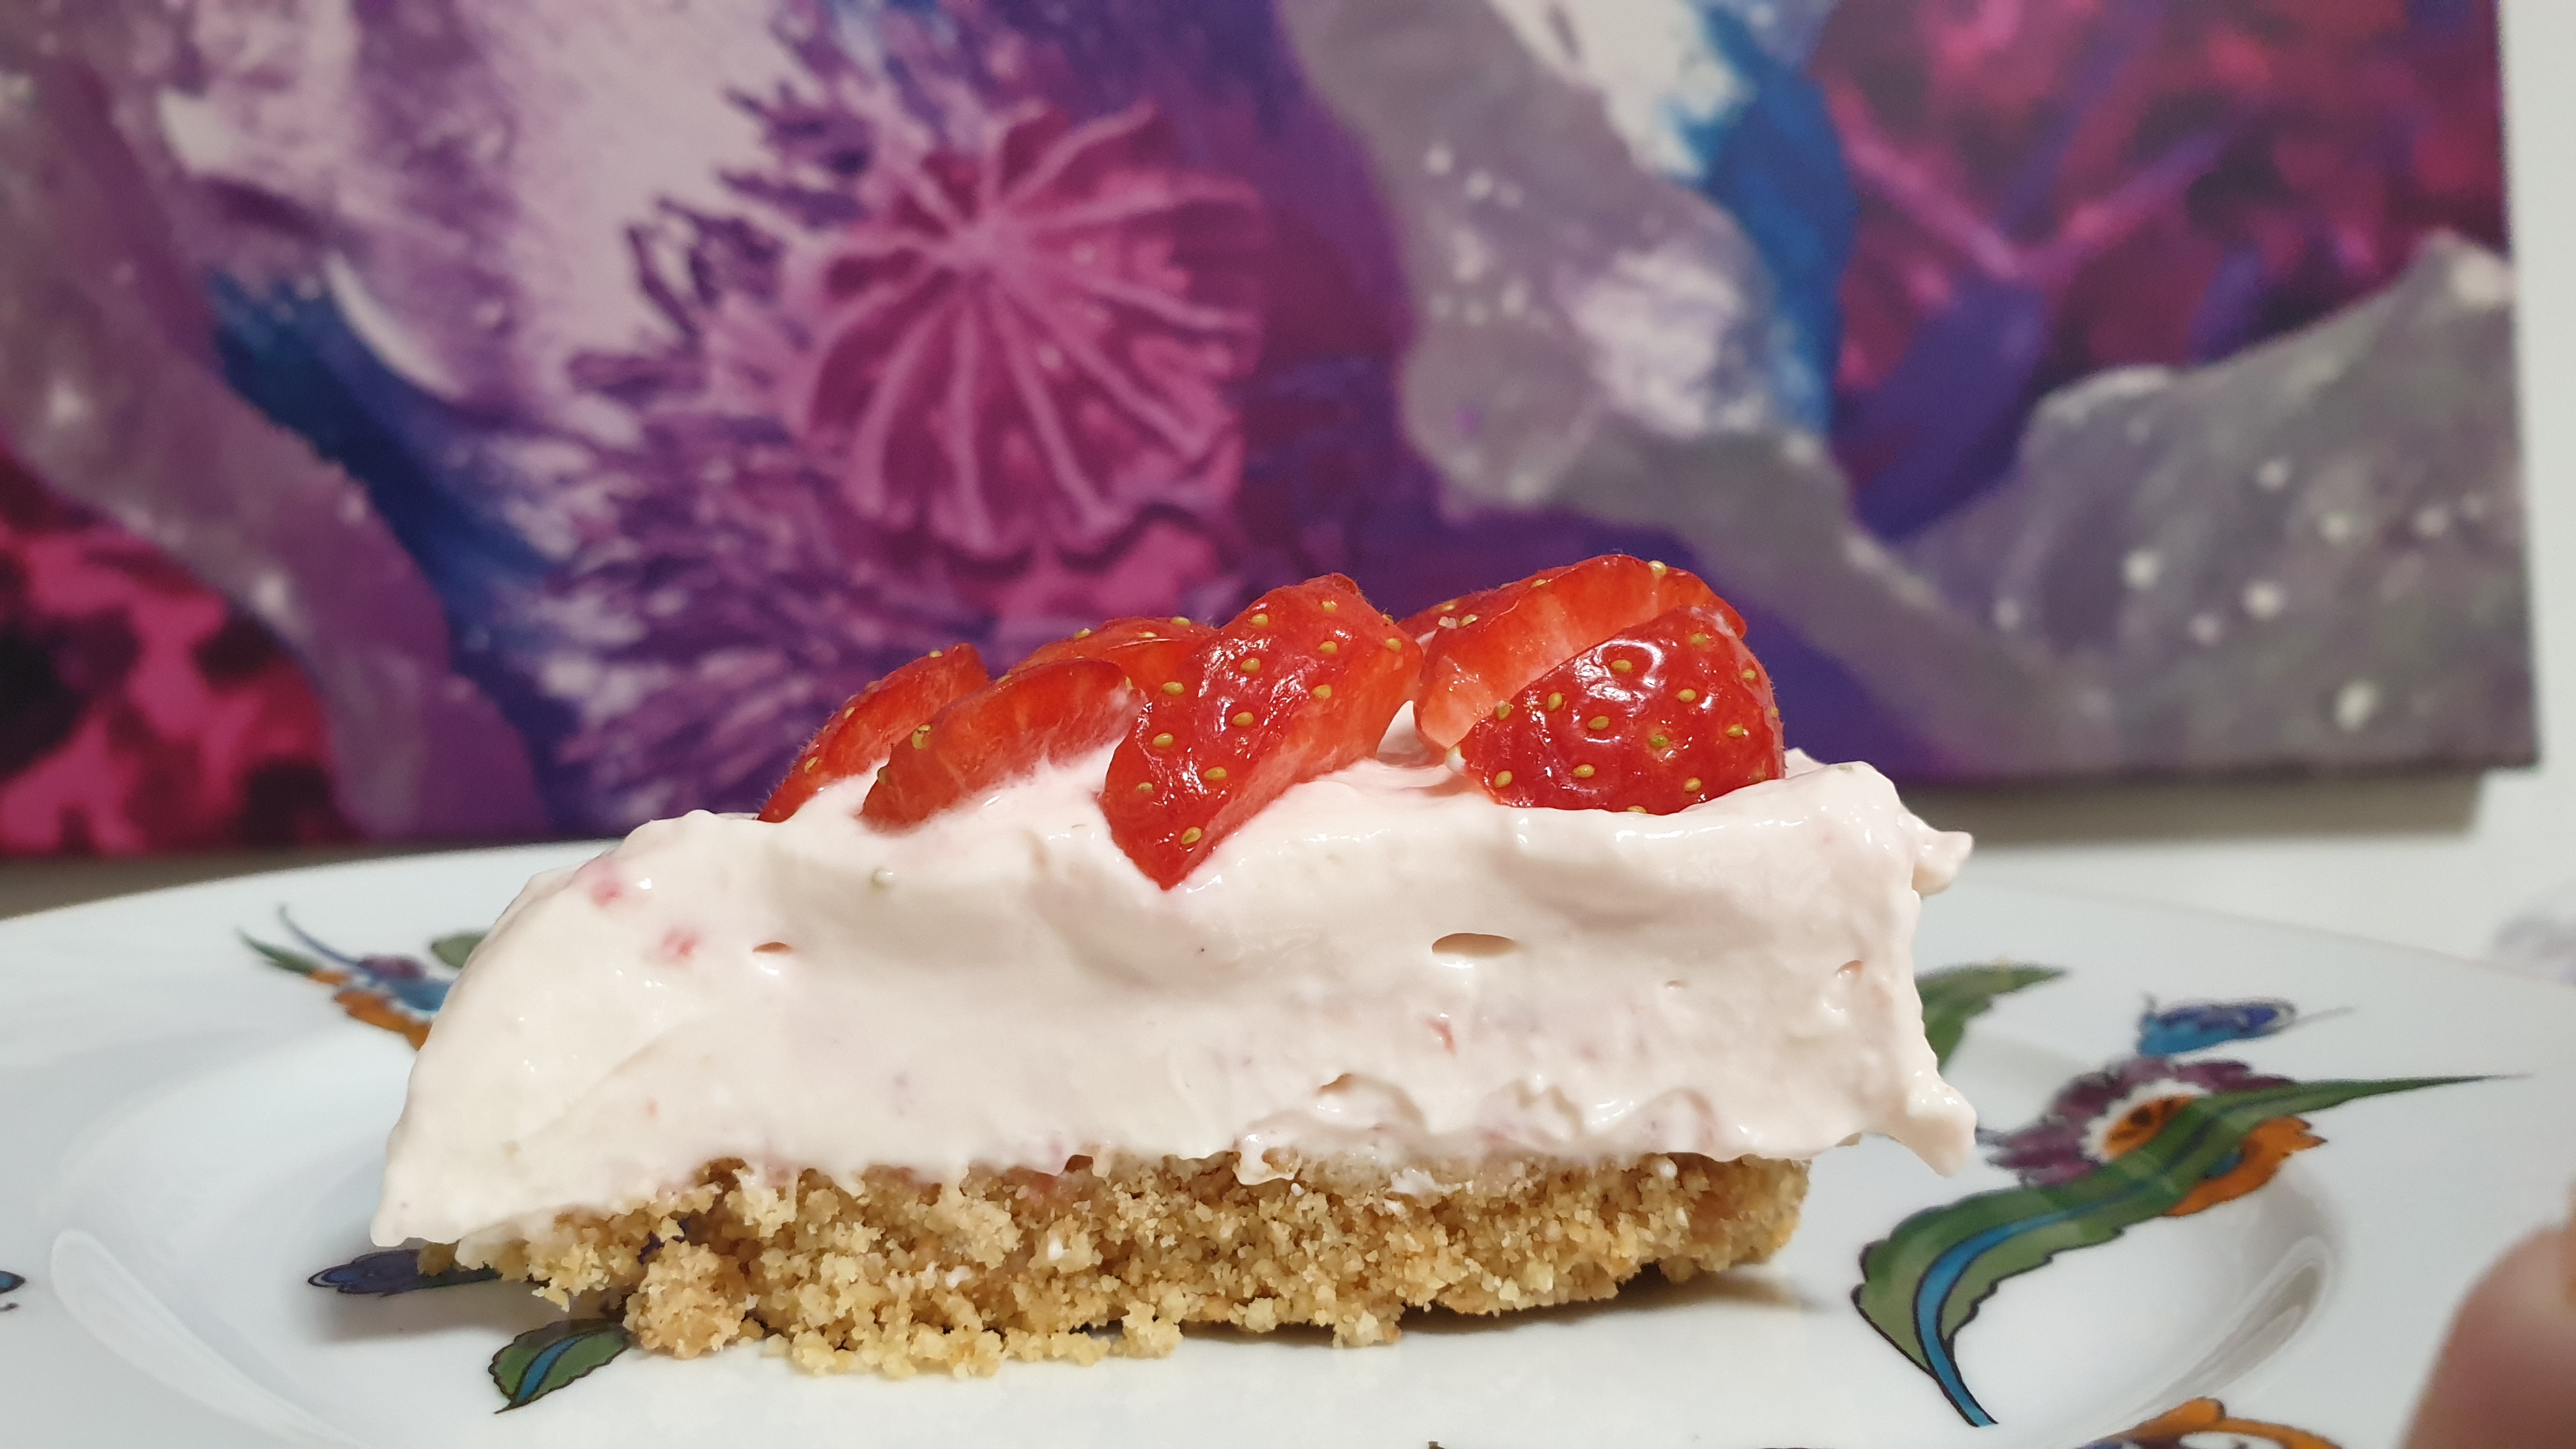
125g fresh strawberries
1/2 teaspoon vanilla extract
These will be the speed version – a more detailed cheesecake approach is here for the Raspberry Cheesecake recipe I have used for a few years, which started as blueberries so really, whichever fruit you choose is good.
Crush the biscuits, melt the butter. Mix them.
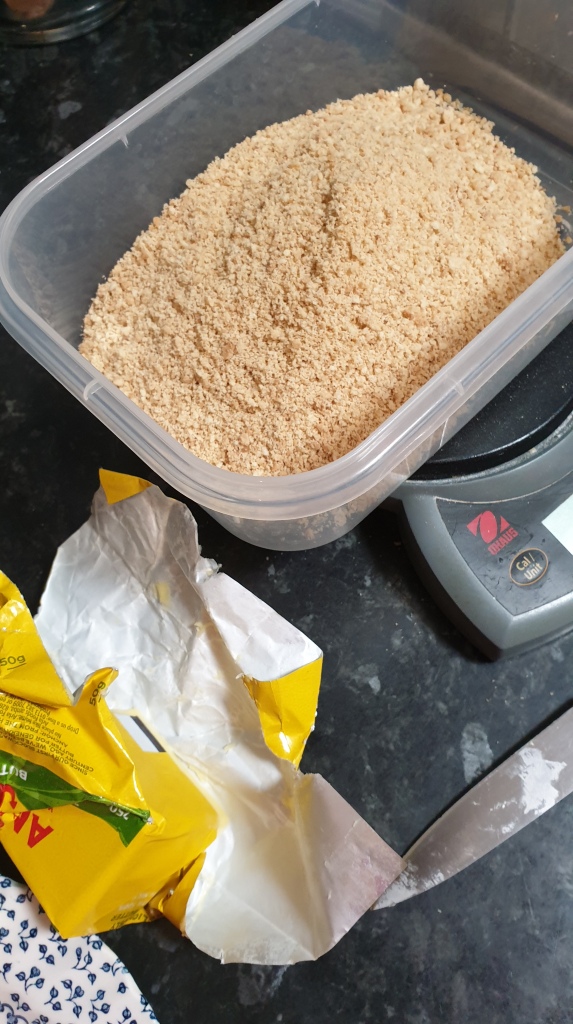
Then put into the paper lined tin and press down, put in fridge.

Then mix the sugar and double cream together until super smooth and silky. In a separate bowl soften the cream cheese. Then add the creamed sugar and vanilla extract. At this point I blended about 80g of the strawberries and added to the mixture – folding everything through to make sure all mixed.
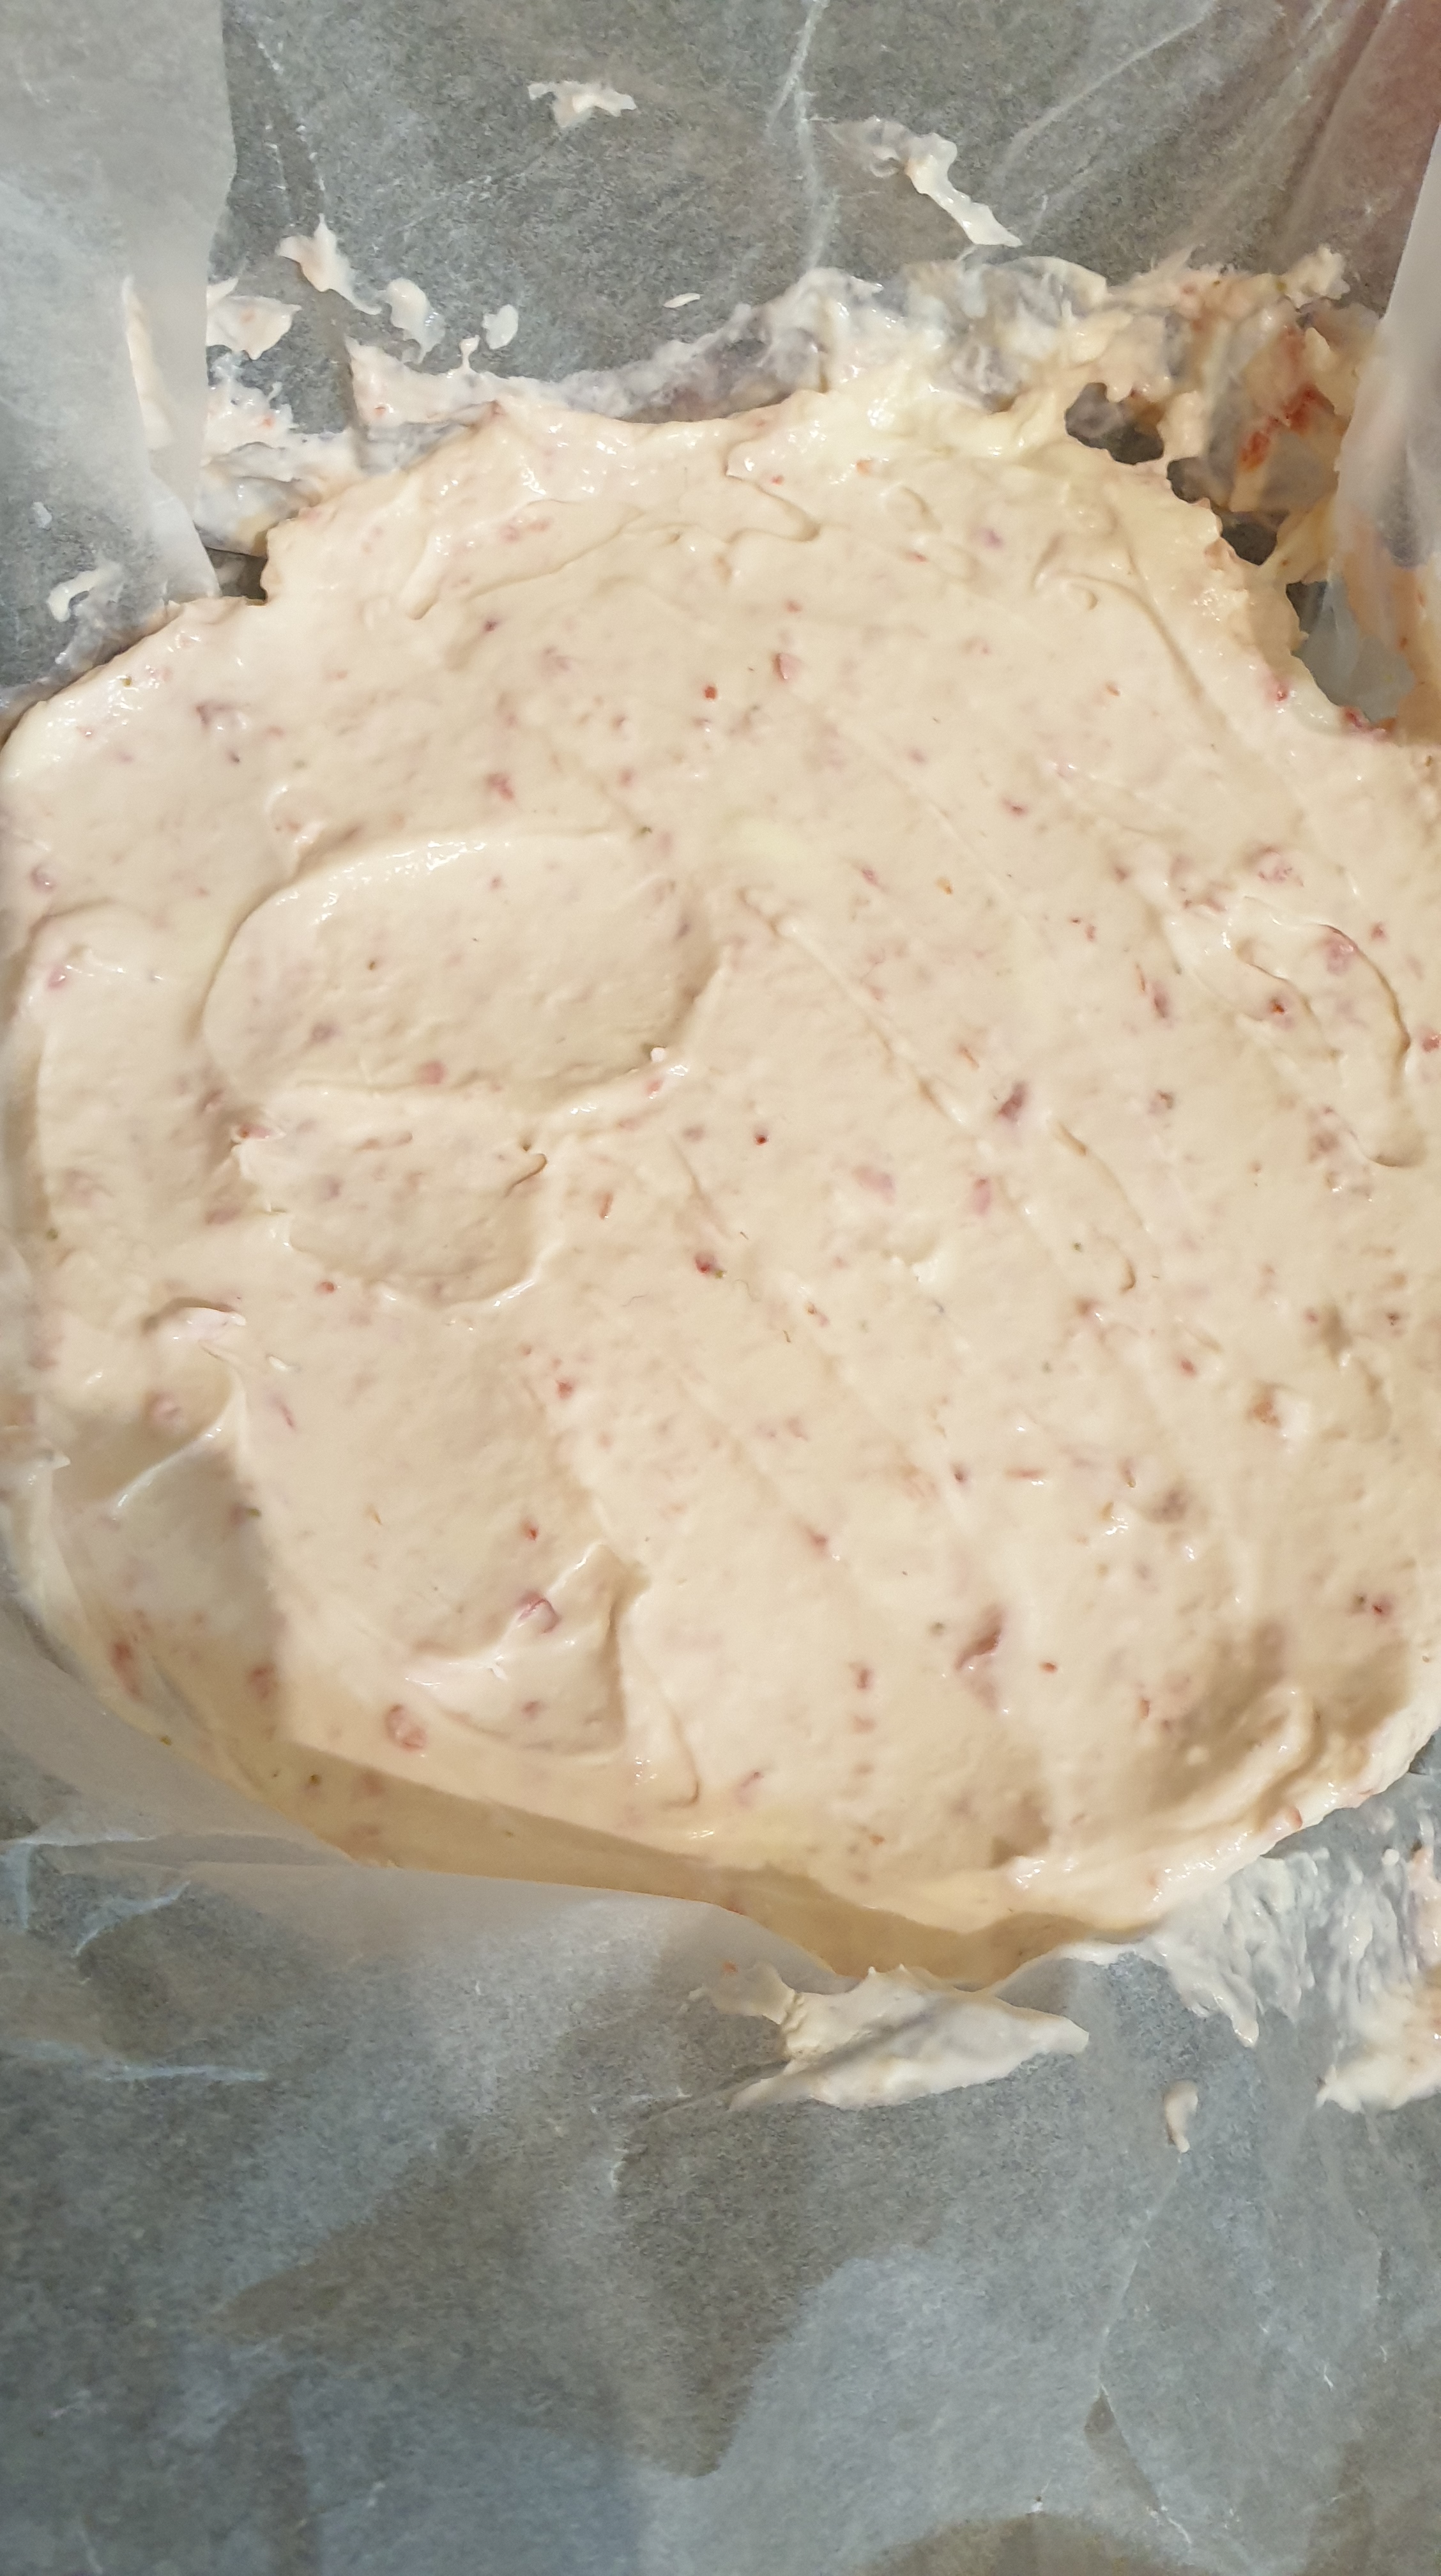
Add the creamy fruity mixture on top of the biscuit base and evenly distribute to the edges. Put back in fridge. Is ok after a couple of hours, but for best results leave overnight. Then I add fresh cut strawberry when ready to serve.
As we won’t eat the whole cheesecake at once, I dress each piece with strawberries when ready 🙂

It was rather delicious and makes me wonder why it took me so long to make one!
(c) K Wicks