Homemade Orange Cream Filled Chocolates

These are my favourites, and not content with only one or two in a box of popular variety chocolates, I decided to finally attempt making my own. I like baking, but sweets and desserts are my favourite. I found a recipe that seemed doable, I halved the ingredients to make a small batch first, and amended slightly as I went. I was actually left with half of the filling left after making this batch, so you could half this again of you want a small amount.
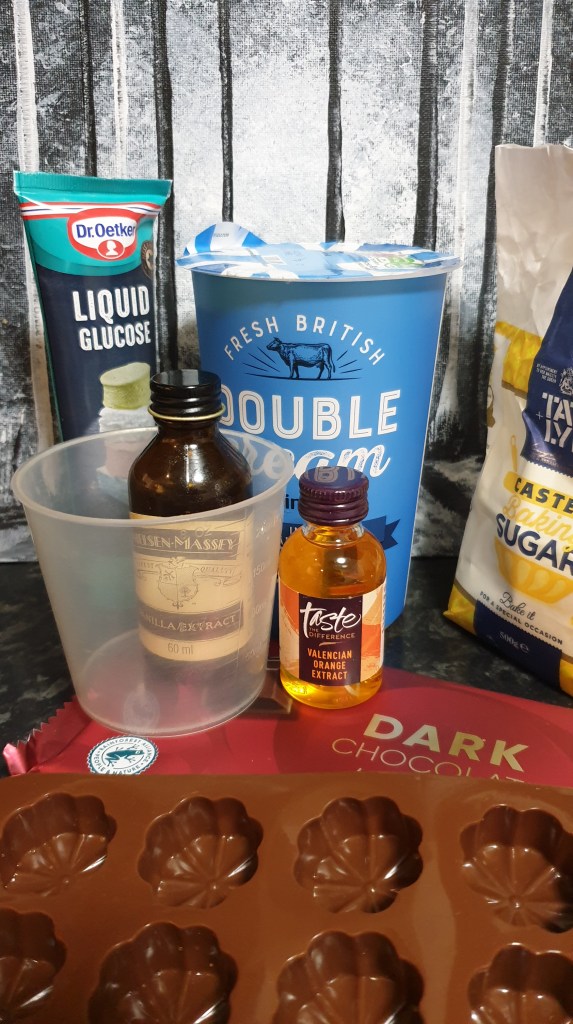
Ingredients

1/2 cup of double cream (250ml / 8oz)

1 1/2 cups of sugar (this was a mix of caster and granulated)

2-3 tbsp of orange extract (apparently if using orange oil, use less)

1/2 tps vanilla extract

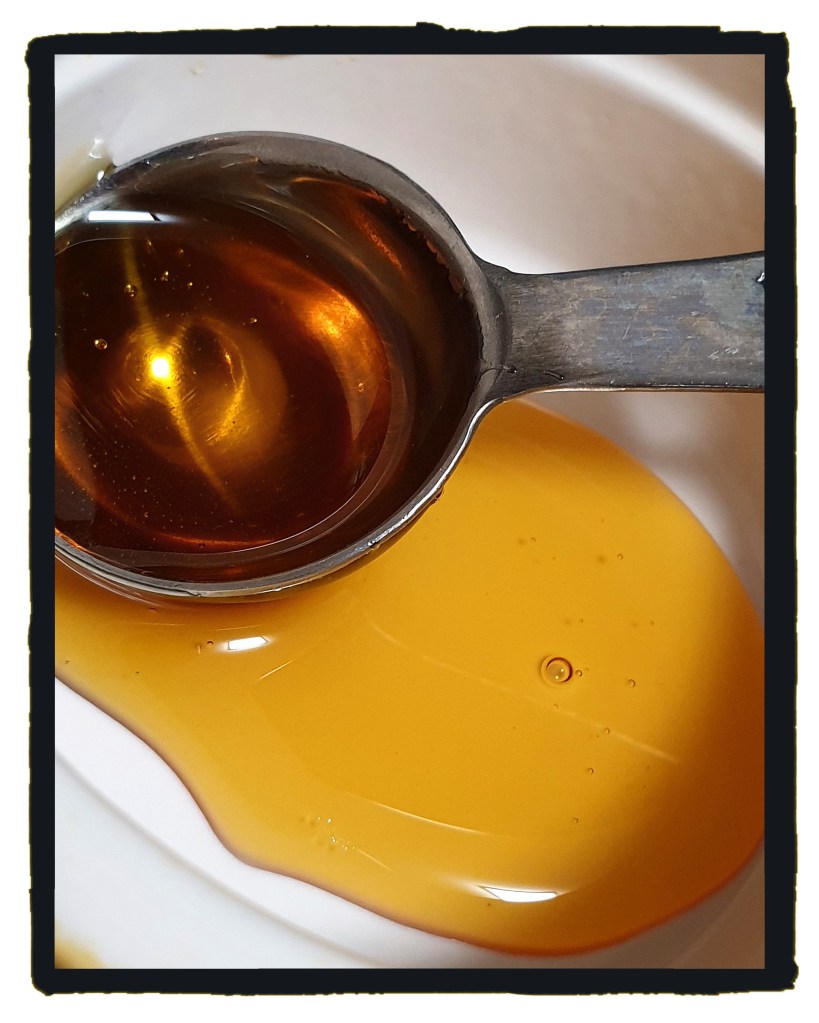
1 tbsp of corn syrup (also know as liquid glucose)

1tbsp butter

100g of dark chocolate (ish) – or any chocolate of choice

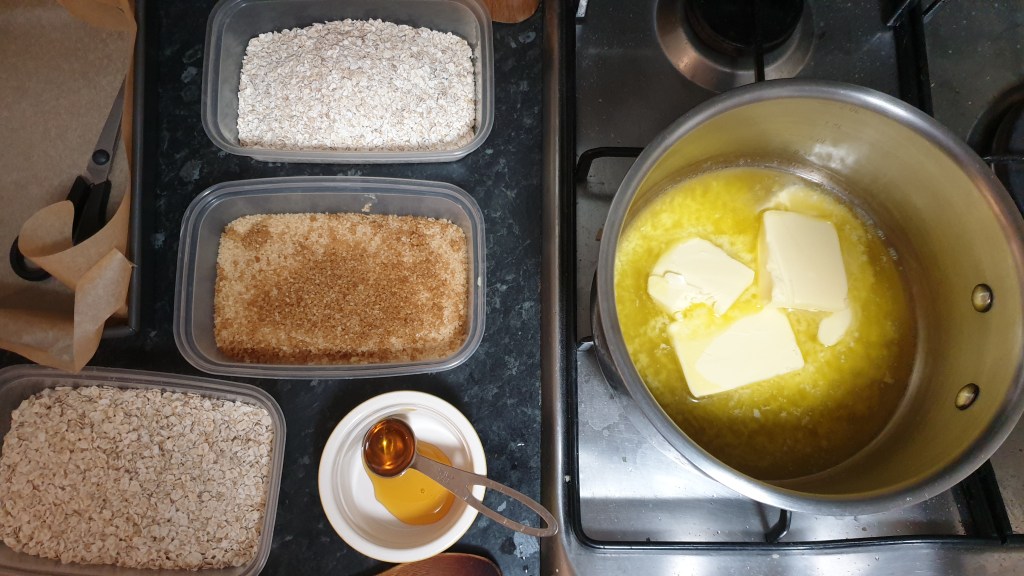
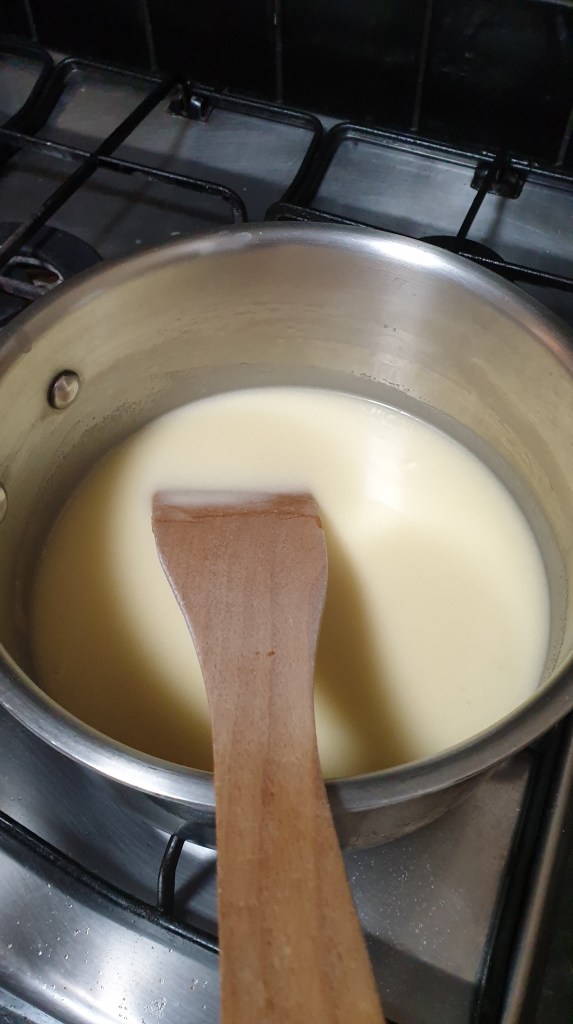
You’ll need to make the orange filling first. Place the sugar and cream in a pan and let them soak together before putting on a low to medium heat. Stir often and make sure to keep it smooth. Use a pastry brush to water the sides while it’s heating, otherwise the sugar crystalises and can make the mixture gritty. Bring to the boil and add the corn syrup, keep stirring, feeling for when its thickening up. Depends on how solid you like your filling, waiting until it gets sticky will give you a firmer centre.

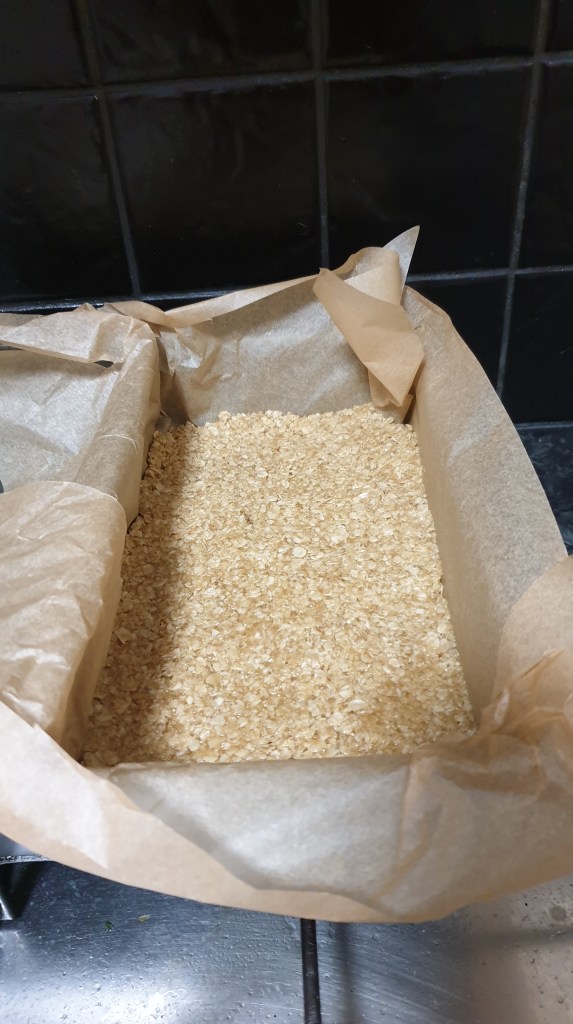
Once you are happy with the texture, pour onto a highsided tray (avoid scraping the sides or the gritty sugar will come with it) – try not to use glass as this mixture will be very hot and may break it. Now, I don’t have large marble slab to hand like the person who’s recipe I checked out, so I used a baking tray with sides, and laid one of my new heat proof baking sheets clumsily in it.

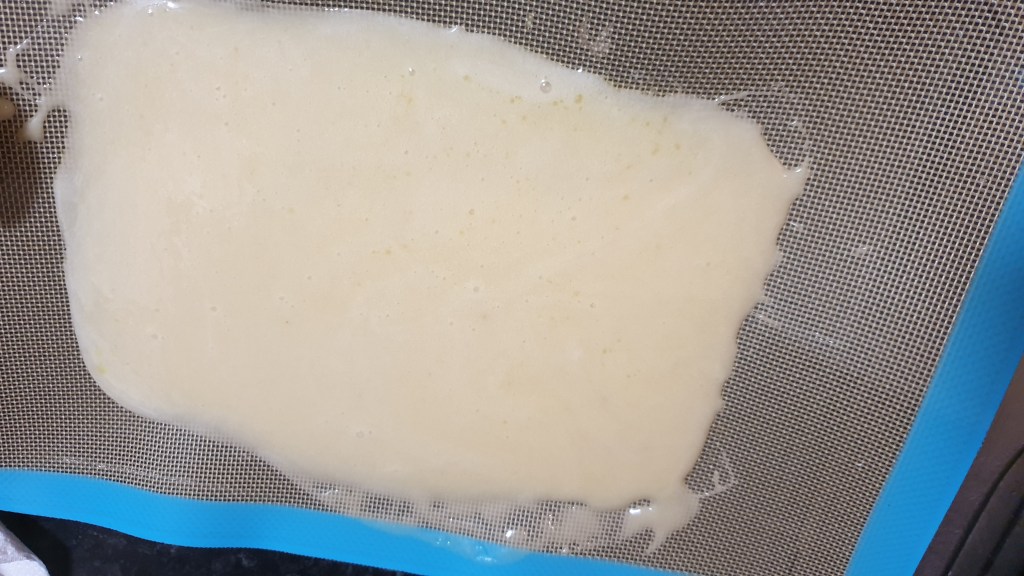
Once there, leave for 10-15 minutes to cool. It would appear that I may have used too little corn syrup (so you may want to use 1-2 for thicker), but it didn’t seem to matter. This worked in the end, so must have been ok. The next process it to turn it over and over, and in on itself for a good 20 minutes or so. It was during this process I decided to add the orange extract – around 1 tablespoon at a time, work it in, keep the mixture moving. Taste it and see how orangy it is, and add more as required. I would say you want to keep working it to be like slightly runny mash potato consistency. Then leave that to one side while we move to the chocolating the cases.
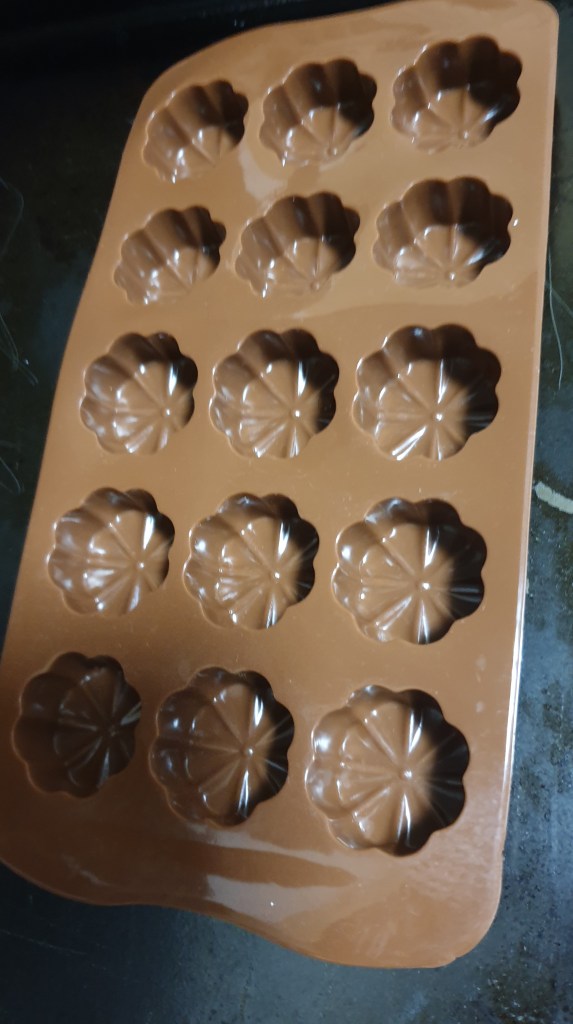
Pick your mould.

Melt your chocolate.

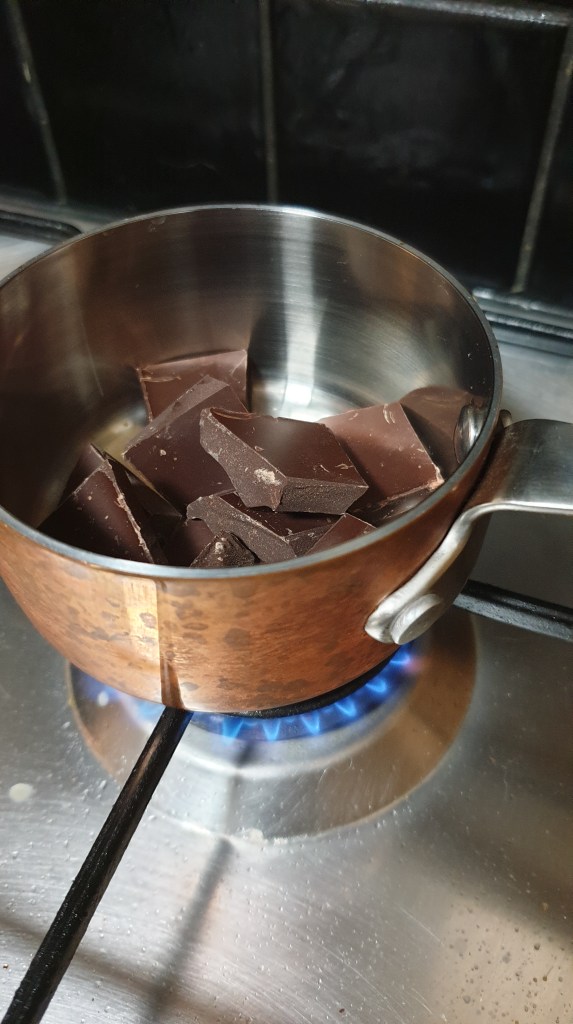
This was enough chocolate to coat the mould.

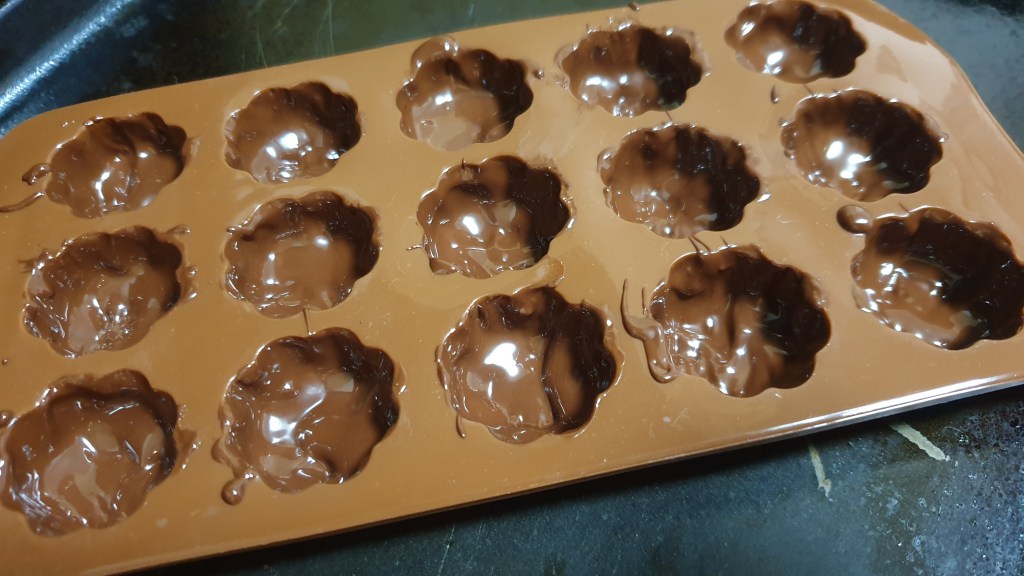
I used a small spoon to put some in each space, then used a paintbrush 🖌 to get the chocolate up the sides. Then put in the freezer for about 15 minutes.

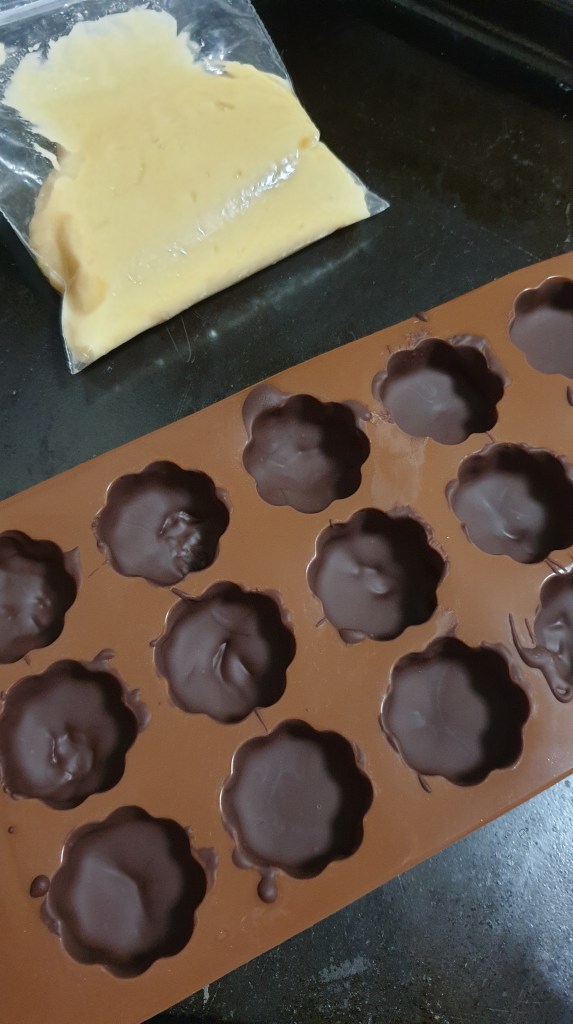
I didn’t have a pipping bag, or a proper zip lock bag, so used a small plastic bag with small sealer (remember to actually seal it though! I didn’t 🤣). And just cut off one corner to squeeze out enough mixture into each space.

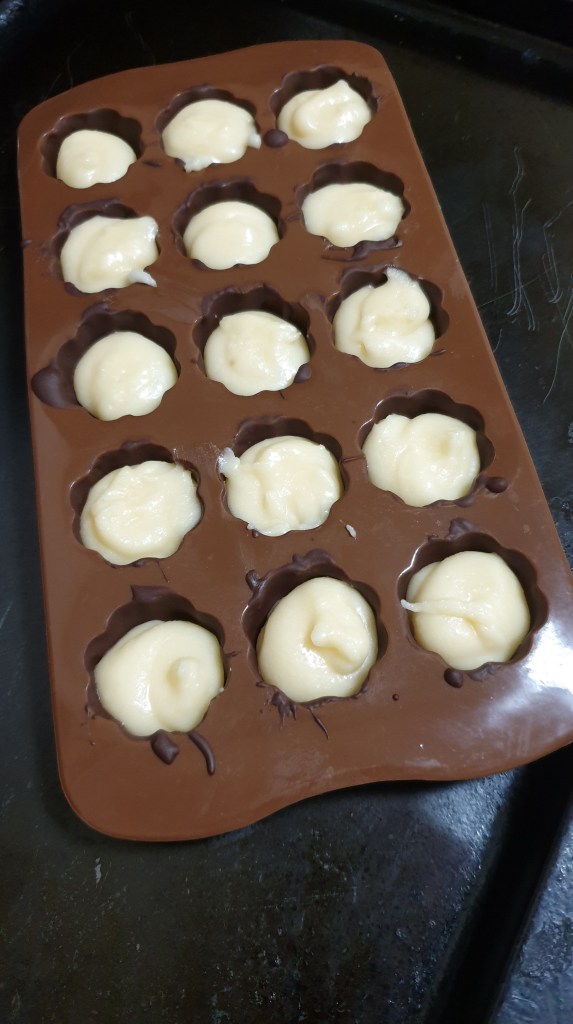
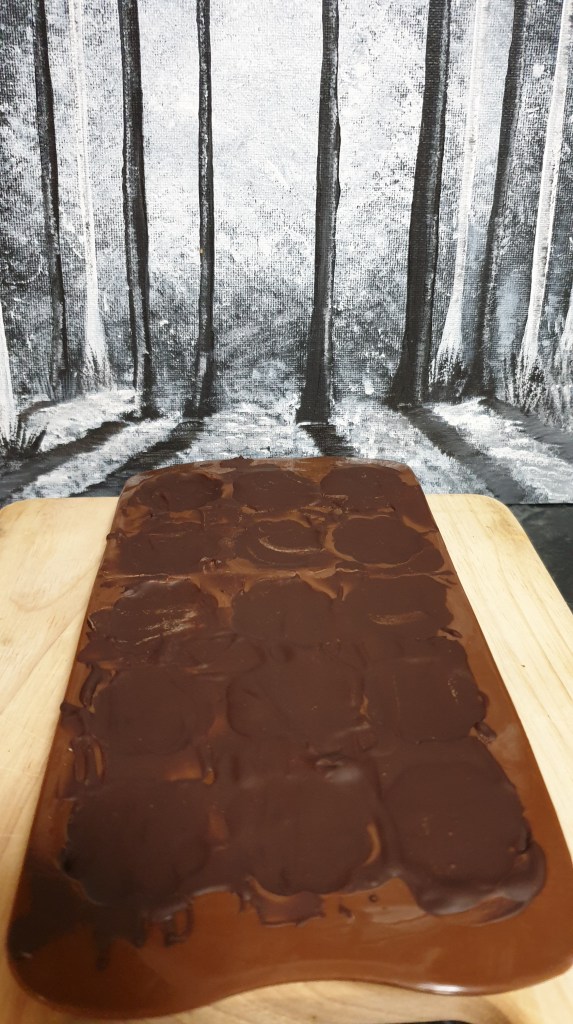
Fill each mould space with filling, but not quite to the top. Then melt up the second round of chocolate and place over the top.

Smooth them over with the back of a spoon or small pallet knife (art supplies came in handy for this kitchen time). I then put them in the fridge for an hour or two but you can put in the freezer for 20 mins maybe if you want them quicker. Then remove from the mould.

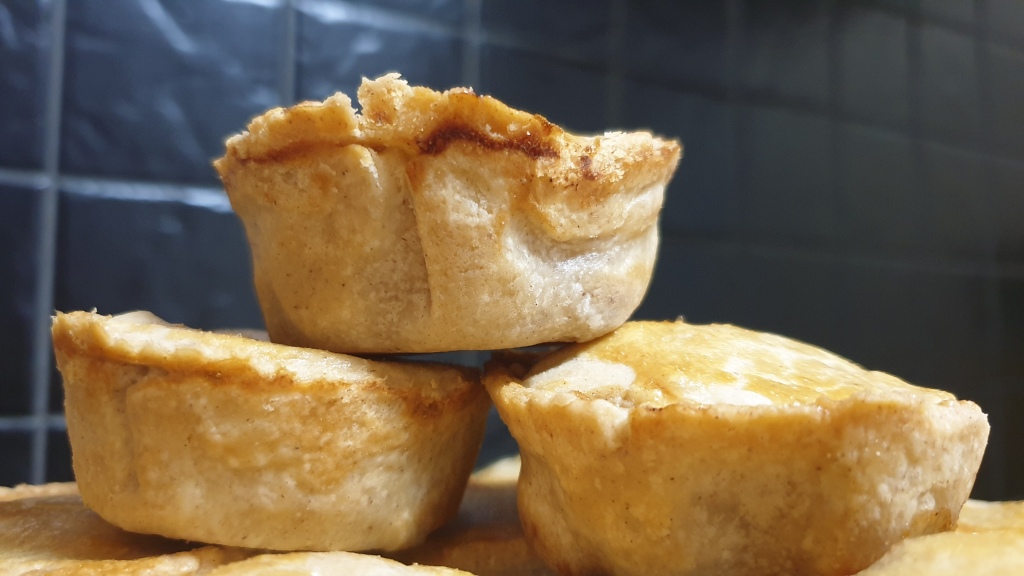
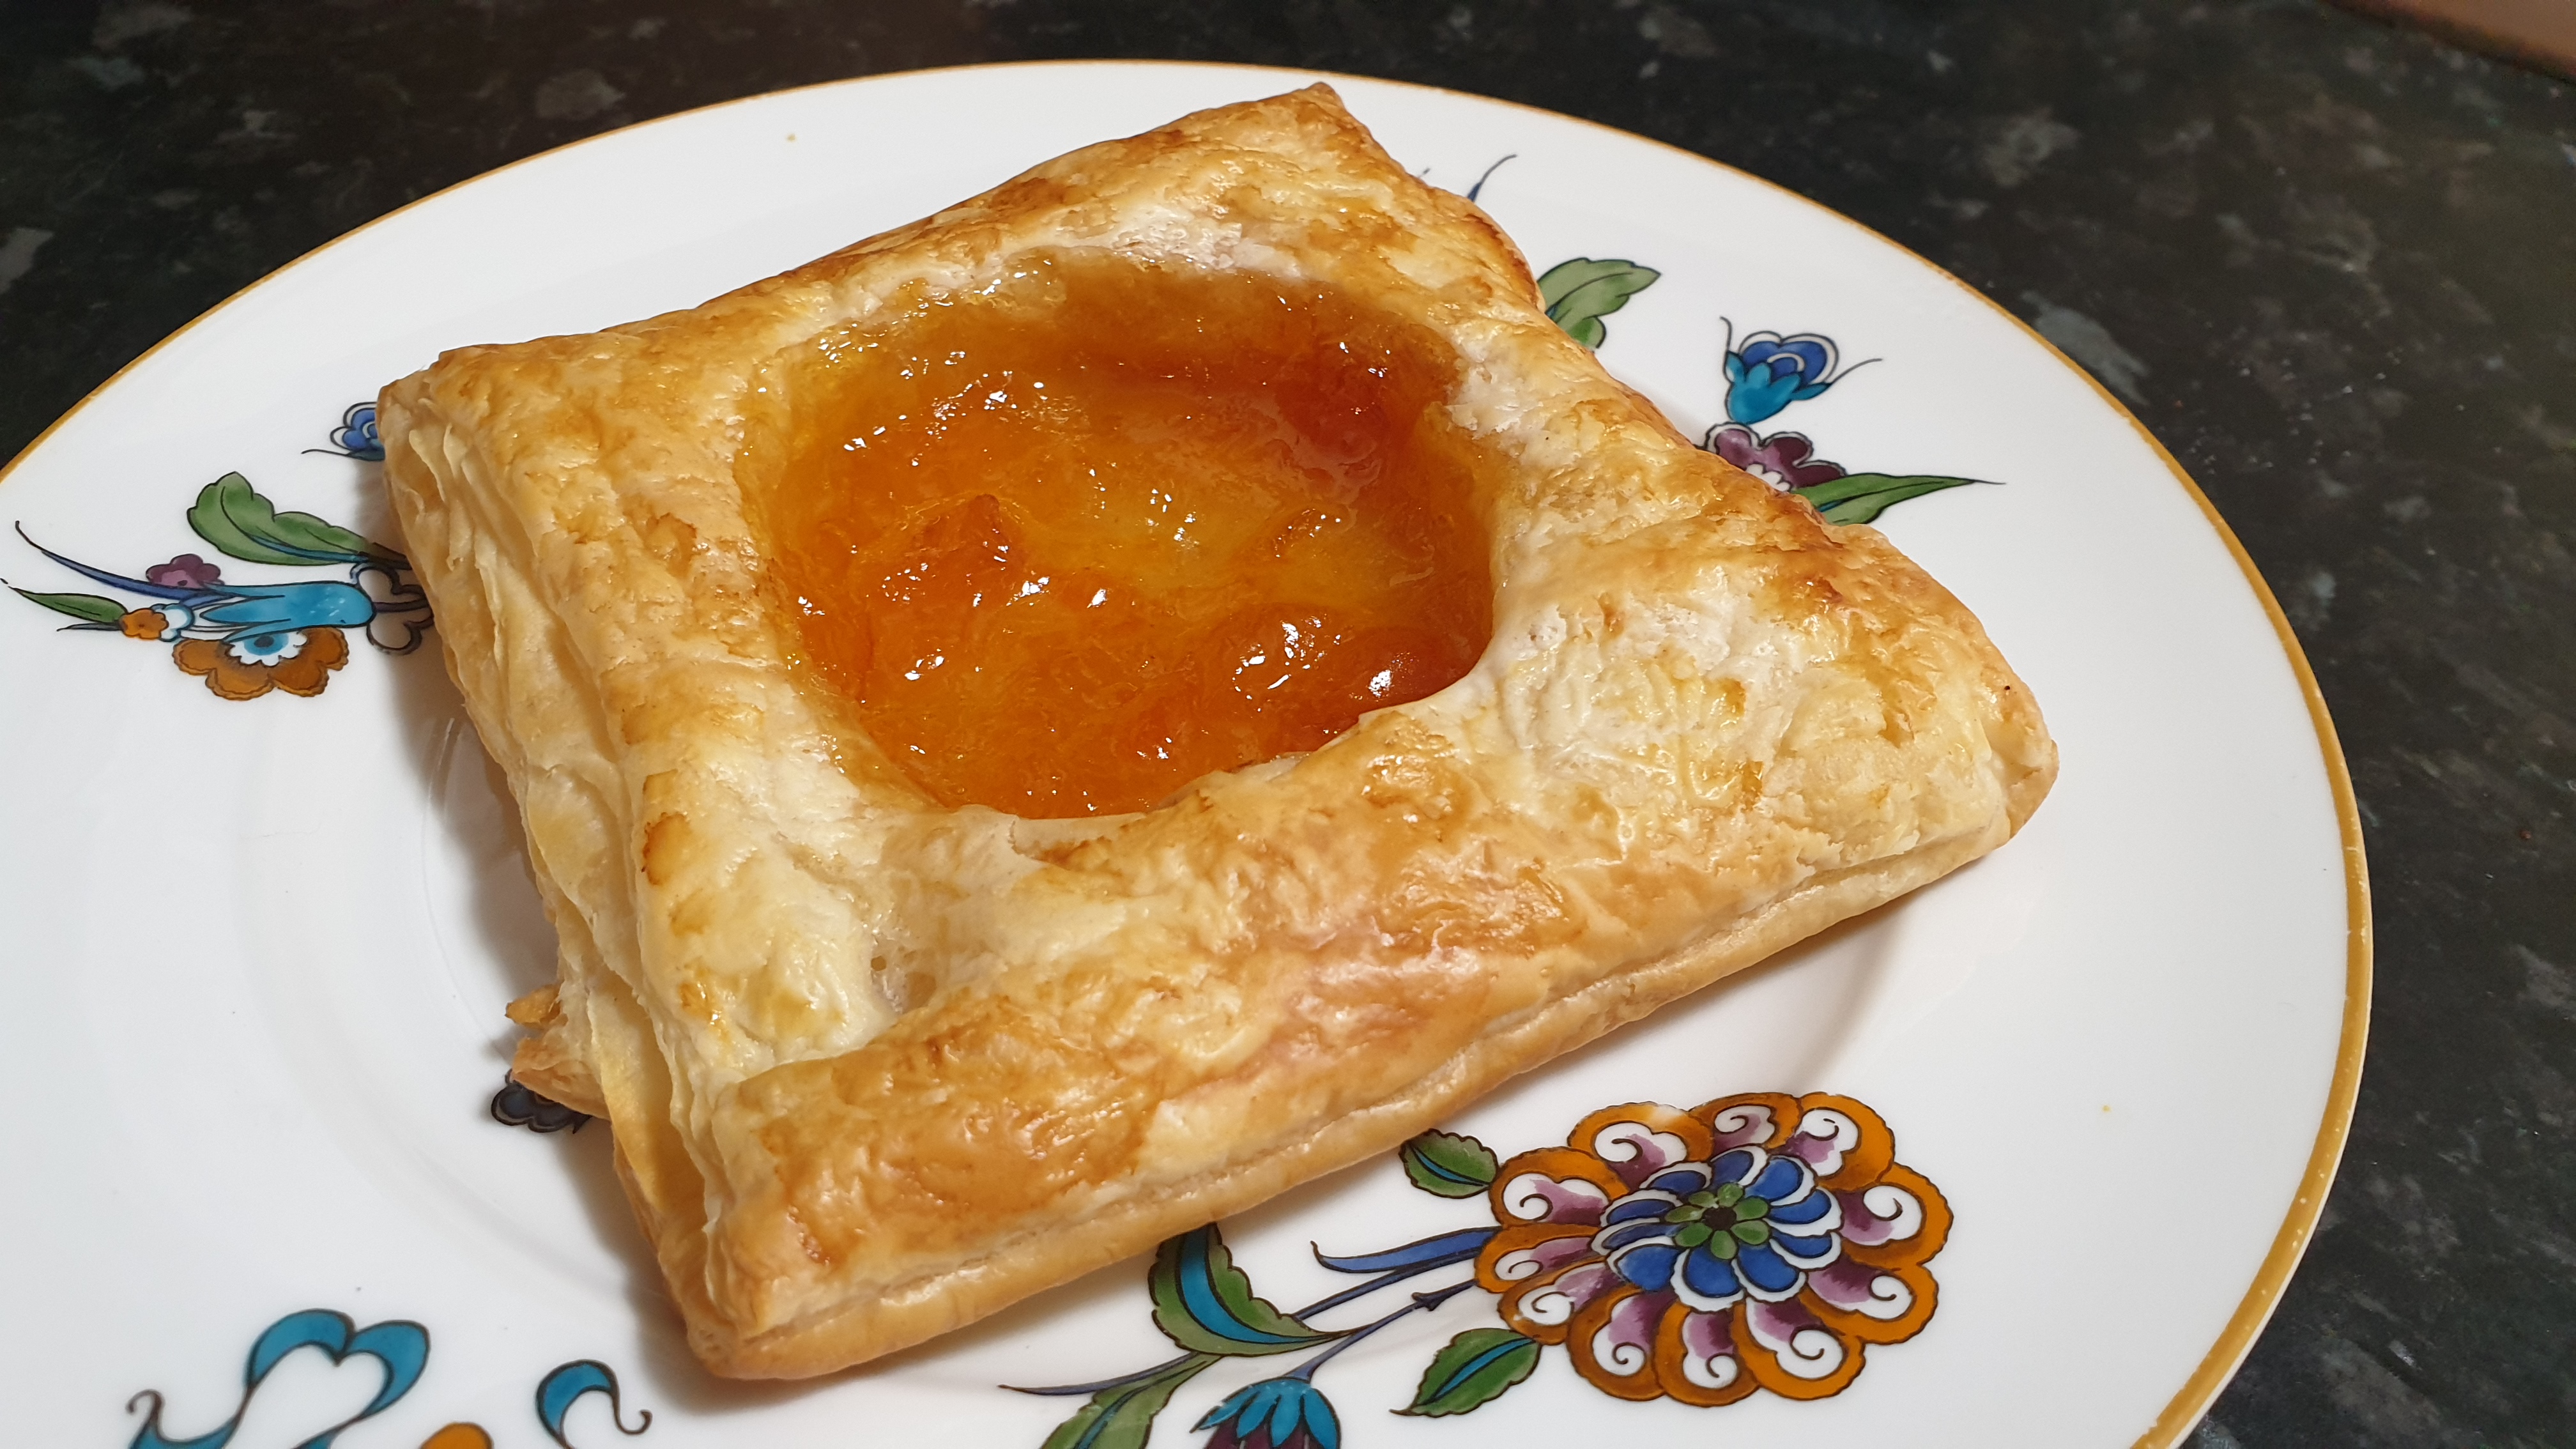
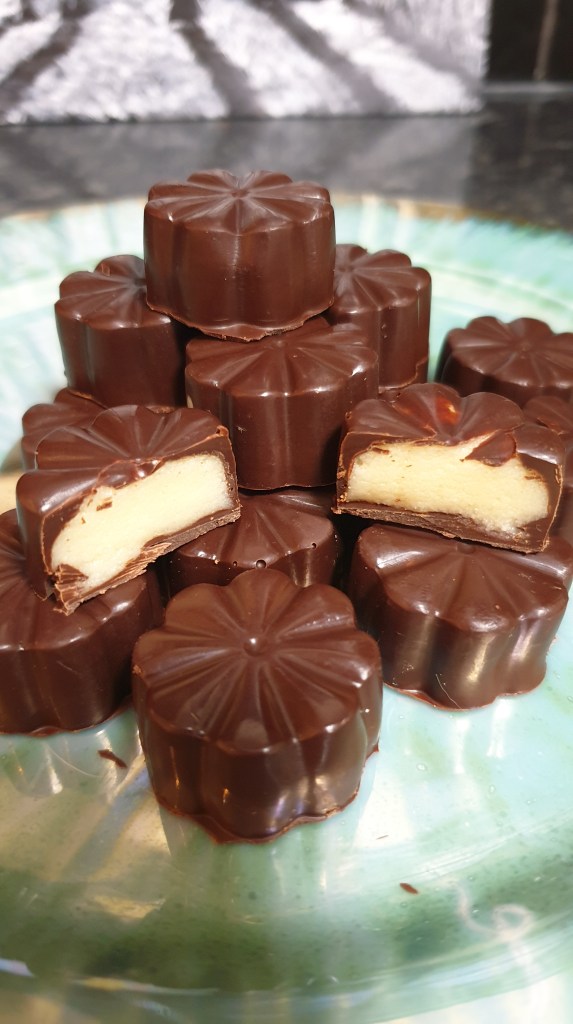
They were super easy to turn out, and looked perfect. After being in the fridge overnight, the filling had set even further but was still super soft.

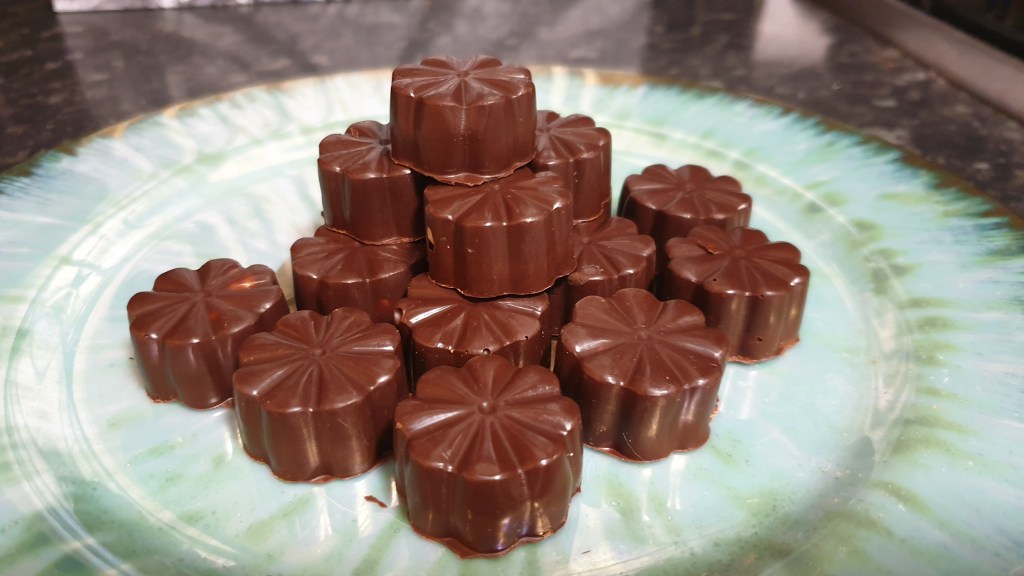
I’m going to admit, I was very chuffed with myself for manging to make something that looked and tasted this good first time.

(c) K Wicks

Honey, garlic and ginger boost

This old remedy is as useful now as it has always been. For feeling a bit run down and wanting to give your system a boost, then a spoonful of this every morning can help.

Get fresh ginger, garlic and honey, and an empty clean jar.

A handful of cloves, and a good gunch of ginger.

Roughly chop, then blend and add the mixture to the empty jar.

Now add lots of honey.

Give it a good mix and put in the fridge. It will gain potency after a few days, but you can dive in right away for a hit of goodness.

(c) K Wicks

Little apple pies

I like a bit of a bake now and again. Always a good choice when some apples have gone past their crunchy prime or just because you fancy them. Little apple pies.

I don’t have a formal recipe – you’ll notice my scrap of paper for the pastry measure. I don’t retain recipe info naturally so have notes, receipt book for random things and a folder of printed recipes when I’m organised.

Its basic, only requiring butter, flour, water and apples. I added cinnamon to the apples and a bit in the pastry, and a spoon of demerara sugar to the apples. But its not essential really. Just for a bit more sweetness and flavour. Obviously you can add what you like, and sweeten as needed. The smaller quantity of ingredients makes around 9 pies, using 4 apples.

The recipe doesn’t require egg, but I do a milk or egg wash before they go in the oven so you get a nice sheen on them.

Then put on a cooling rack to give them a rest, before tucking in 😋

(c) K Wicks

Flapjacks recipe

For some unknown reason over the years I completely forgot I liked flapjacks and had two jobs in bakeries, one of them being a trainee confectionist. The next batch I make might just have to half dipped in chocolate, so watch this space. From nowhere though recently, I decided to make them. I like to be organised when baking sweets things and always weigh everything out out first, I didn’t have a recipe for this so looked through the internet until I found one and scaled down the measurements for a small batch.

125g Butter

125g Demerara sugar

35g Golden syrup

170g Oats

Oven at 180 degrees – bake for 20-25 minutes and cool for 20 minutes. (with fan assisted I suggest either higher temperature or bake for longer, I should have done it for about 35-40 minutes I suspect). This is super simple and quick and a great homemade snack/treat.

Ingredients

Melt the butter and add the sugar and golden syrup. When the sugar has melted stir through the oats. Then press into your prepared tin and smooth out (you can use the back of a spoon to press it flat).

Stage 1

Once it’s baked (turned pale or golden brown), take out and cut into squares and eat 🙂

Stage 2 – done!

(c) K Wicks

Puff pastry

Ever since my local bakery incident last year ‘nobody likes a mouldy turnover‘, I have taken it upon myself to be a bit more proactive in the kitchen and try not rely on the high street for things – even before everything went into lockdown.  A few incidents in recent years made me realise it was on a declining path and they had already lost my business mostly through their own doing – Death of the High Street

I make my own short crust pastry for things now and again, but have never attempted puff. I have seen it done on the TV and to be fair, and thought I might get round to it one day, but since discovering the pre made packs, have to admit that I probably never will make it myself now.

I am getting to enjoy all my favourites again and I know how fresh it is and what went into it. Makes a difference.

So far we have apple turnovers – 

Apricot Danish

And now have got the hang of corned beef pasties.

You may think that the pasties look suspiciously like the same shape as the turnovers, because they do. I didn’t see the need for the pasties to be round and it would waste some of the pastry. Waste not want not as they say.

I am aware though that suddenly upping your pastry intake can have a detrimental effect, so am trying to hold it down a bit, not bake constantly because then that means lot smore eating. So a bit more walking and a few more salads and I can justify it over the winter months.

(c) K Wicks

Blueberry and Raspberry Cakes Recipe

I like baking, sweets more than savoury so far and this recipe is a favourite of mine for some tasty cakey fruity treats. I have amended the recipe to scale down the ingredients. I’m not a big eater and my husband does not eat hardly anything I bake, so smaller the recipes get. But this still makes 12 little cakes. The original receipt is just for blueberry muffins, but they seem more like fairy cakes than muffins, and I decided to add raspberries to give it an extra zing and gooeyness. Full recipe at bottom of post.

Ingredients

To start my baking I always weigh up all the ingredients first, and always have to have a recipe – funnily enough it’s the opposite with savoury food, no recipe, don’t weigh up anything or even check I have all the ingredients first. On that note, I shall share with you that the other night I had ‘Joke Chicken’. What is this is dish you may ask, well, it is when you don’t read the shopping delivery receipt properly, presume you have chicken and start cooking roast potatoes without checking. Then upon realising, have no back up so just end up eating roast potatoes for dinner! (which really wasn’t that bad). And even for this recipe – I nearly couldn’t do it as I had run out of baking powder and hadn’t added that to the shopping, despite it being on my list. Luckily the corner shop was open and in stock.

Creamed butter and sugar

Although I love my mixer and use it for pastry, I always cream the butter and sugar by hand. Taking a bit more time and care than previously and it may sound cheesy, but I can taste the difference.

Cake mix with fruit added

I don’t tend to stir in the fruit too much otherwise you lose the raspberry a bit and from experience cut a few of the blueberries in half. Otherwise they all have a tendency to sink to the bottom of the cake, which is nice, but better to have them do that and still be throughout as well.

Pre bake in cases

Again with this one, I didn’t check the oven temperature adjustment until they had been cooking for 10 minutes, then realised that I had typed the recipe out when I had a normal gas oven. Now I have a fan assisted electric one and it seems to keep throwing me when using it. So while doing this write up I shall amend it so no-one has the issue and will print myself a new one.

Post bake cooling

These only took 20 minutes because I have learnt my lesson when it come to taking things out when you think they are done, not when the time says so. But if you start with the correct temperature, then 25-30 minutes is probably accurate.

They were then enjoyed with a cup on tea (on my rather colourful MKW coaster).

Cake with Tea

Blueberry & Raspberry Cakes

Ingredients 

Makes: 24 muffins                   Makes: 12 muffins

  • 110g butter                              * 55g
  • 250g plain flour                         * 125g
  • 250g caster sugar                      * 125g
  • 2 eggs                                      * 1 egg
  • 125ml milk                                * 62.5 ml
  • 2 teaspoons baking powder      * 1 tsp
  • 1/2 teaspoon salt                     * ¼ tsp
  • 225g fresh blueberries             * 112.5 g

Method


Prep:15 min  ›  Cook: 25min  ›  Ready in:40min 

  1. Preheat oven to 180 C / Gas 4 (160 c for fan assisted). Grease and flour a muffin tin or line with paper cases. Sieve flour, baking powder and salt together and set aside.
  2. Cream butter and sugar until light and fluffy. Add eggs and beat well. Add milk and flour mixture. Beat until combined. Stir in blueberries.
  3. Fill muffin tin 2/3 full. Bake at 180 C / Gas 4 / 160 c for 25 to 30 minutes.

Victoria Sponge Cake Recipe

I’ve had this recipe knocking around for over a decade having pulled it from the internet for my own simple recipe folder. Thanks Patricia, whoever you are.

Finally, I got round to trying it and have to say was rather impressed. I am quite a simple cook and cannot do complicated or fancy, so often don’t always get things right. (Full receipt at the bottom of the post).

This was super easy to follow. I didn’t rush it, as is sometimes my way (not hard to see why I don’t always get it right!) and took extra time to properly cream the butter and sugar. It took longer than the recipe said to cook for, but I have a fan assisted oven these days and didn’t think to check the difference. Although, I didn’t use a flat cake tin, instead using a loaf tin, so that is probably why. However, I know to test the cake center with a knife to make sure cooked and gave it another 15 minutes.

It was so light I was surprised, I also make banana bread now and again and that is extremely dense and heavy. The flavour was also perfect. I had been concerned about the vanilla extract as the recipe doesn’t state a quantity, so I went with 1 teaspoon and it worked well.

It was enjoyed with fresh whipped cream and strawberry jam. As many would agree it should be. My winter sweet tooth has returned so there might be more…

(c) K Wicks

Victoria Sponge Cake Recipe

Sponge cake preparation time: about 15 Minutes
Sponge cake cooking time:
25 Minutes

By Patricia

Sponge cake should be very light and airy and with a melt in the mouth texture. Everyone has their own favorite version of sponge cake but the basic rule is to beat the mixture well to get air into it, this is as much an art as a science so practice will improve your cake making ability. There are many things you can do with a sponge but a jam and cream filling seem to be the favorite perhaps with fresh strawberries in the summer.

Sponge cake recipe ingredients: Serves 4

100g butter
100g caster sugar
100g self raising flour 
Vanilla essence 
Pinch of salt
2 medium eggs

Sponge cake recipe cooking instructions:

1. Preheat oven to Gas mark 190°C.

2. Place the butter and sugar into a mixing bowl. Beat until smooth and creamy. 

3. Beat the eggs in basin or cup and add to the mixture a little at the time, with the flour keeping the same smooth and creamy consistency.

4. Making sure the mixtures does not get too wet or dry as you go when you have used all the flour and the eggs. 

5. Add the vanilla essence and a pinch of salt, mix for a few minutes.

6. Divide into two lined, or non-stick sponge tins, put into a moderately hot oven, middle shelf. 

7. Put into the oven and bake for 20-25 minutes (it is important that the oven is well heated).

8. Put to cool on a rack to cool.

9.When cool put one upside down on a plate spread with jam, you can also put fresh cream in at this stage, put the other piece on the top and dust with icing sugar.

Nobody likes a mouldy turnover…

This incident happened months ago now and I very briefly mentioned it in my piece the day after it happened in ‘Death of the High Street‘. I have had a number of disappointing experiences in the local shops, but this is the one that sealed the deal for me. I guess I had decided to overlook the lack of professionalism, customer service and standards, as this is now the norm. But I draw the line at being served mouldy food. That’s where they made it feel personal and made me think ‘why should I give you my money?’.

So, the context for this is as follows. I went to the local bakery to purchase a cherry turnover, I have had them a few times before and other than a lack of adequate filling, I had no complaints. However, on this occasion, the shop assistant went to the tray slightly to my right and out of eye line and selected my turnover, personally put it in a paper bag and took my money. It was not until about two hours later that I went to eat my pastry treat, I took it out of the bag and put it on the plate, instantly seeing there was an issue. I mean, who would be happy with seeing that green powdery tinge on your apparently freshly baked produce…

Norths Bakery - Moldy Turnover #1 (10.09.19)

So, I took some pictures and found the contact details online and immediately contacted the owner of the bakery. I’ve worked in two bakeries in my time and have to say have never seen mould that far gone on ‘fresh’ food. To me there are many points of failure to have reached that stage. How did it get so moudly so quickly? From the storage area onto the shelf without being noticed? How did it make it from the shelf into the bag of a customer without being noticed? Either way I wasn’t prepared to eat there again. I did get a seemingly sincere apologetic email back from the owner, telling me that apparently they were baked the day before with a 4 day best before, but held their hands up and said this does not seem to be the case. Although offered a voucher for £10 at the bakery, I didn’t take it or reply. I was just glad they acknowledged the very serious issue and how someone along the line isn’t doing their job properly. Whether they actually care or notice they have lost a local customer for life I don’t know. There is so much passing trade these days, people can afford to lose a few it seems.

On the positive side, it as made me brave enough to attempt to cook my own as I no longer trust the standards of people trying to make money from me. And I really like turnovers. I have made apple and apple and raspberry so far, and have to say they taste better than any shop bought ones! (although still using shop bought pasty as puff pastry is still a bit beyond my capabilities and time available for baking).

Lush turnover 2

(c) K Wicks