A reading of my article – One Big Pie
(c) K Wicks

Cream is so useful, and making butter is so easy, I feel a bit silly I didn’t know. Like the popcorn, until you know, you don’t. So, having seen a simple process, tried it, and so far it’s been perfect every time.
For anyone who would like to know, there are many tutorials vids online if you prefer watching someone do it. But here’s the brief –
300ml double cream left to sit at room temperature for two hours. Then start churning. I got a Kilner churned which works really well.
The cream will whip first, and you need to keep going until it looks like scrambled eggs and fully clumps together, separating from the buttermilk. You may need to lift out the paddle and push the edges in throughout a few times. But it should take no longer than 10 minutes to full clump and separate.
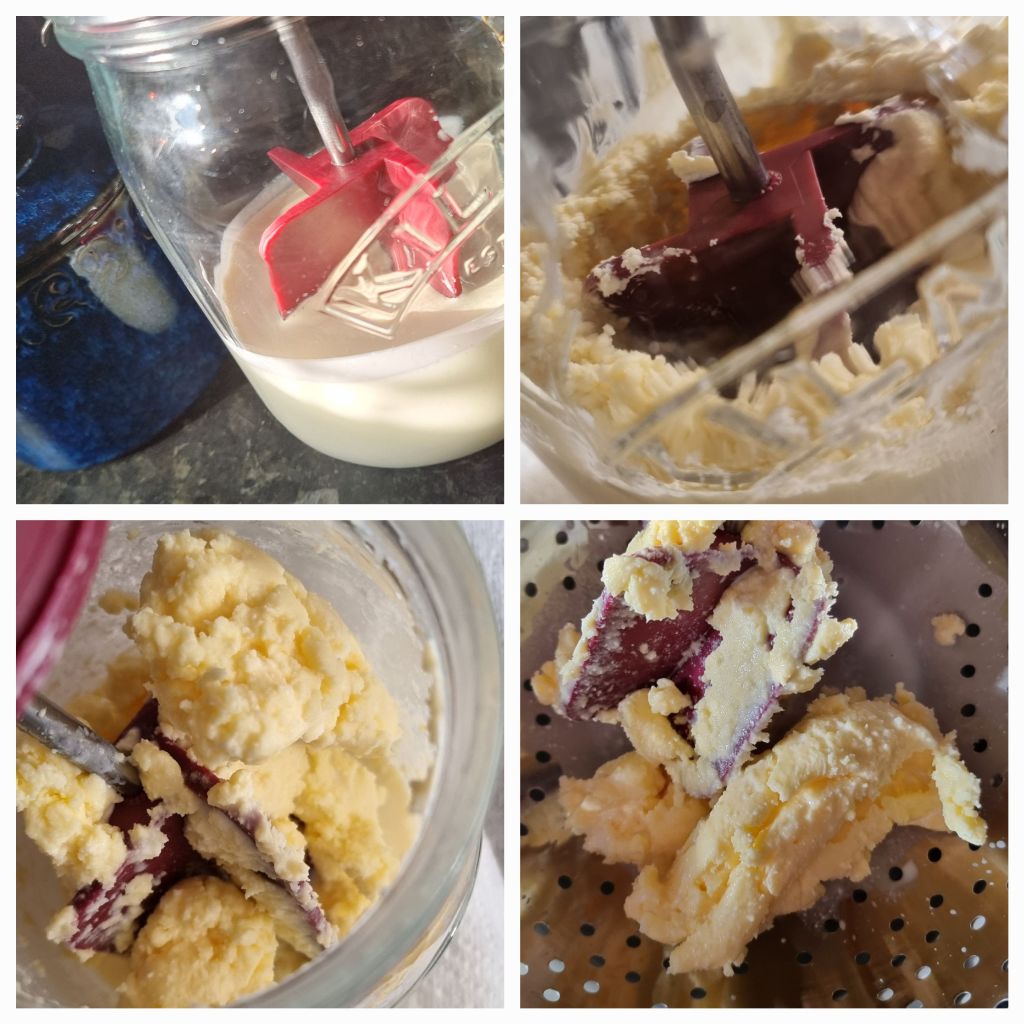
Once it’s fully clumped, tip into a colander over a bowl to catch the buttermilk as that has uses too. I’ve been using mine to make southern fried chicken, and it’s great. Recipe for that coming soon too.
This is where you get hands on, as you need to squeeze as much buttermilk out as you can. Then submerge in cold water to get off final amount. Then add some salt to taste, and to get some final moisture out so it doesn’t spoil.
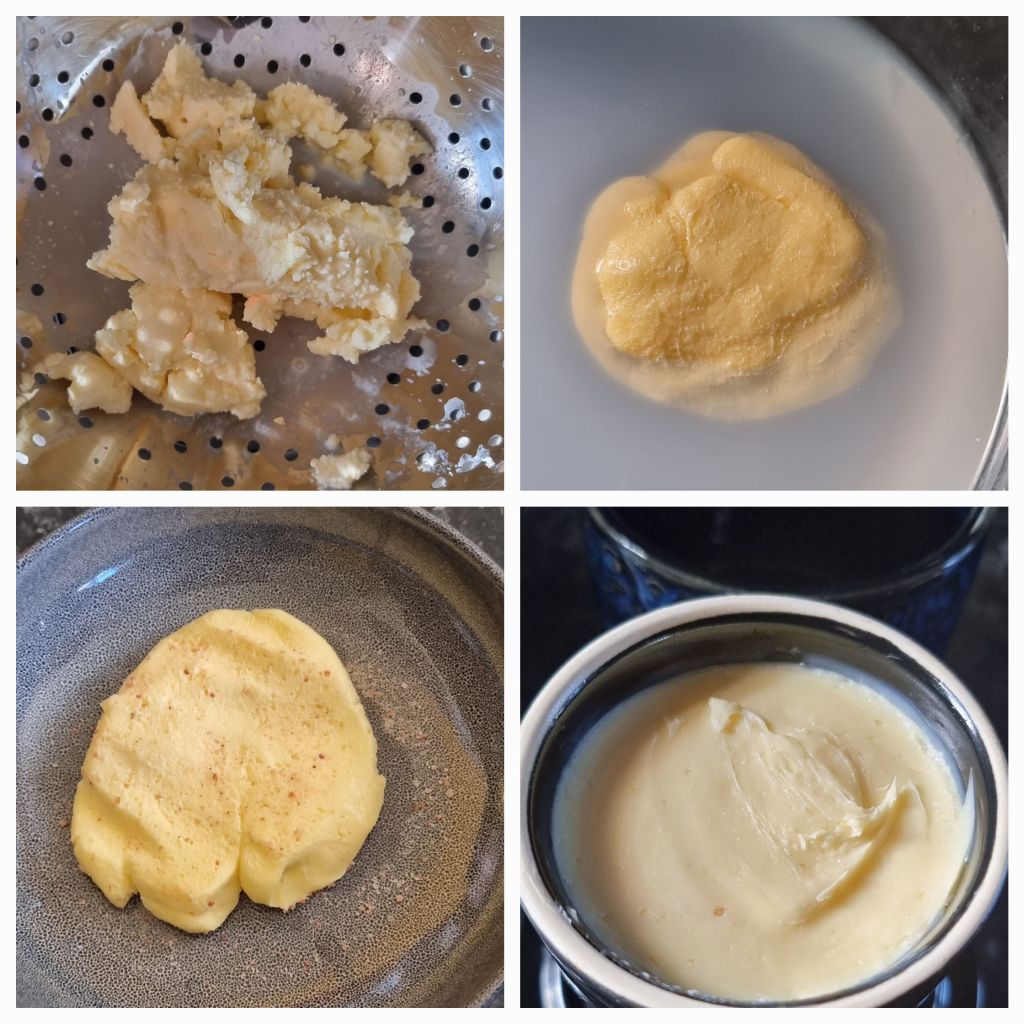
When you are happy you’ve worked the salt in and squidged it about enough, put in your butter bell, crock or dish, and enjoy!
Keep the buttermilk too as you can use this for awesome pancakes or scones.
(c) K Wicks
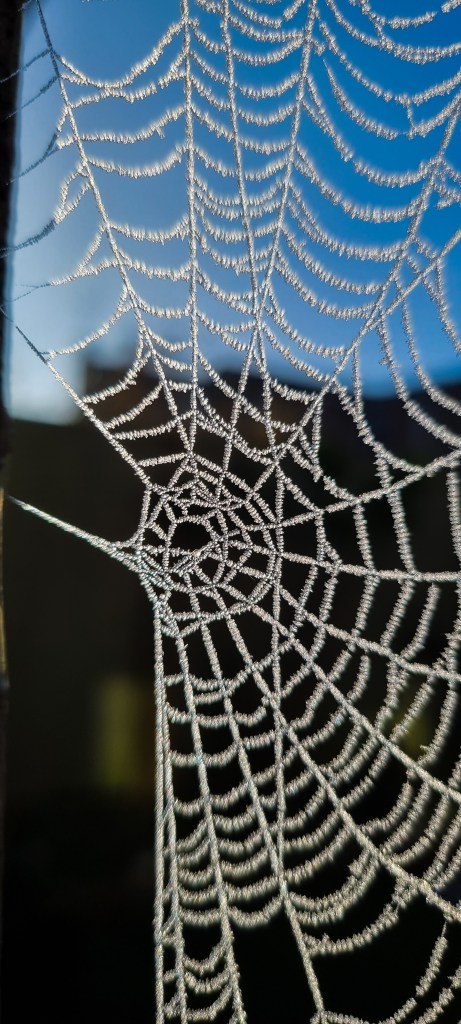
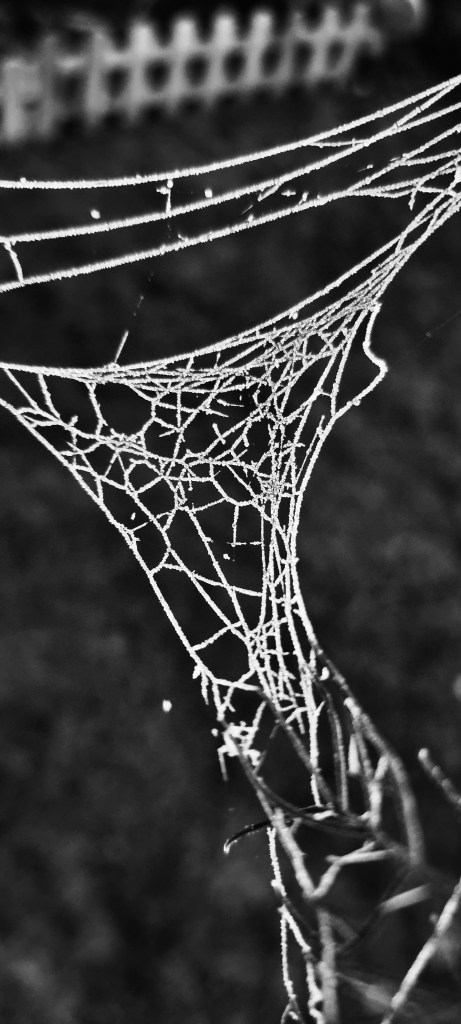
It was a frosty morn.
(c) K Wicks
Something a bit sparkly.

(c) K Wicks
As the weather takes a wintery turn, so did the digital painting.
(c) K Wicks
A good idea for fruit if you happen to find you have too much at harvest time, you find a deal, or you just want to make some tasty snacks which last a bit longer than just resh fruit.
I decided to try and make two at the same time, having completely failed on my first attempt at just trying one. But I realise I spread the mixture too thinly and left it drying out too long, so made it much thicker this time. And read a couple of other recipes to make sure I really did understand the process, which is simple, but clearly still room to screw up!
First one – Strawberry and Apple – put however much you want into a blender, I used half an apple, and a good handful and a hald of strawberries. A squeeze of lemon and then blend it until smooth. I didn’t bother weighing anything for this, just winging it.
Second one – Blueberry and Apple – again half an apple, and about two handfuls of blueberries at least, and a small squeeze of lemon. I also threw in two raspberries and a strawberry to help it liquify. Then completely blend.
The pectin in the apple helps it to go jammy, but you can just use lemon juice if needed, apple isn’t required if you just want one fruit flavour. And you can add sugar if you want, or honey is you like a bit of extra sweetness.
Put the fruit smoothie in a pan, and heat for around 10 minutes until it goes jammy. Stir frequently and you’ll see when it starts to get thicker, but it’s when it just starts to stick to the bottom of the pan and need scraping that I would say it was ready.
Then pour onto baking paper or a silicon tray, and smooth into a rectangle of similar thickness throughout.
Put in the over on 80 degrees for around 3-4 hours, you’ll have to judge when done by touching and if it isn’t sticky, and it stays together when you start to peel it off. Then remove and cut into strips using scissors, and roll into strips keeping the baking paper on as it then acts as a wrapper (I got fresh paper put as the one used was a bit soggy). Put in an airtight container in the fridge and they last for a few weeks apparently. Although I’m sure they won’t last that long!

(c) K Wicks
Some more mushroomy digital brightness.

(c) K Wicks

(c) K Wicks
